

Herringbone Tile 101: Your Complete Guide
Love a geometric, zigzag pattern? You’ll love herringbone tile.
It’s perhaps one of the most iconic tile patterns, and it’s a design choice that manages to feel both classic and current, timeless and trend-forward.

It’s also extremely versatile.
From white herringbone backsplash tile in kitchens to richly saturated, jewel-tone showers, perfectly patterned floors, or even a dramatic black herringbone tile fireplace, this zigzag pattern brings instant visual appeal to every surface it touches.
This guide breaks down everything you need to know about herringbone tile, including what it is, where it works best, how to install it, how to clean and maintain it, and where to buy it. Plus, of course, you’ll find plenty of design inspiration, too.
What Is Herringbone Tile?
Herringbone tile actually refers to a layout pattern — not a tile shape — in which rectangular tiles are arranged in a staggered zigzag, resembling the bones of a fish (hence the name).
The pattern is not new. It dates back centuries and has been used in everything from Roman roads to European estates.
The pattern works equally well in both traditional and modern interiors, and its style versatility and visual impact make it a favorite among homeowners, designers, and builders alike.
Types of Herringbone Tile
Because herringbone tile refers to the pattern, not the tile, it can be applied with a range of tile materials. You’ll want to consider the best tile material based on your style preferences and practical requirements for the space. Choosing the right type ensures your design not only looks beautiful but also functions well in your space.
Ceramic Herringbone Tile: Ceramic herringbone tile is lightweight, versatile, and rather easy to maintain. That’s why it’s a popular choice for accent walls and backsplashes.
Herringbone Porcelain Tile: A type of ceramic, herringbone porcelain tile is slightly more durable and resists moisture, stains, and heavy wear, making it ideal for floors, kitchens, entries, bathrooms, and even outdoor spaces.
Natural Stone Herringbone Tile: Marble, limestone, and other natural stones arranged in a herringbone pattern bring a refined, high-end look to a space. You’ll commonly see this tile used in elegant, luxury bathrooms and statement floors.
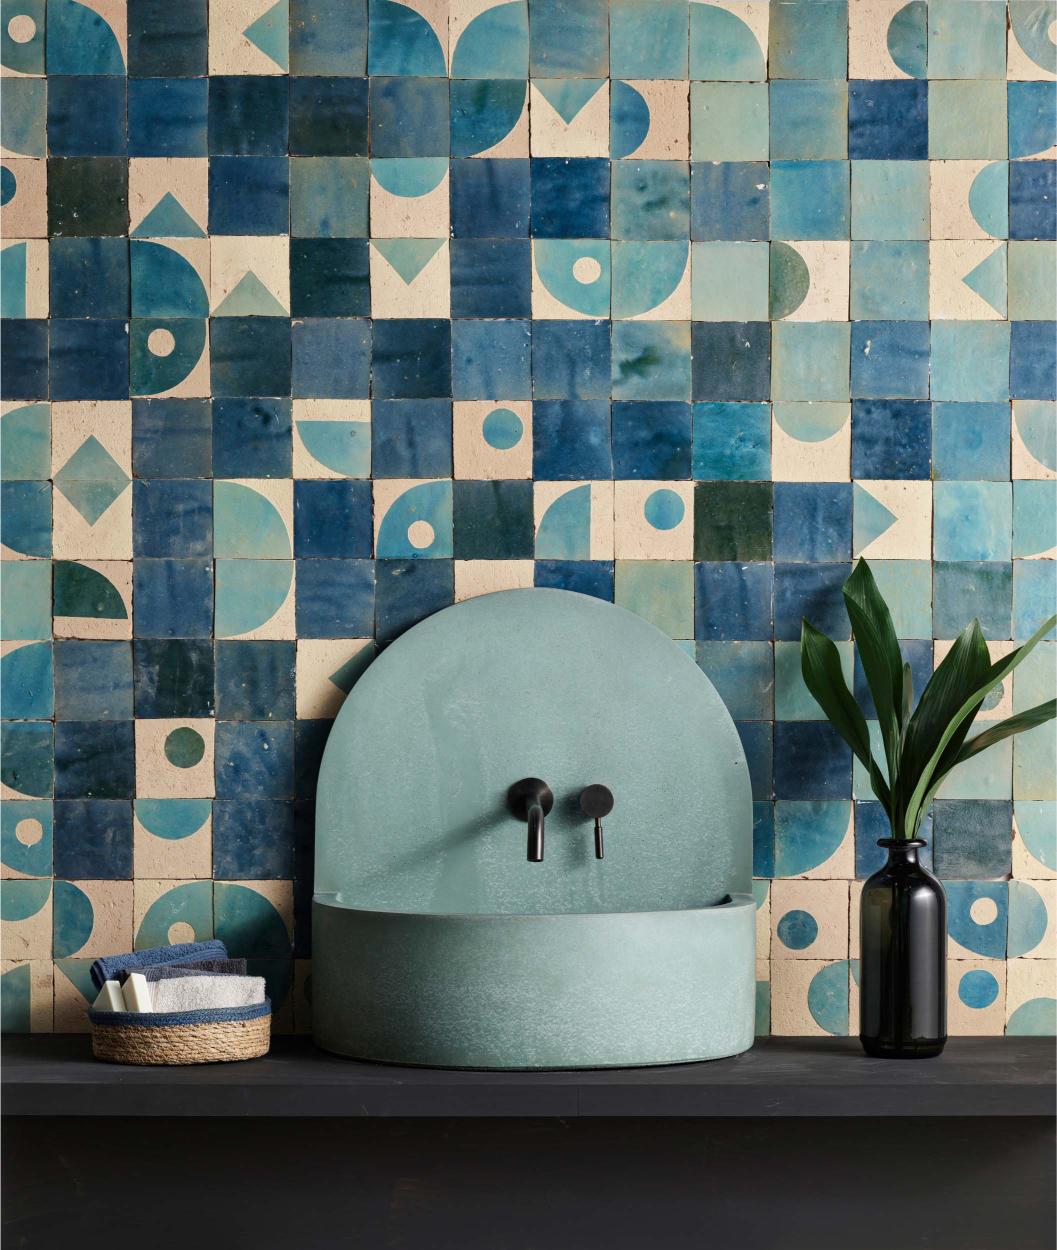
Zellige Herringbone Tile: Bejmat zellige tile (traditionally handcrafted in Morocco) delivers organic texture and additional variation to the classic herringbone layout. That’s because the luminous tile already boasts variations in color and surface irregularities before it’s arranged in a zigzag pattern. Even a white herringbone backsplash with zellige tile will appear dimensional and reflective due to the tile’s unique imperfections and tonal range.
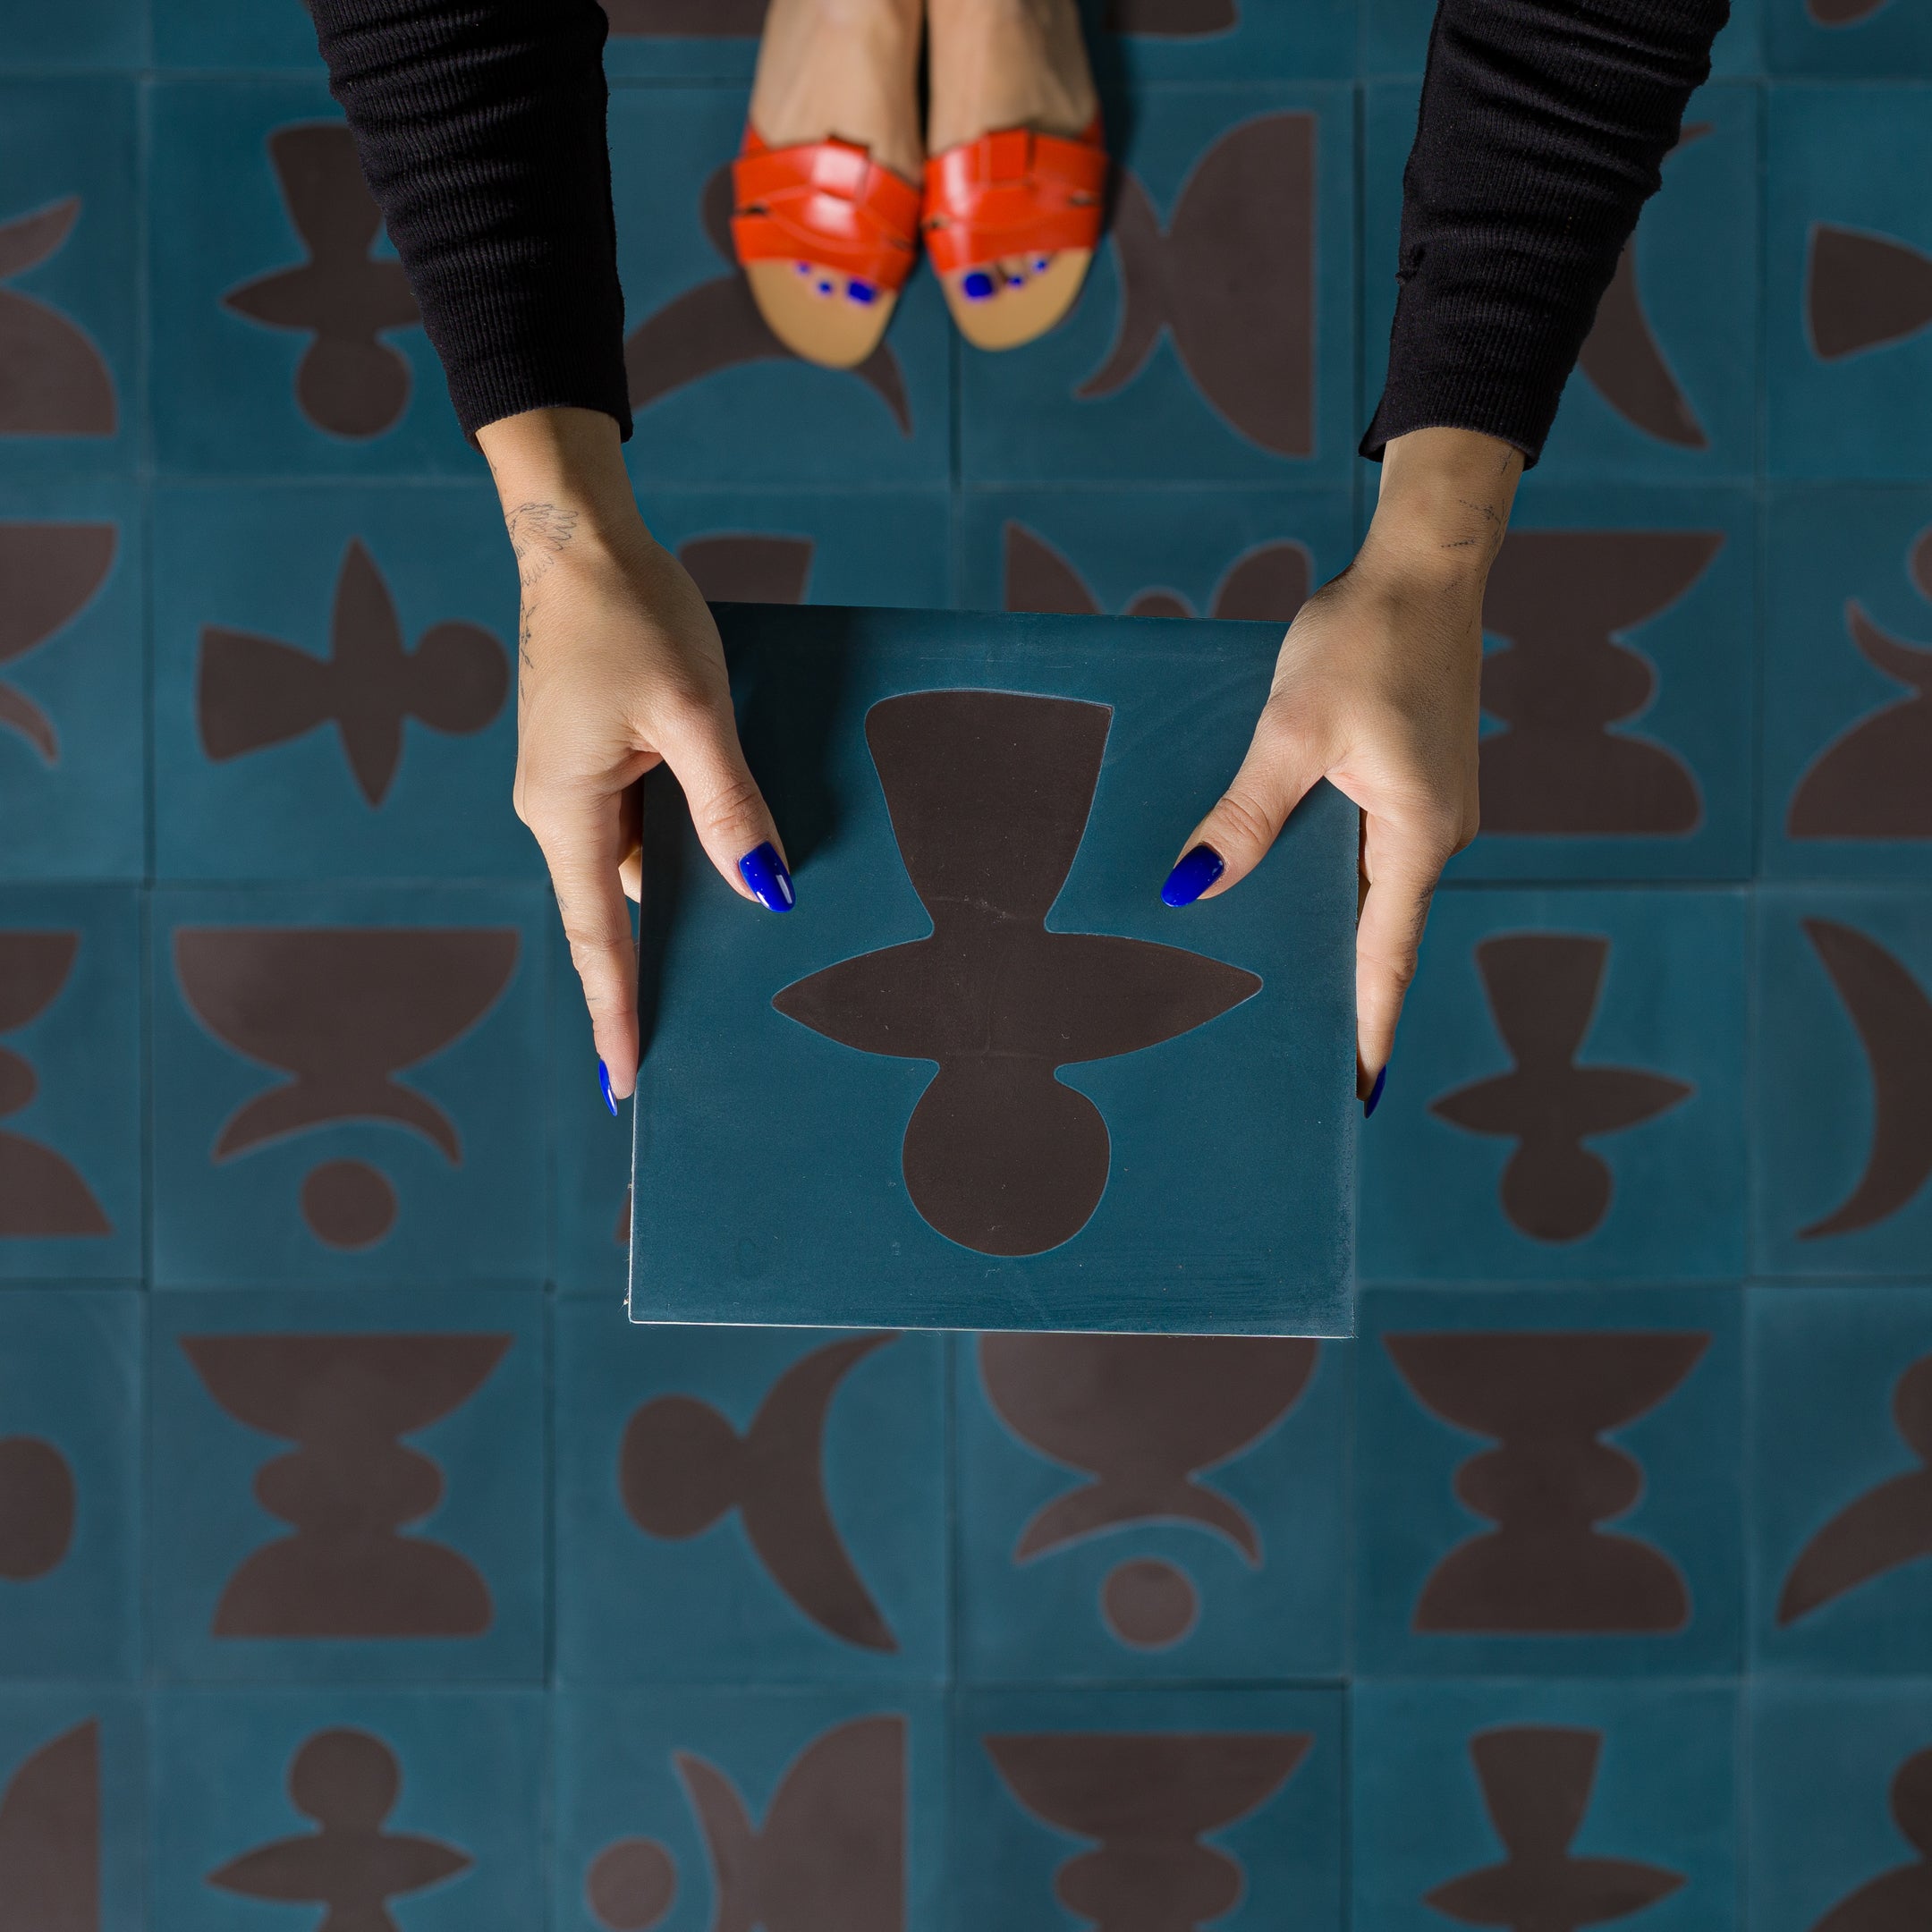
Cement Herringbone Tile: At Otto Tiles & Design, cement herringbone tile is a favorite because it offers a handcrafted, artisan appeal, rich color depth, and durability. Cement can also be used across many spaces with few limitations.
Where Can You Use Herringbone Tile
While herringbone tile is slightly more specific in its use cases due to its inherent pattern, it can still be implemented across many spaces and design aesthetics, from traditional and transitional to contemporary and modern. Check out the range of options to consider:
-
Statement walls and floors
-
Showers and wet areas
-
High-traffic commercial areas
-
Indoor and outdoor
-
Kitchens and bathrooms
-
Fireplace surrounds
-
Backsplashes
-
Underfloor heating
Design Inspiration for Herringbone Tile
Need some visual inspiration for how to make herringbone tile work for your space? Start here with these examples — from floors to backsplashes, showers, and more.
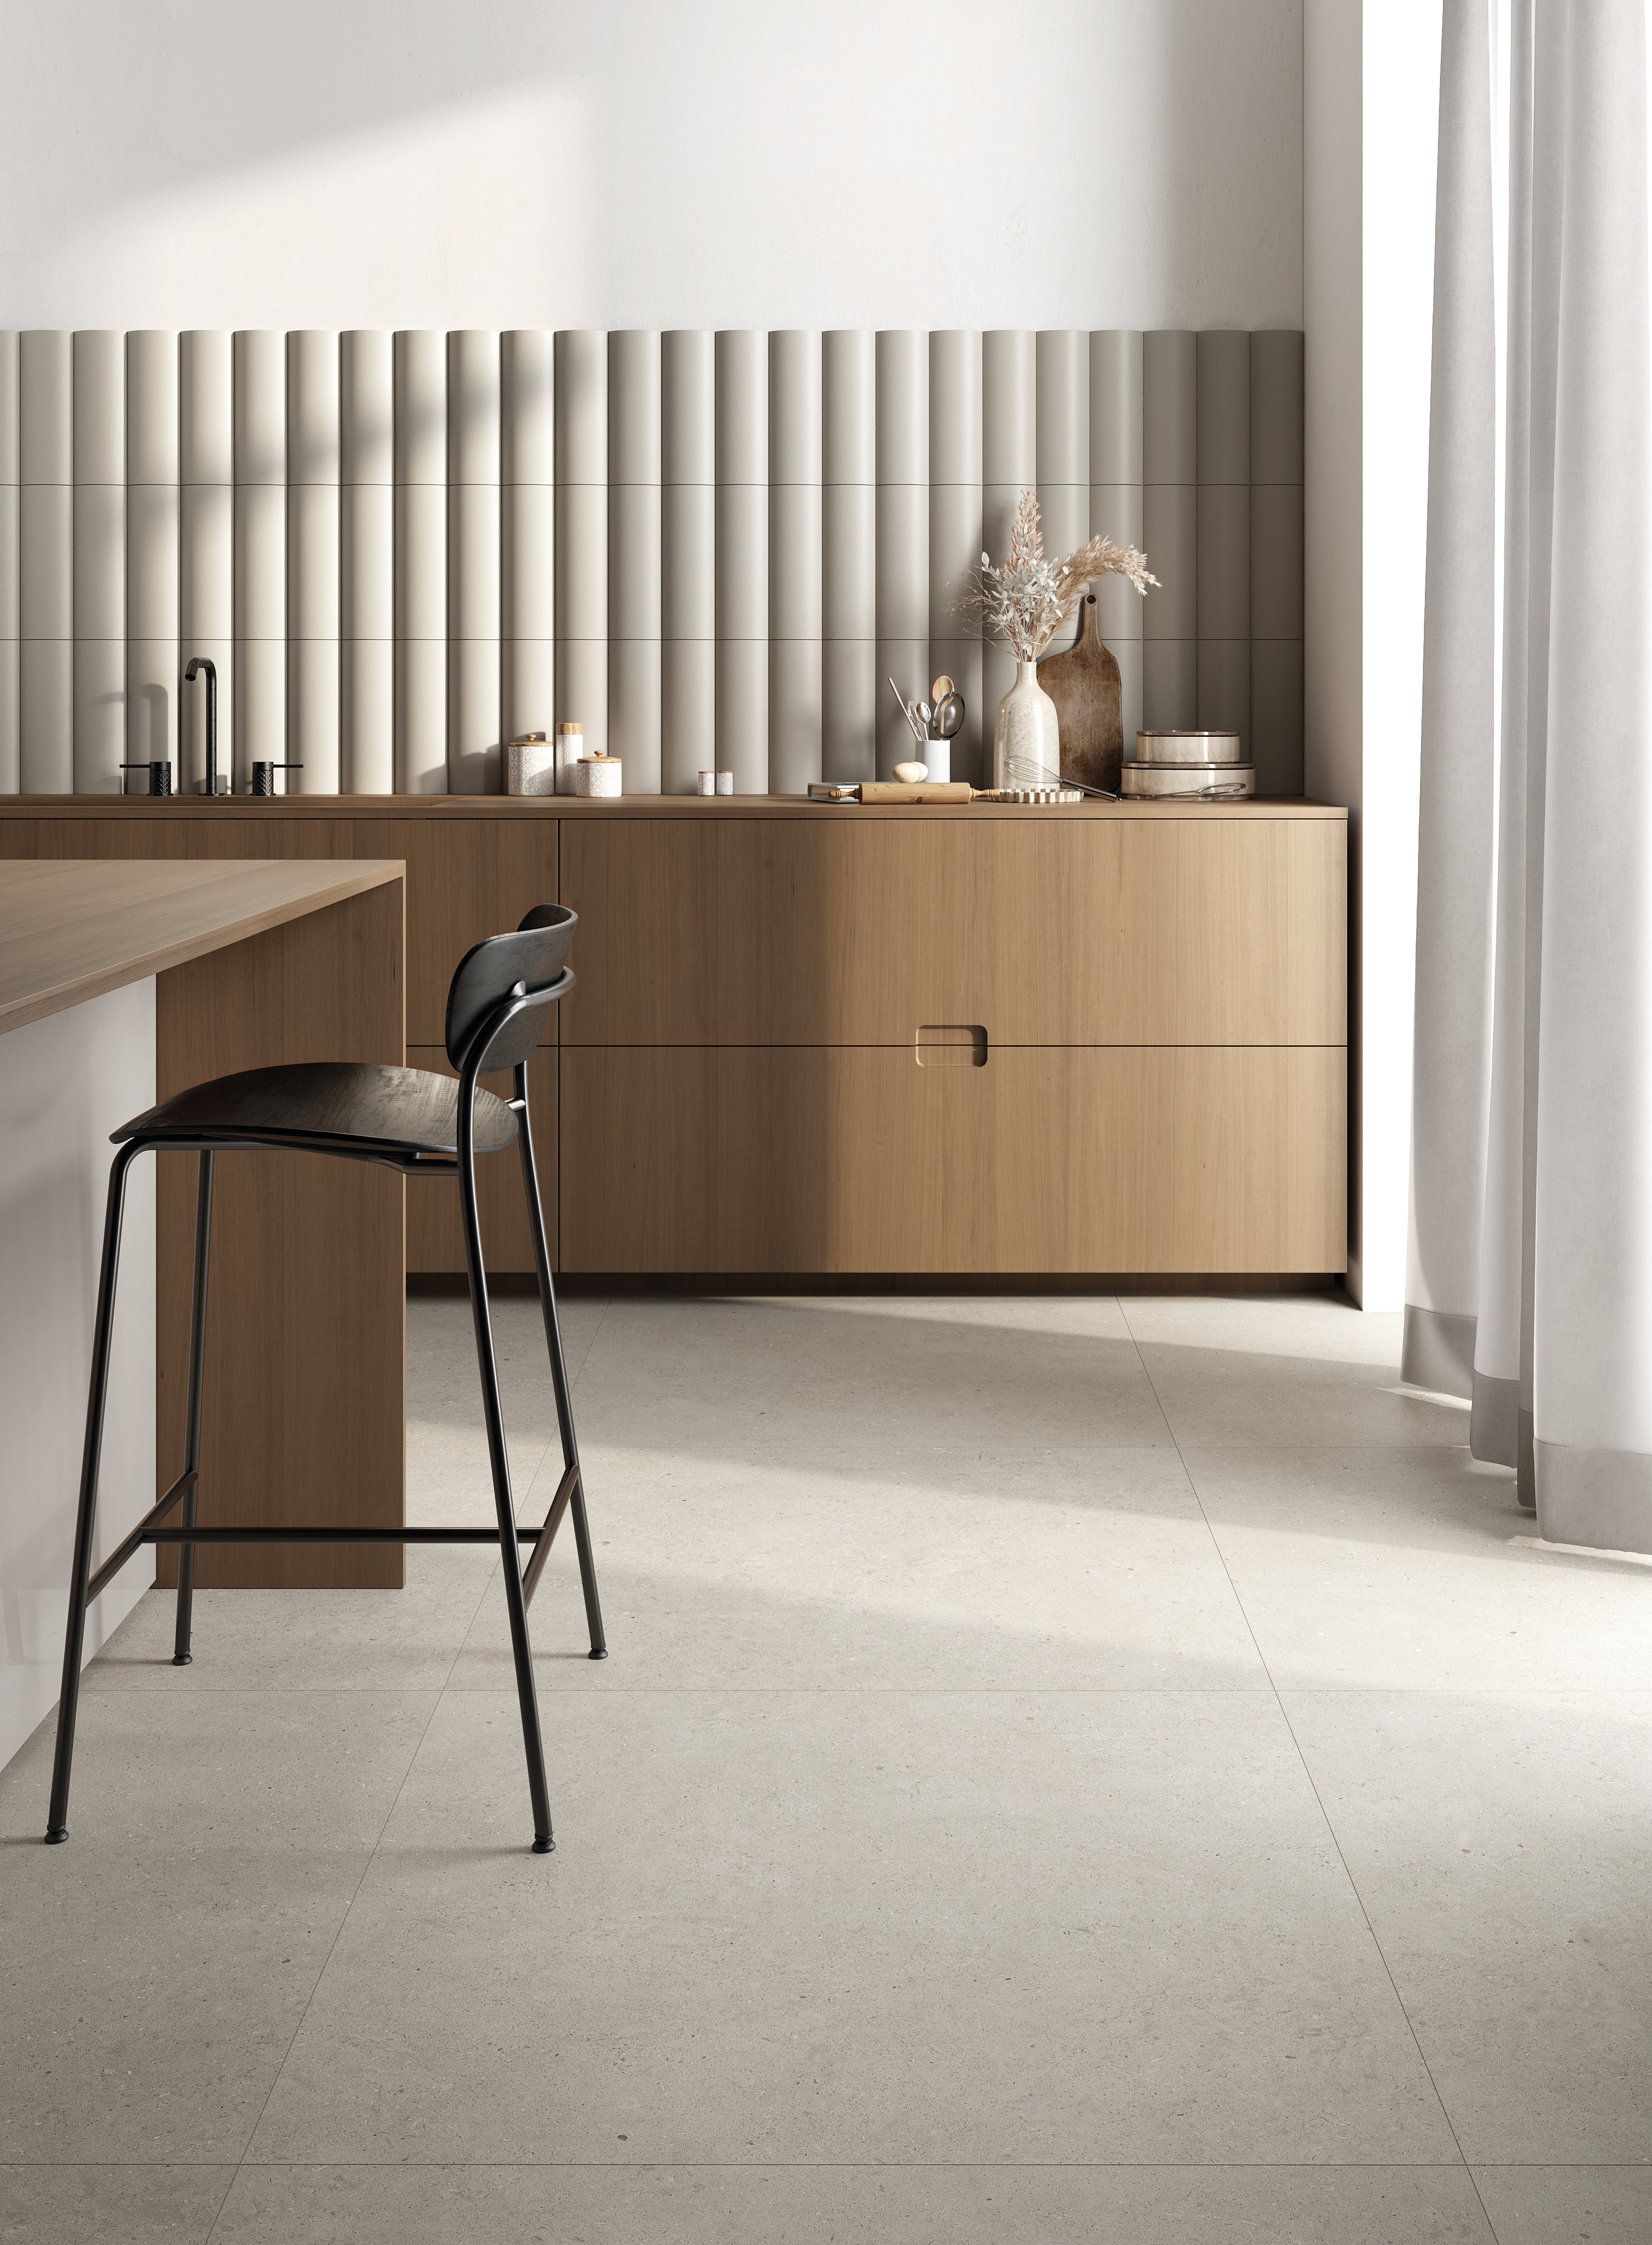
Backsplash Beauty
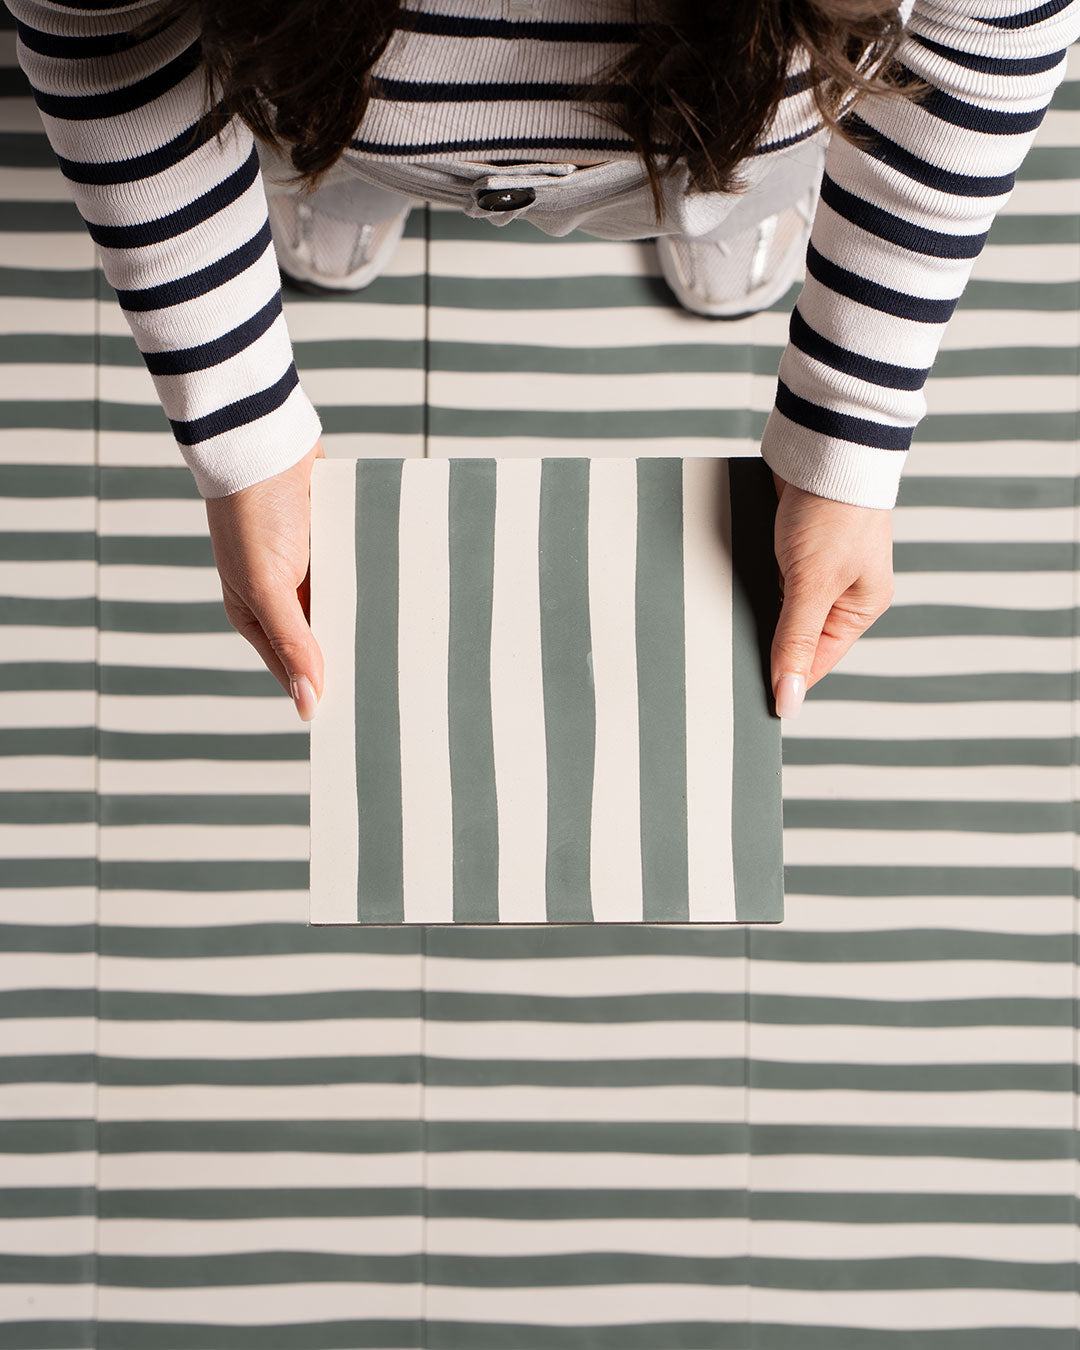
There’s nothing wrong with a classic white herringbone backsplash tile, but this Shark Gray Herringbone is a lovely twist on a neutral that easily becomes the perfect match to a range of other colors and styles in a kitchen.
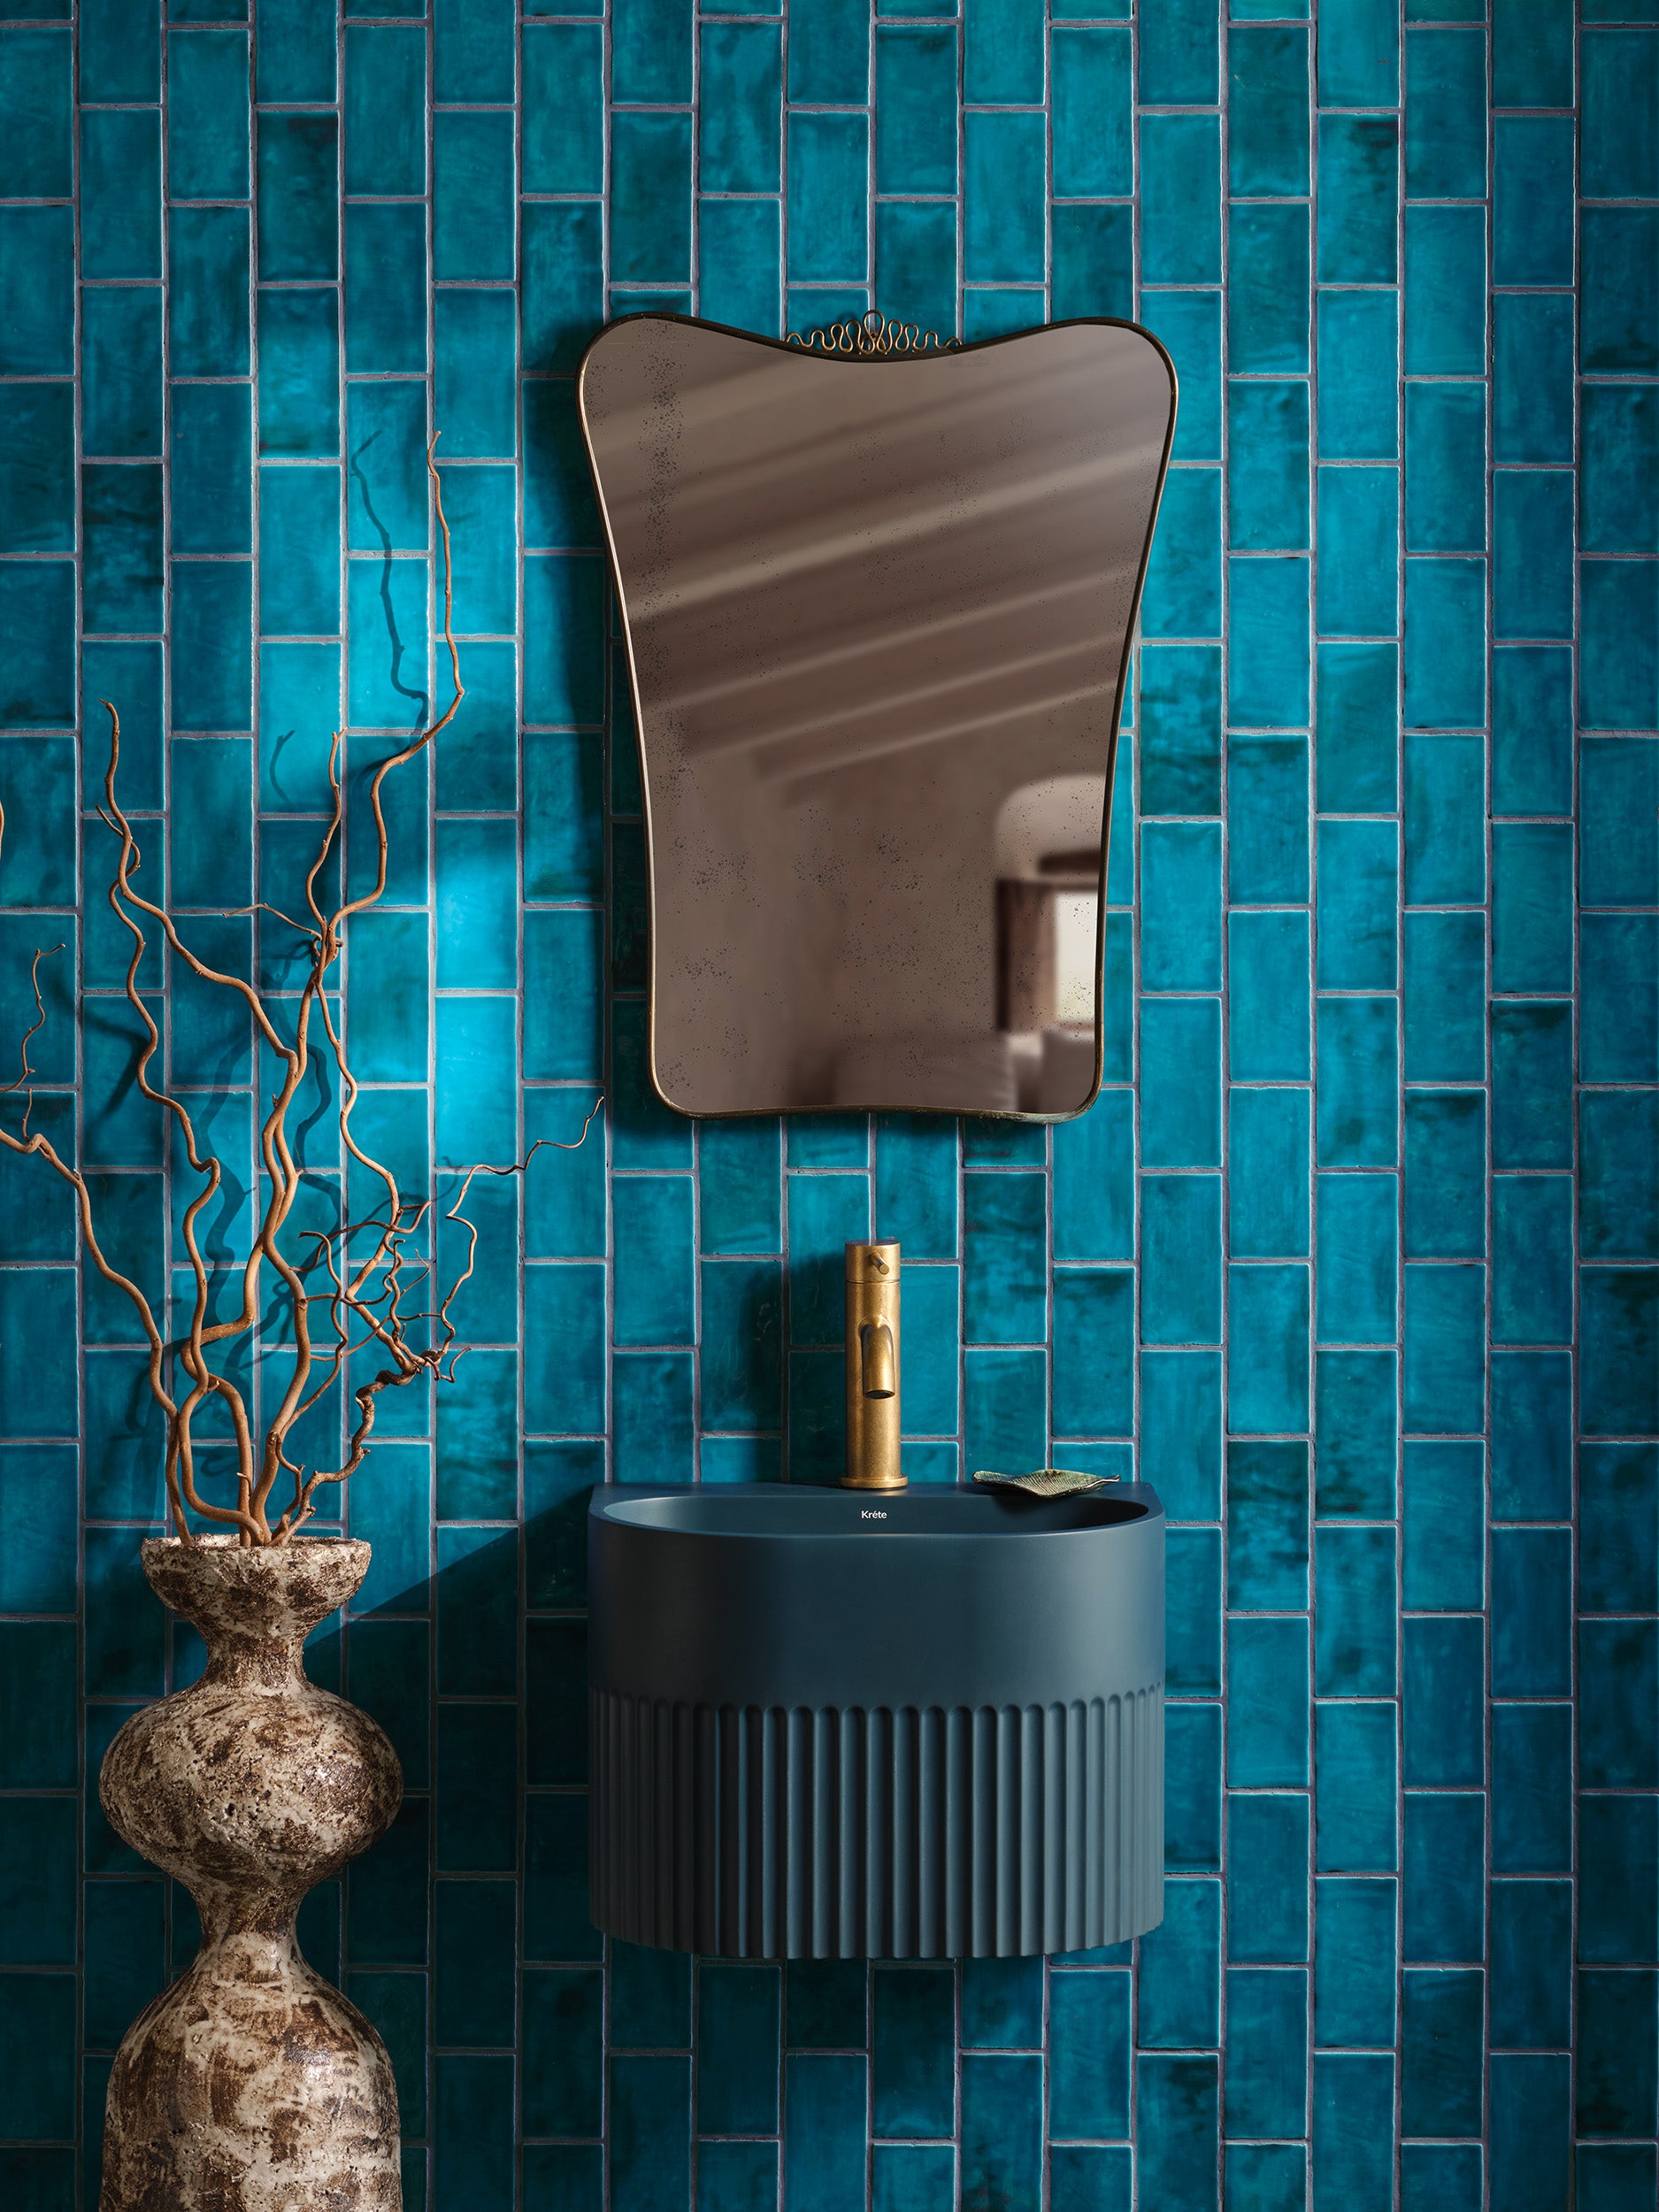
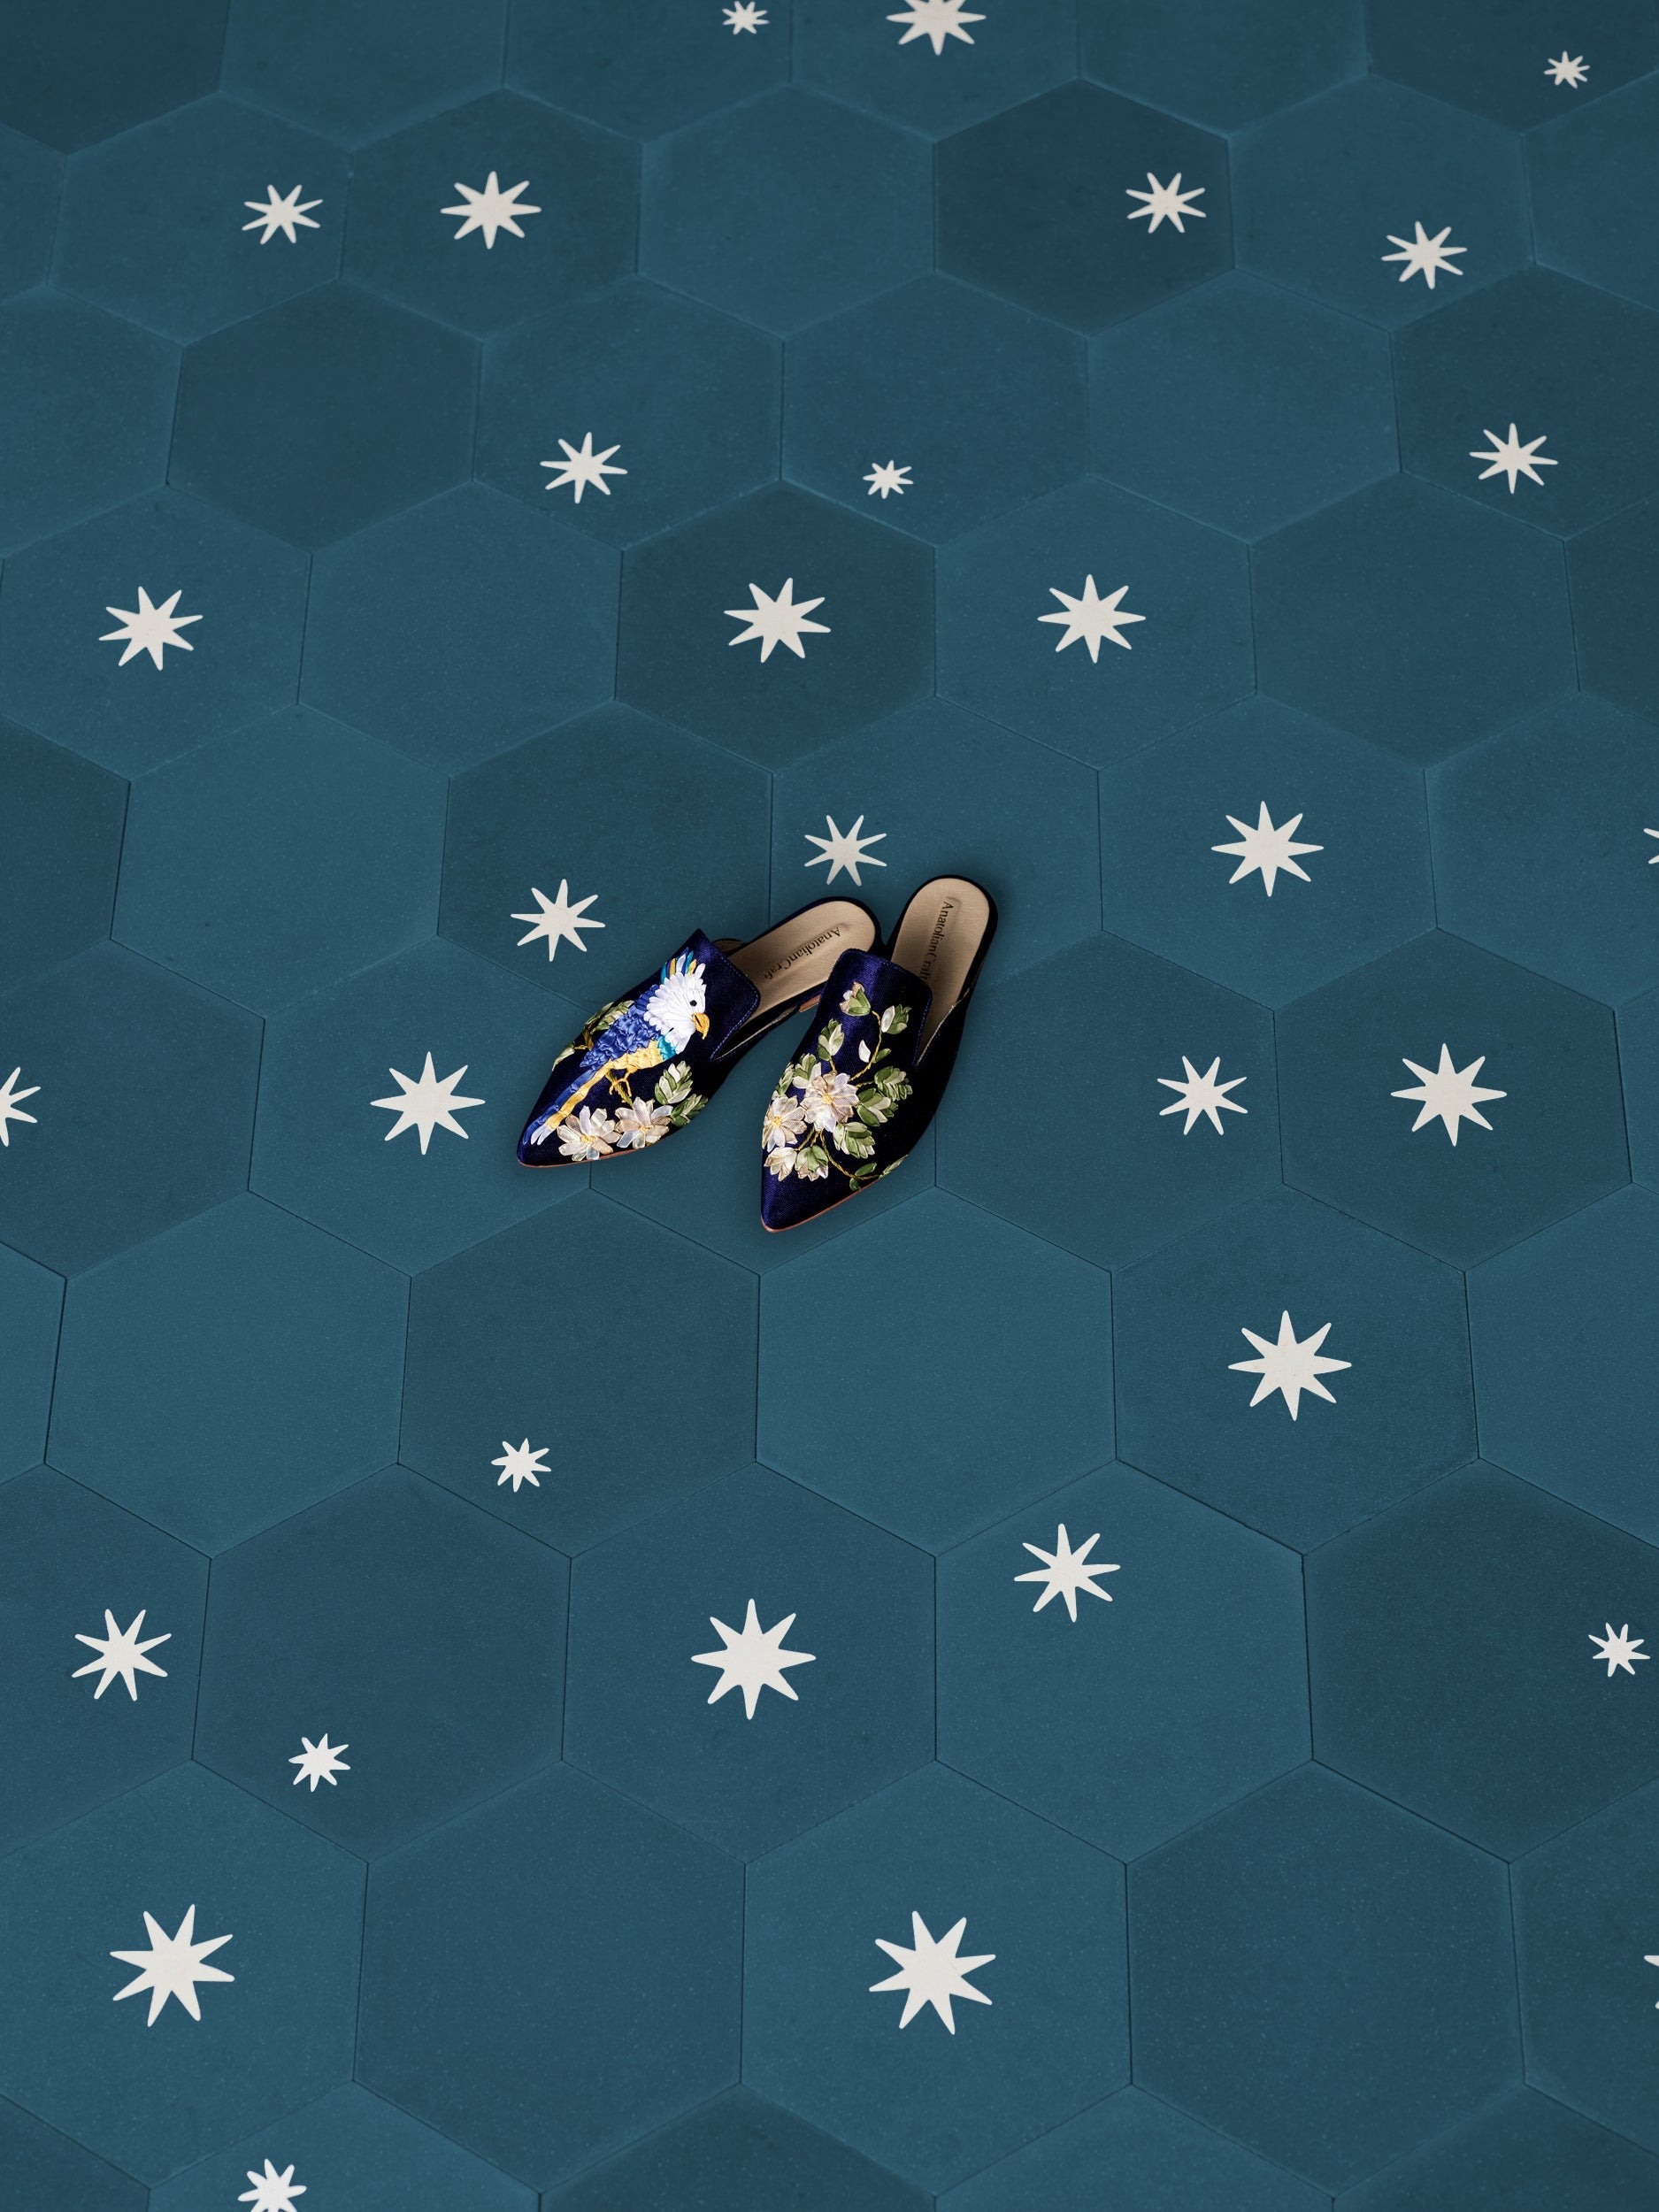
Blue Zones
This Navy Zellige Herringbone tileis a stunning, deeply saturated option for a subtle yet statement-making floor. Here, the grout lines all but disappear for a more subtle take on the pattern.
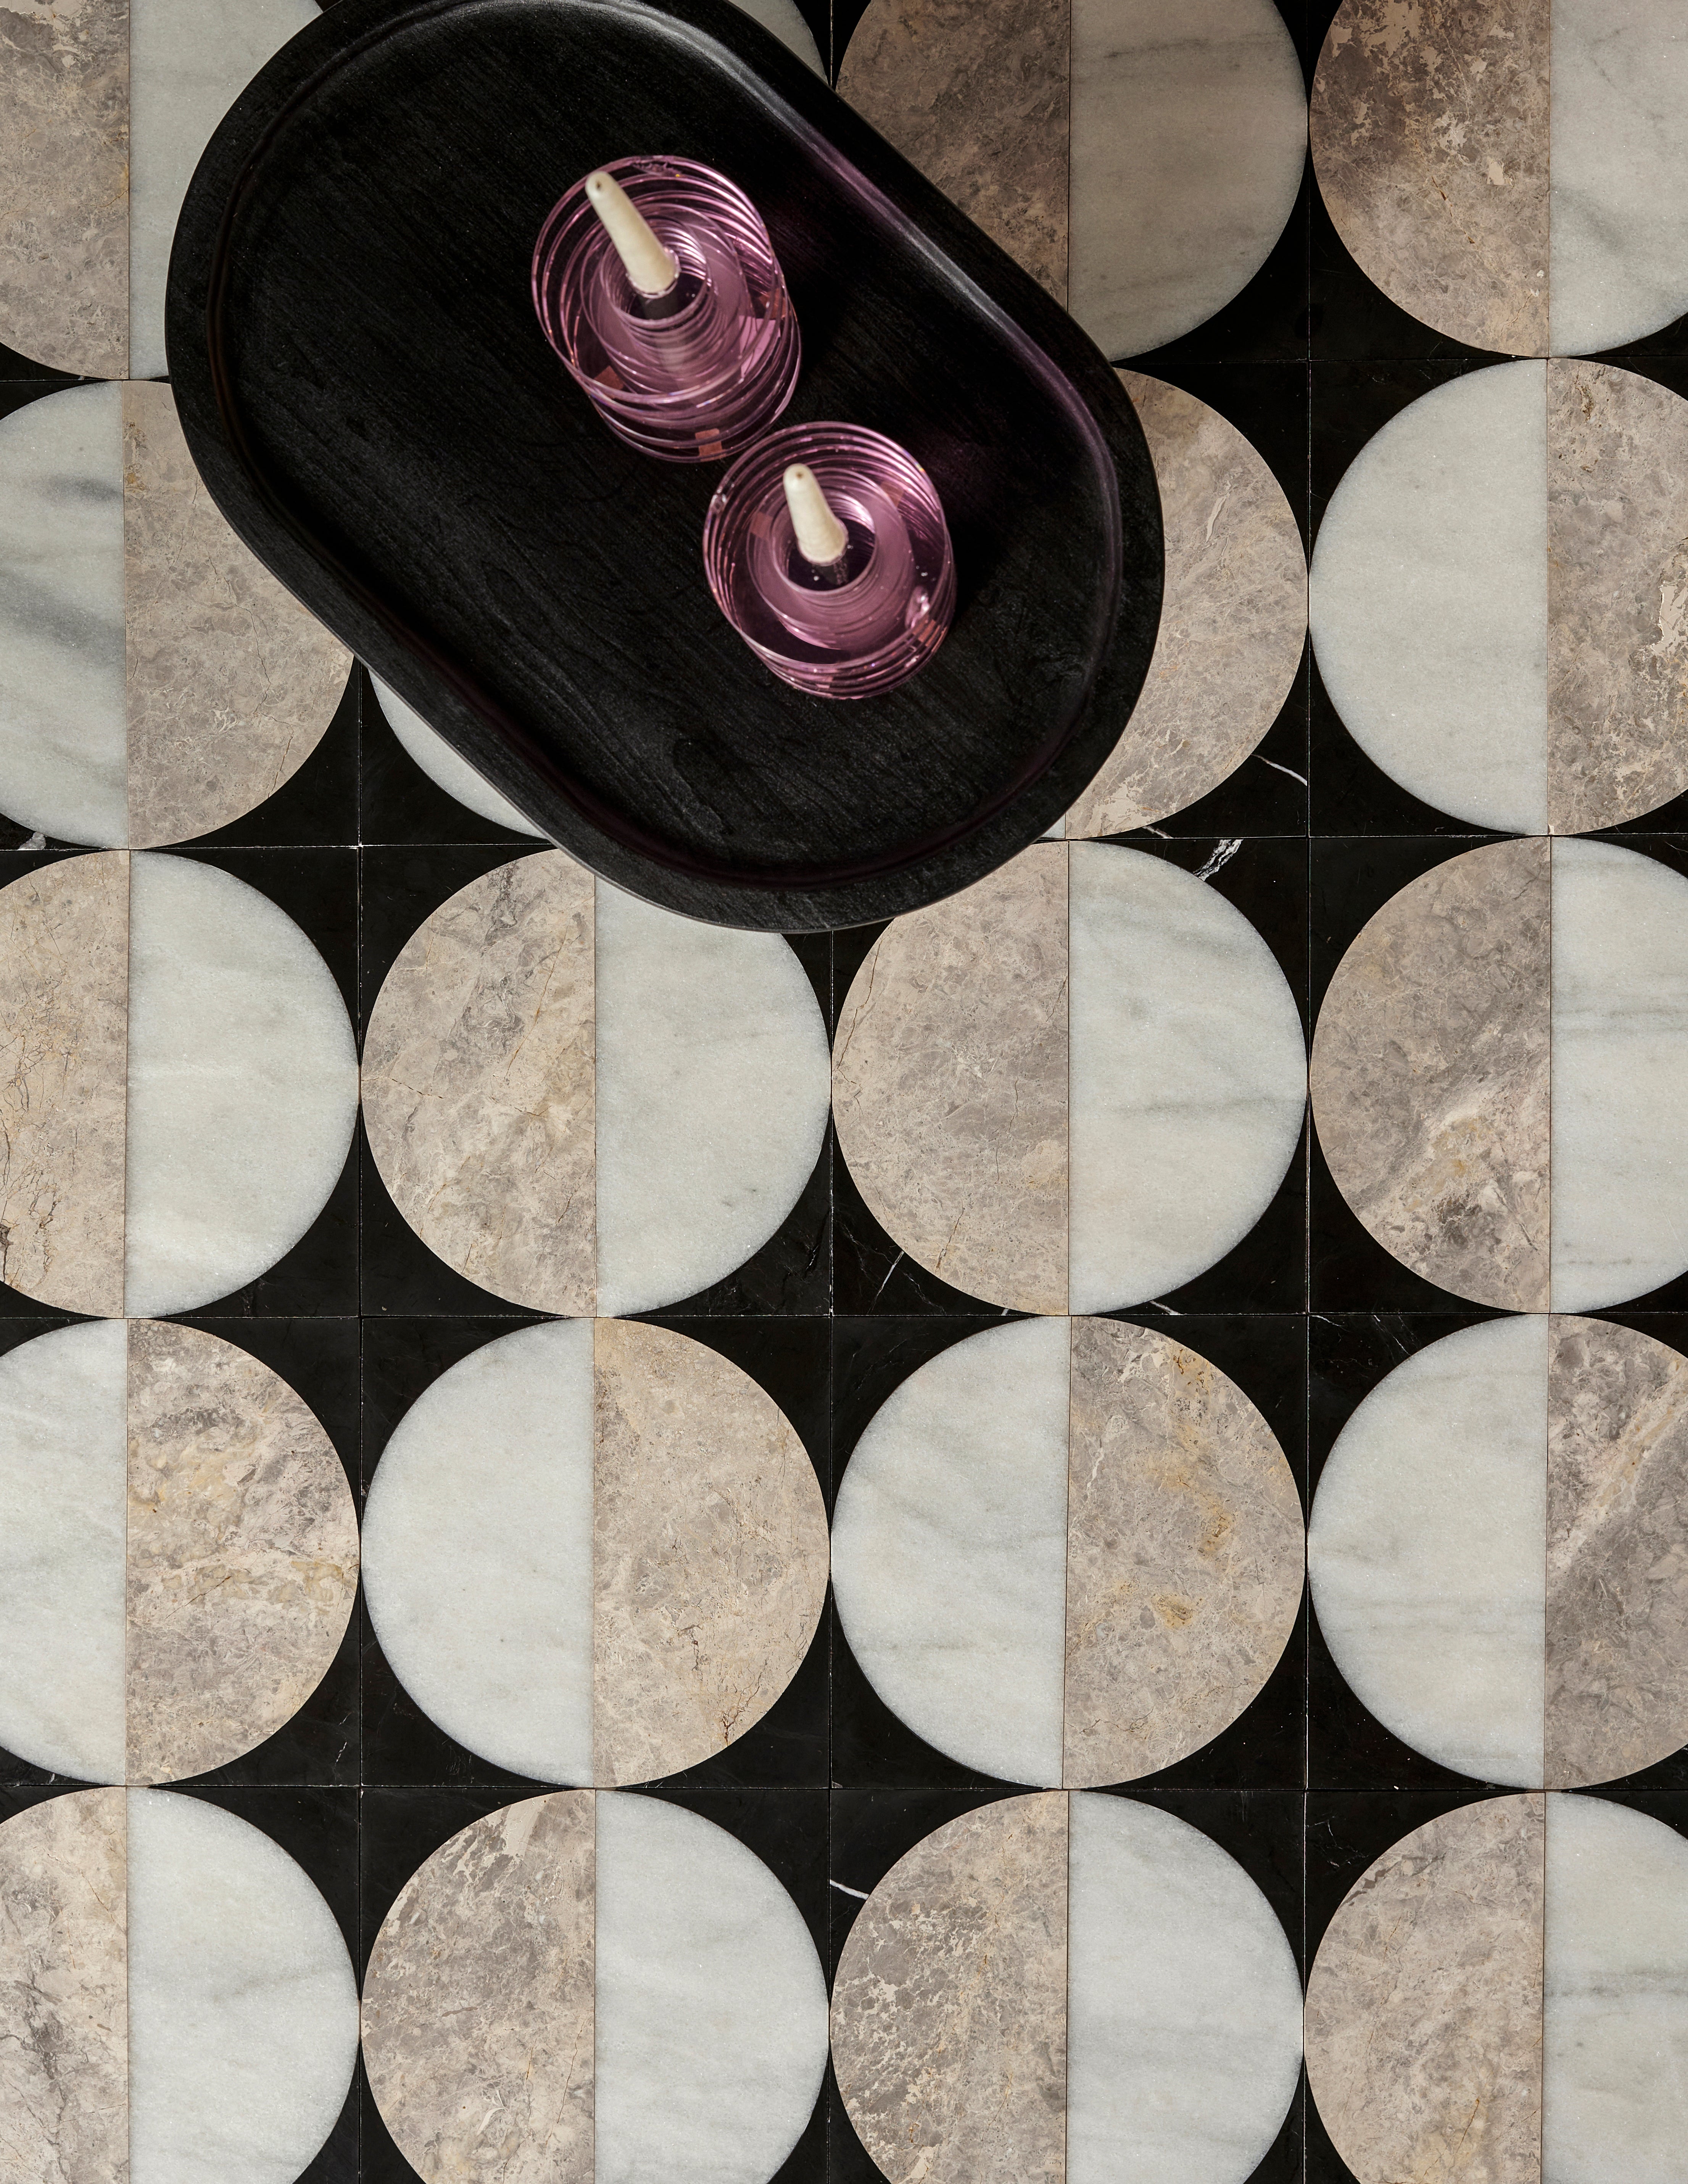
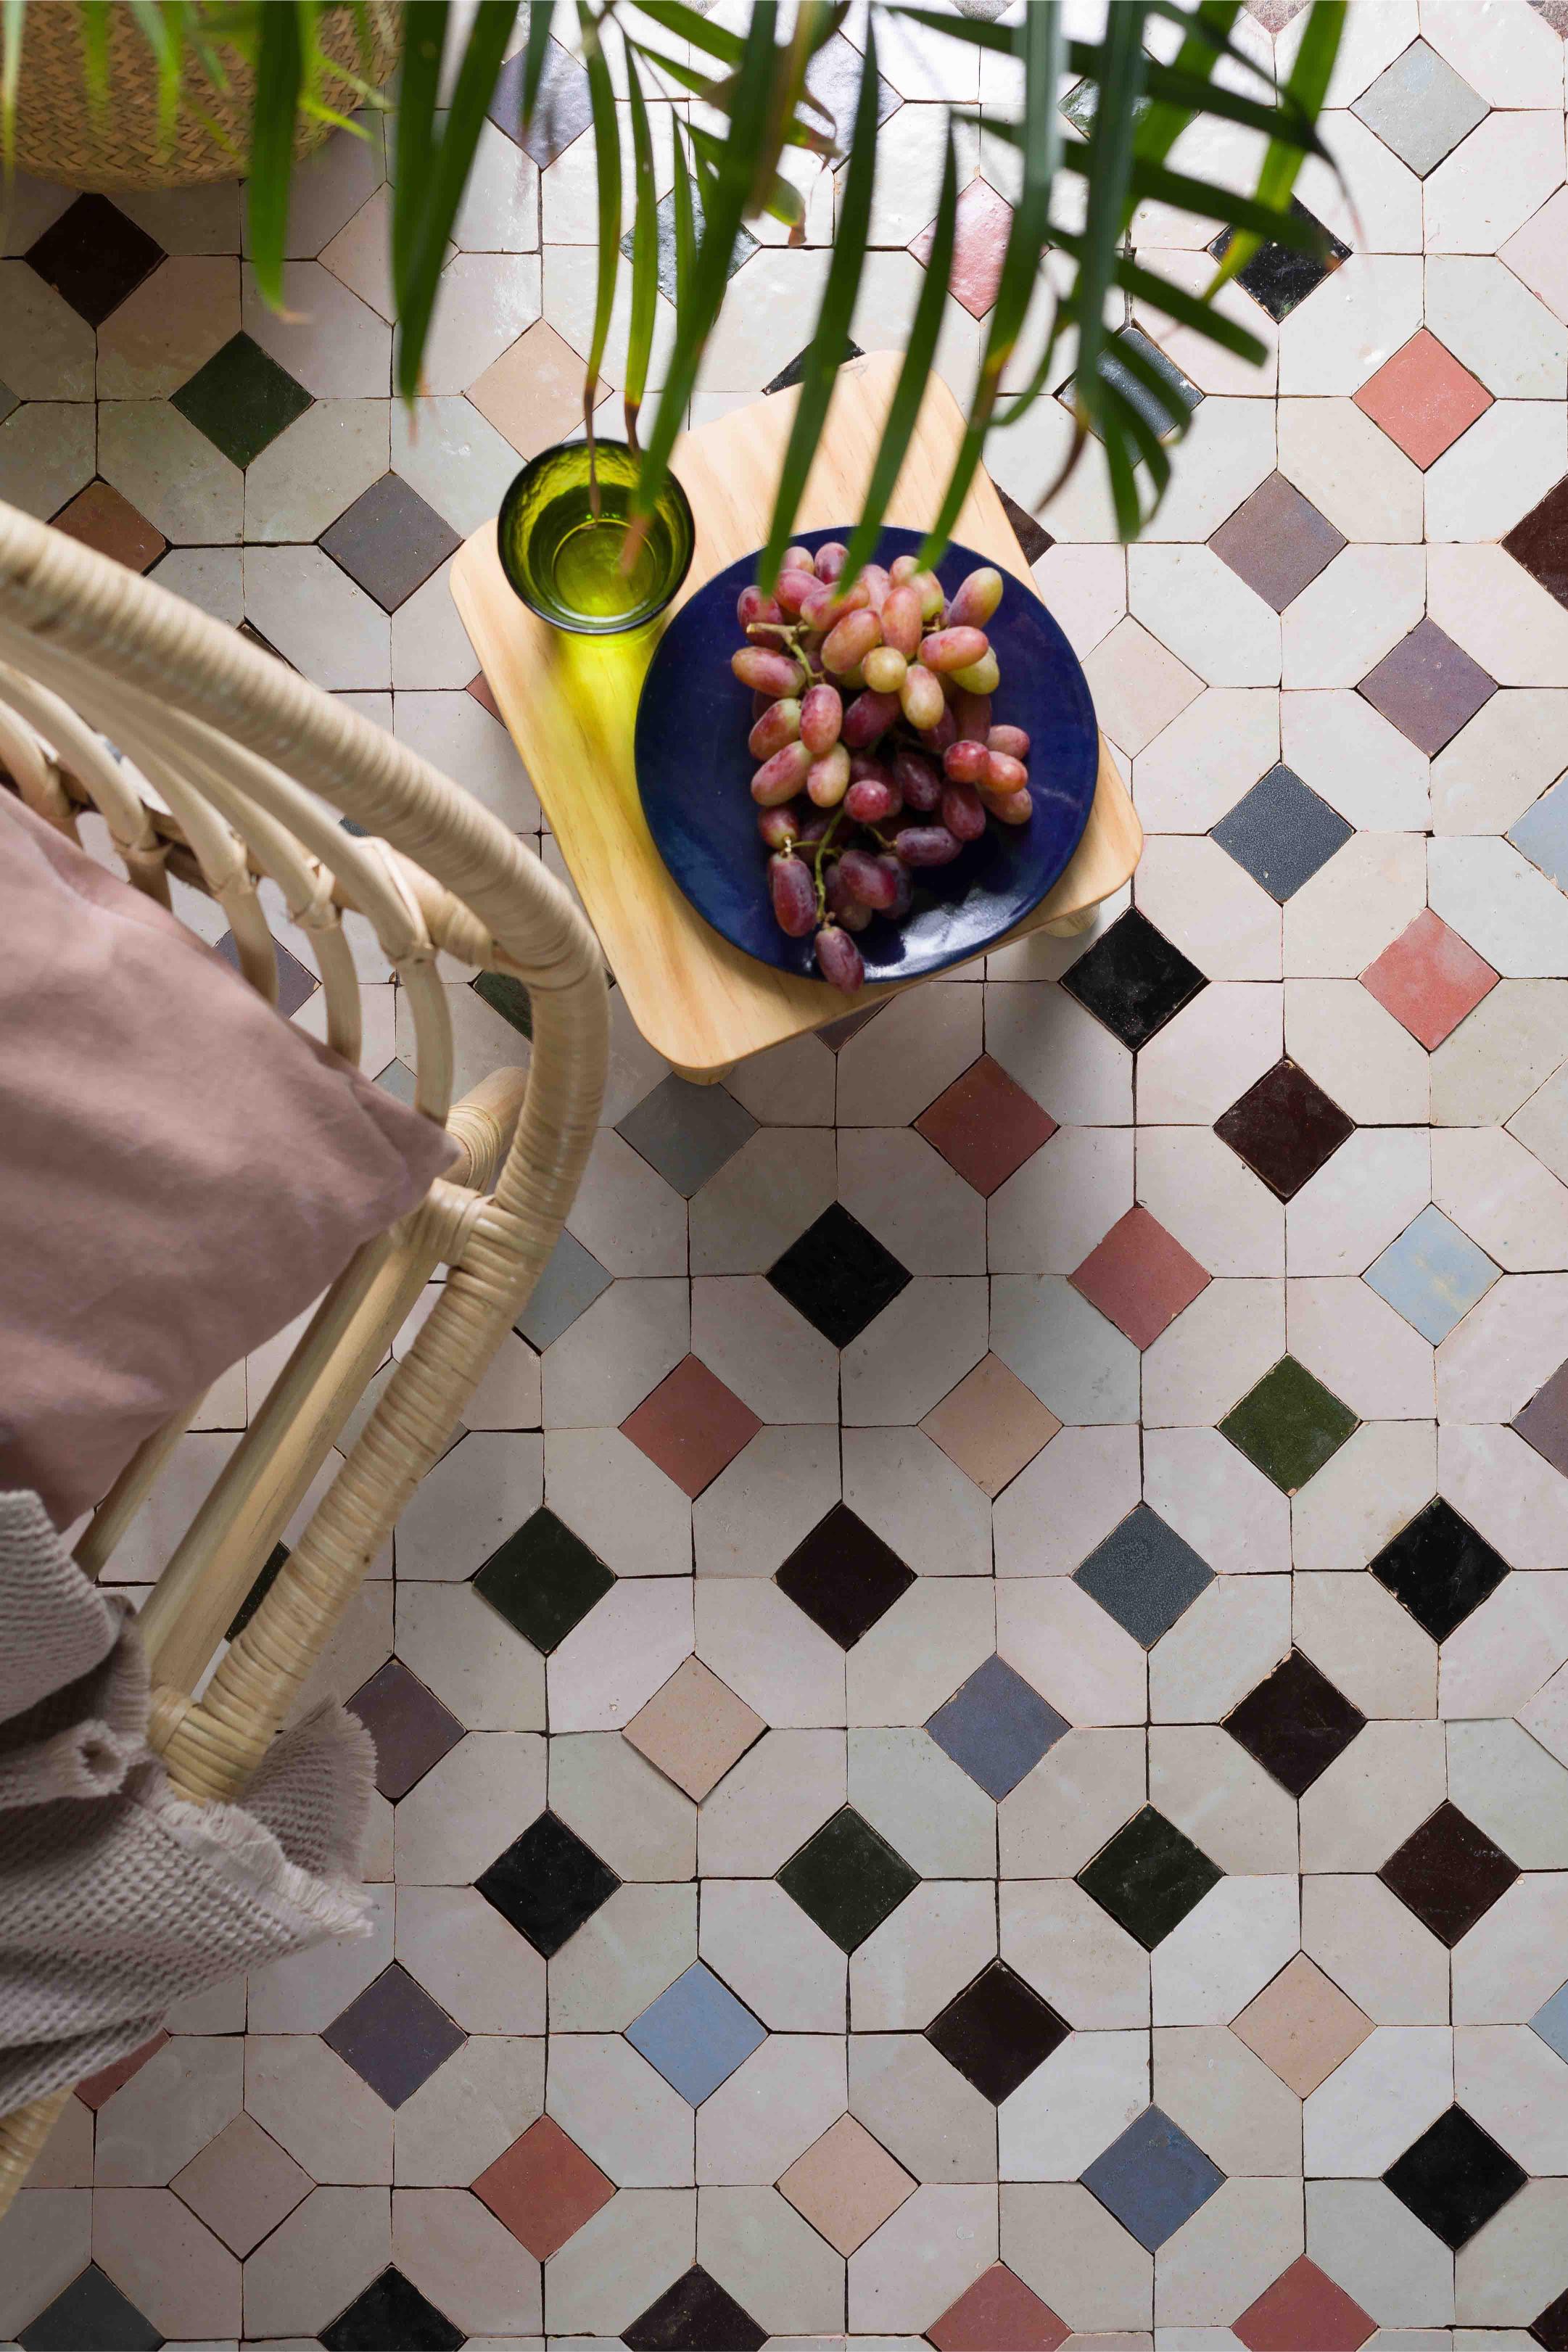
Unexpectedly Matched
You may not have thought of mixing and matching herringbone tiles, but this layout is proof of how well it can work. Bringing an authentic Moroccan flavor to the floor, the Bejmat Terracotta tile is an earthy counterpoint to the jewel tones of the Bejmat Dark Green tiles.
Decked Out
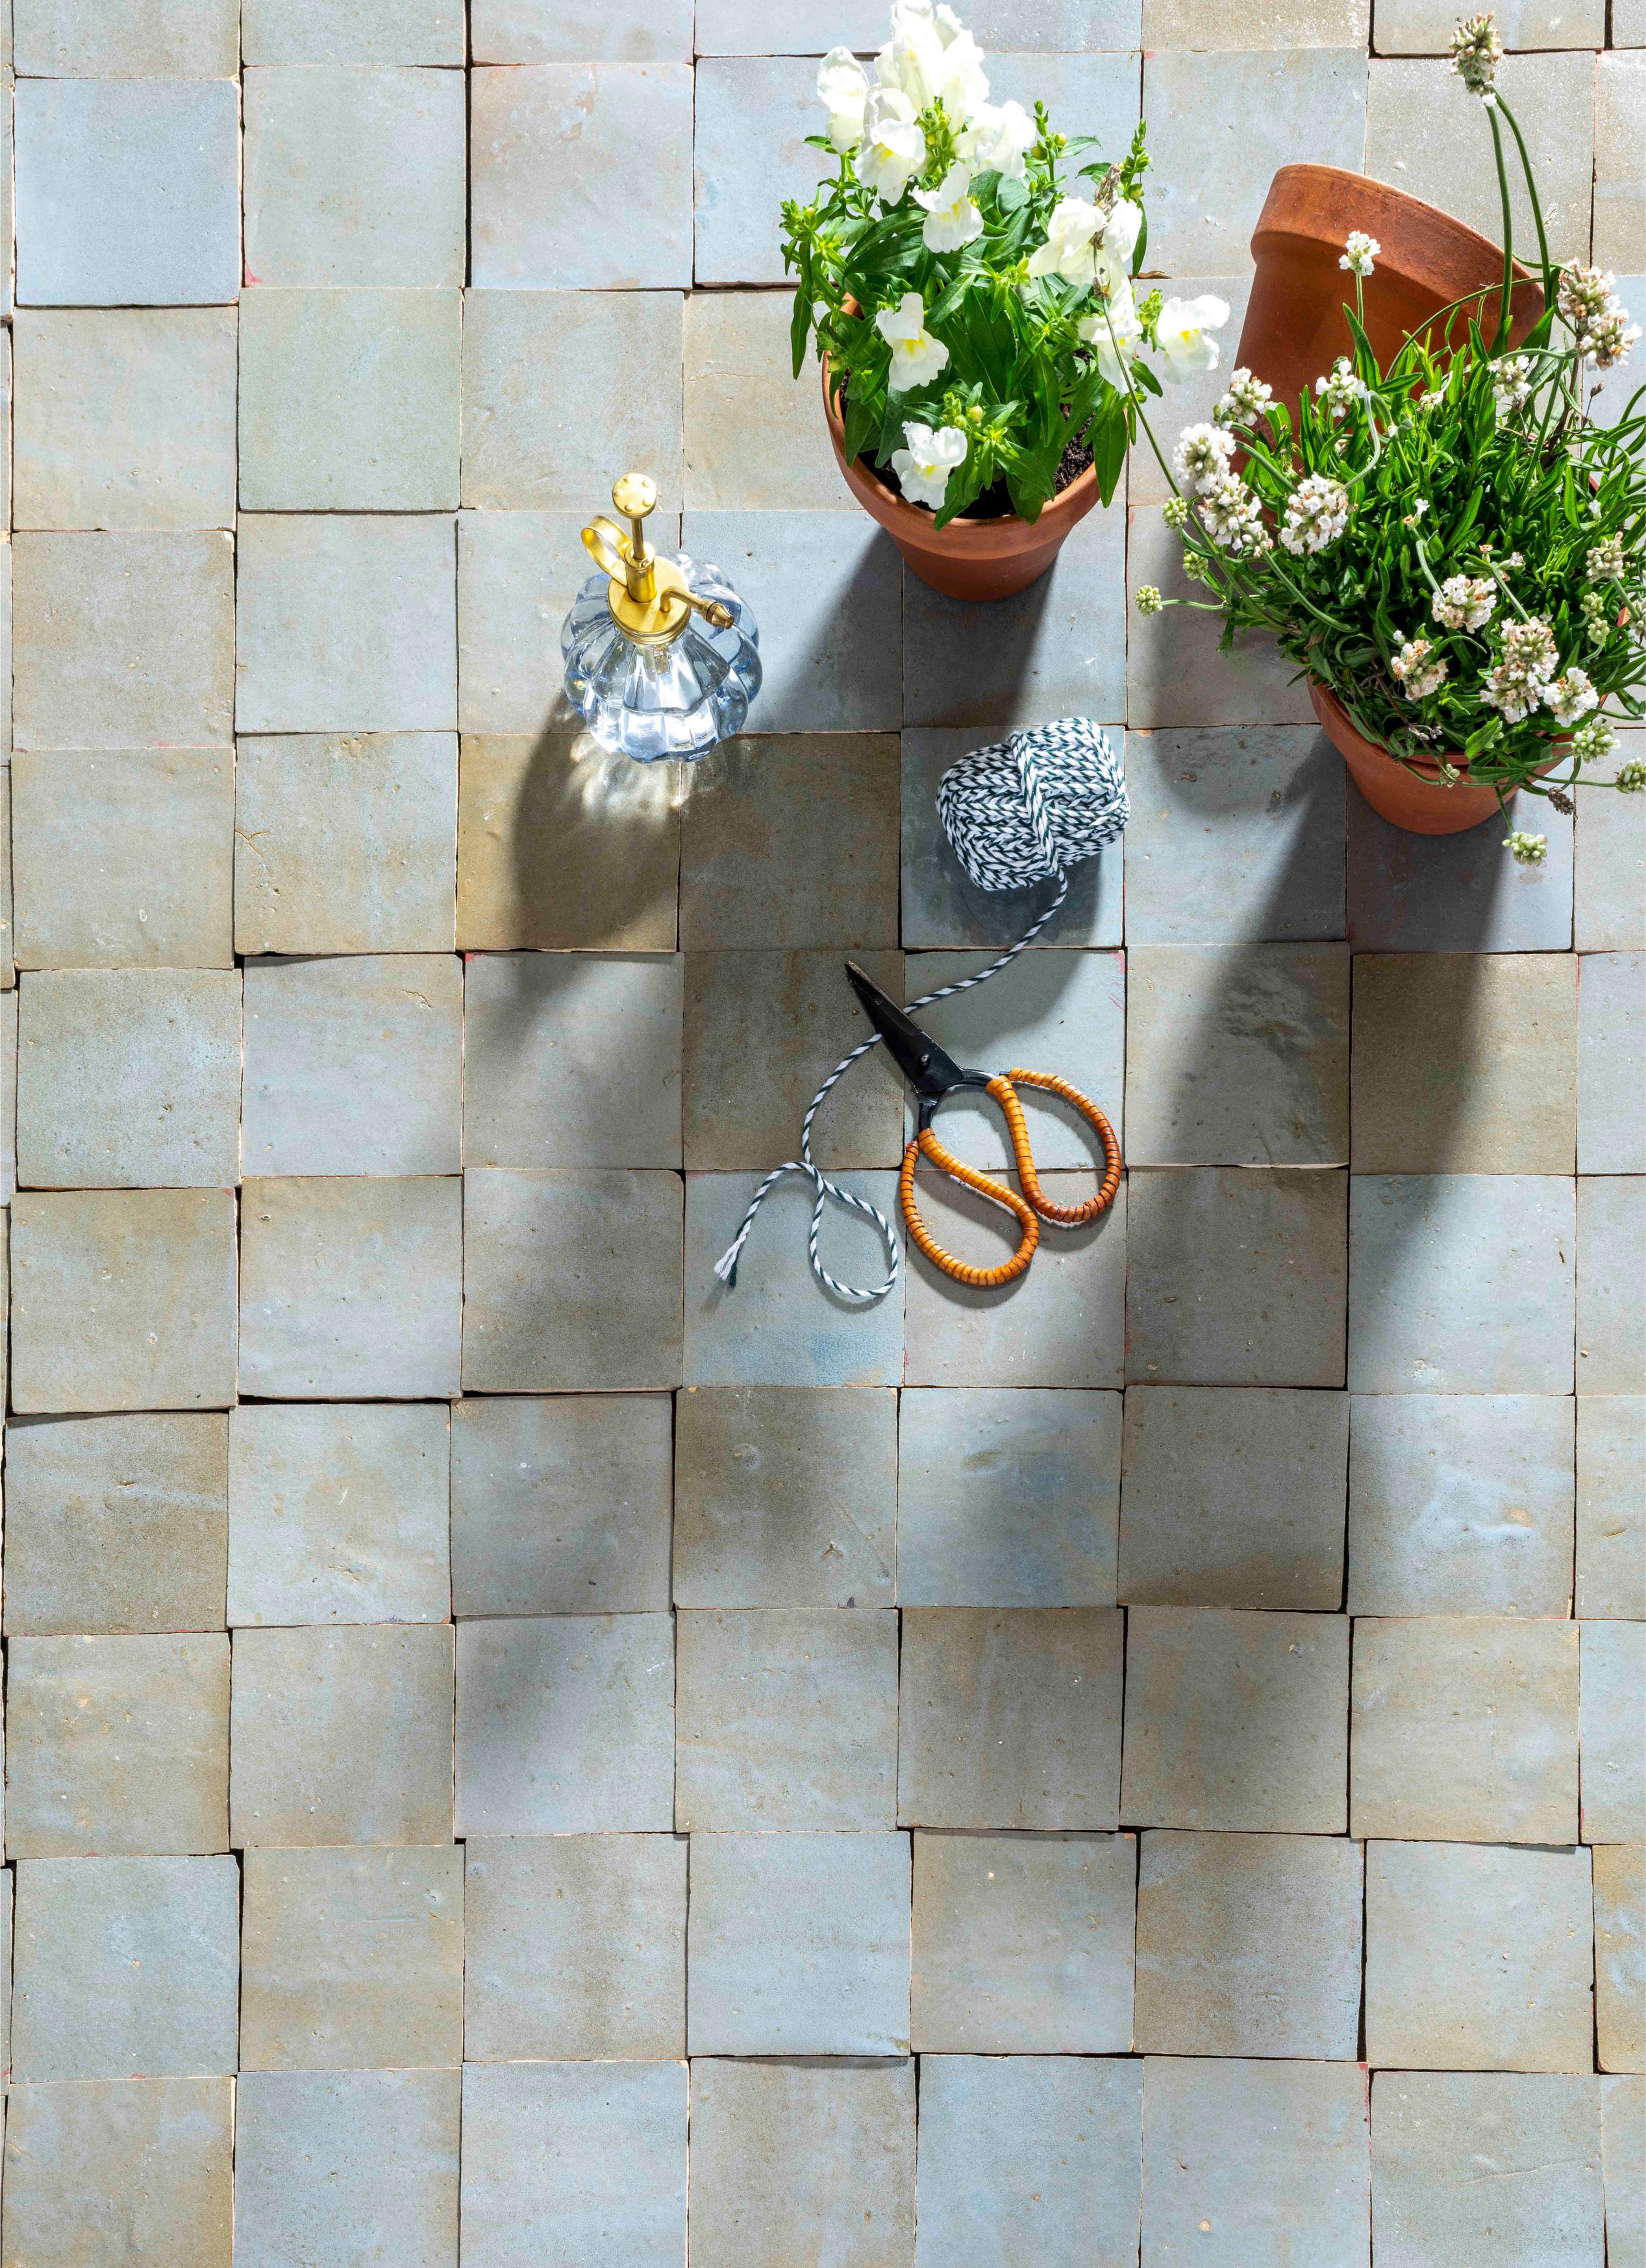
Earthy, warm, and effortlessly beautiful, this Bejmat Terracotta display is made for sun-drenched patios and decks.
Emerald City
Oz’s Emerald City has nothing on this shower that’s radiant in jewel tones, thanks to Bejmat Dark Green tiles, arranged in this enticing herringbone pattern.
And there’s no need for a yellow brick road when you have a green one…these Dark Green Bejmat Tiles are a gorgeous way to cover a floor, especially with the zellige tiles’ innate color variations that really show off here.
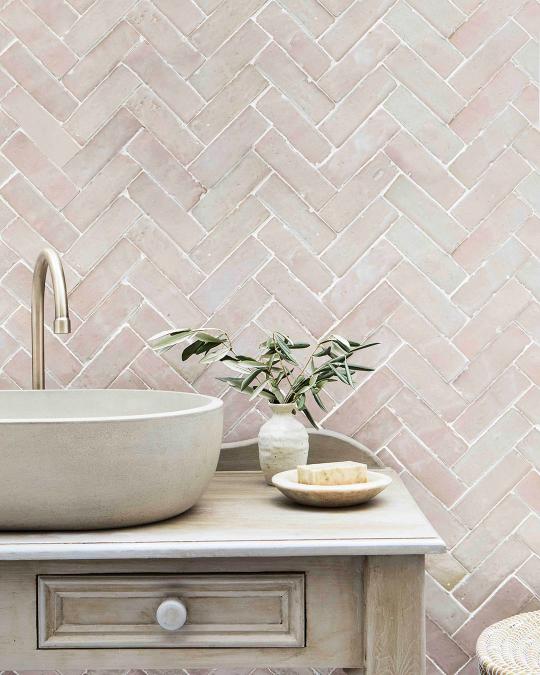
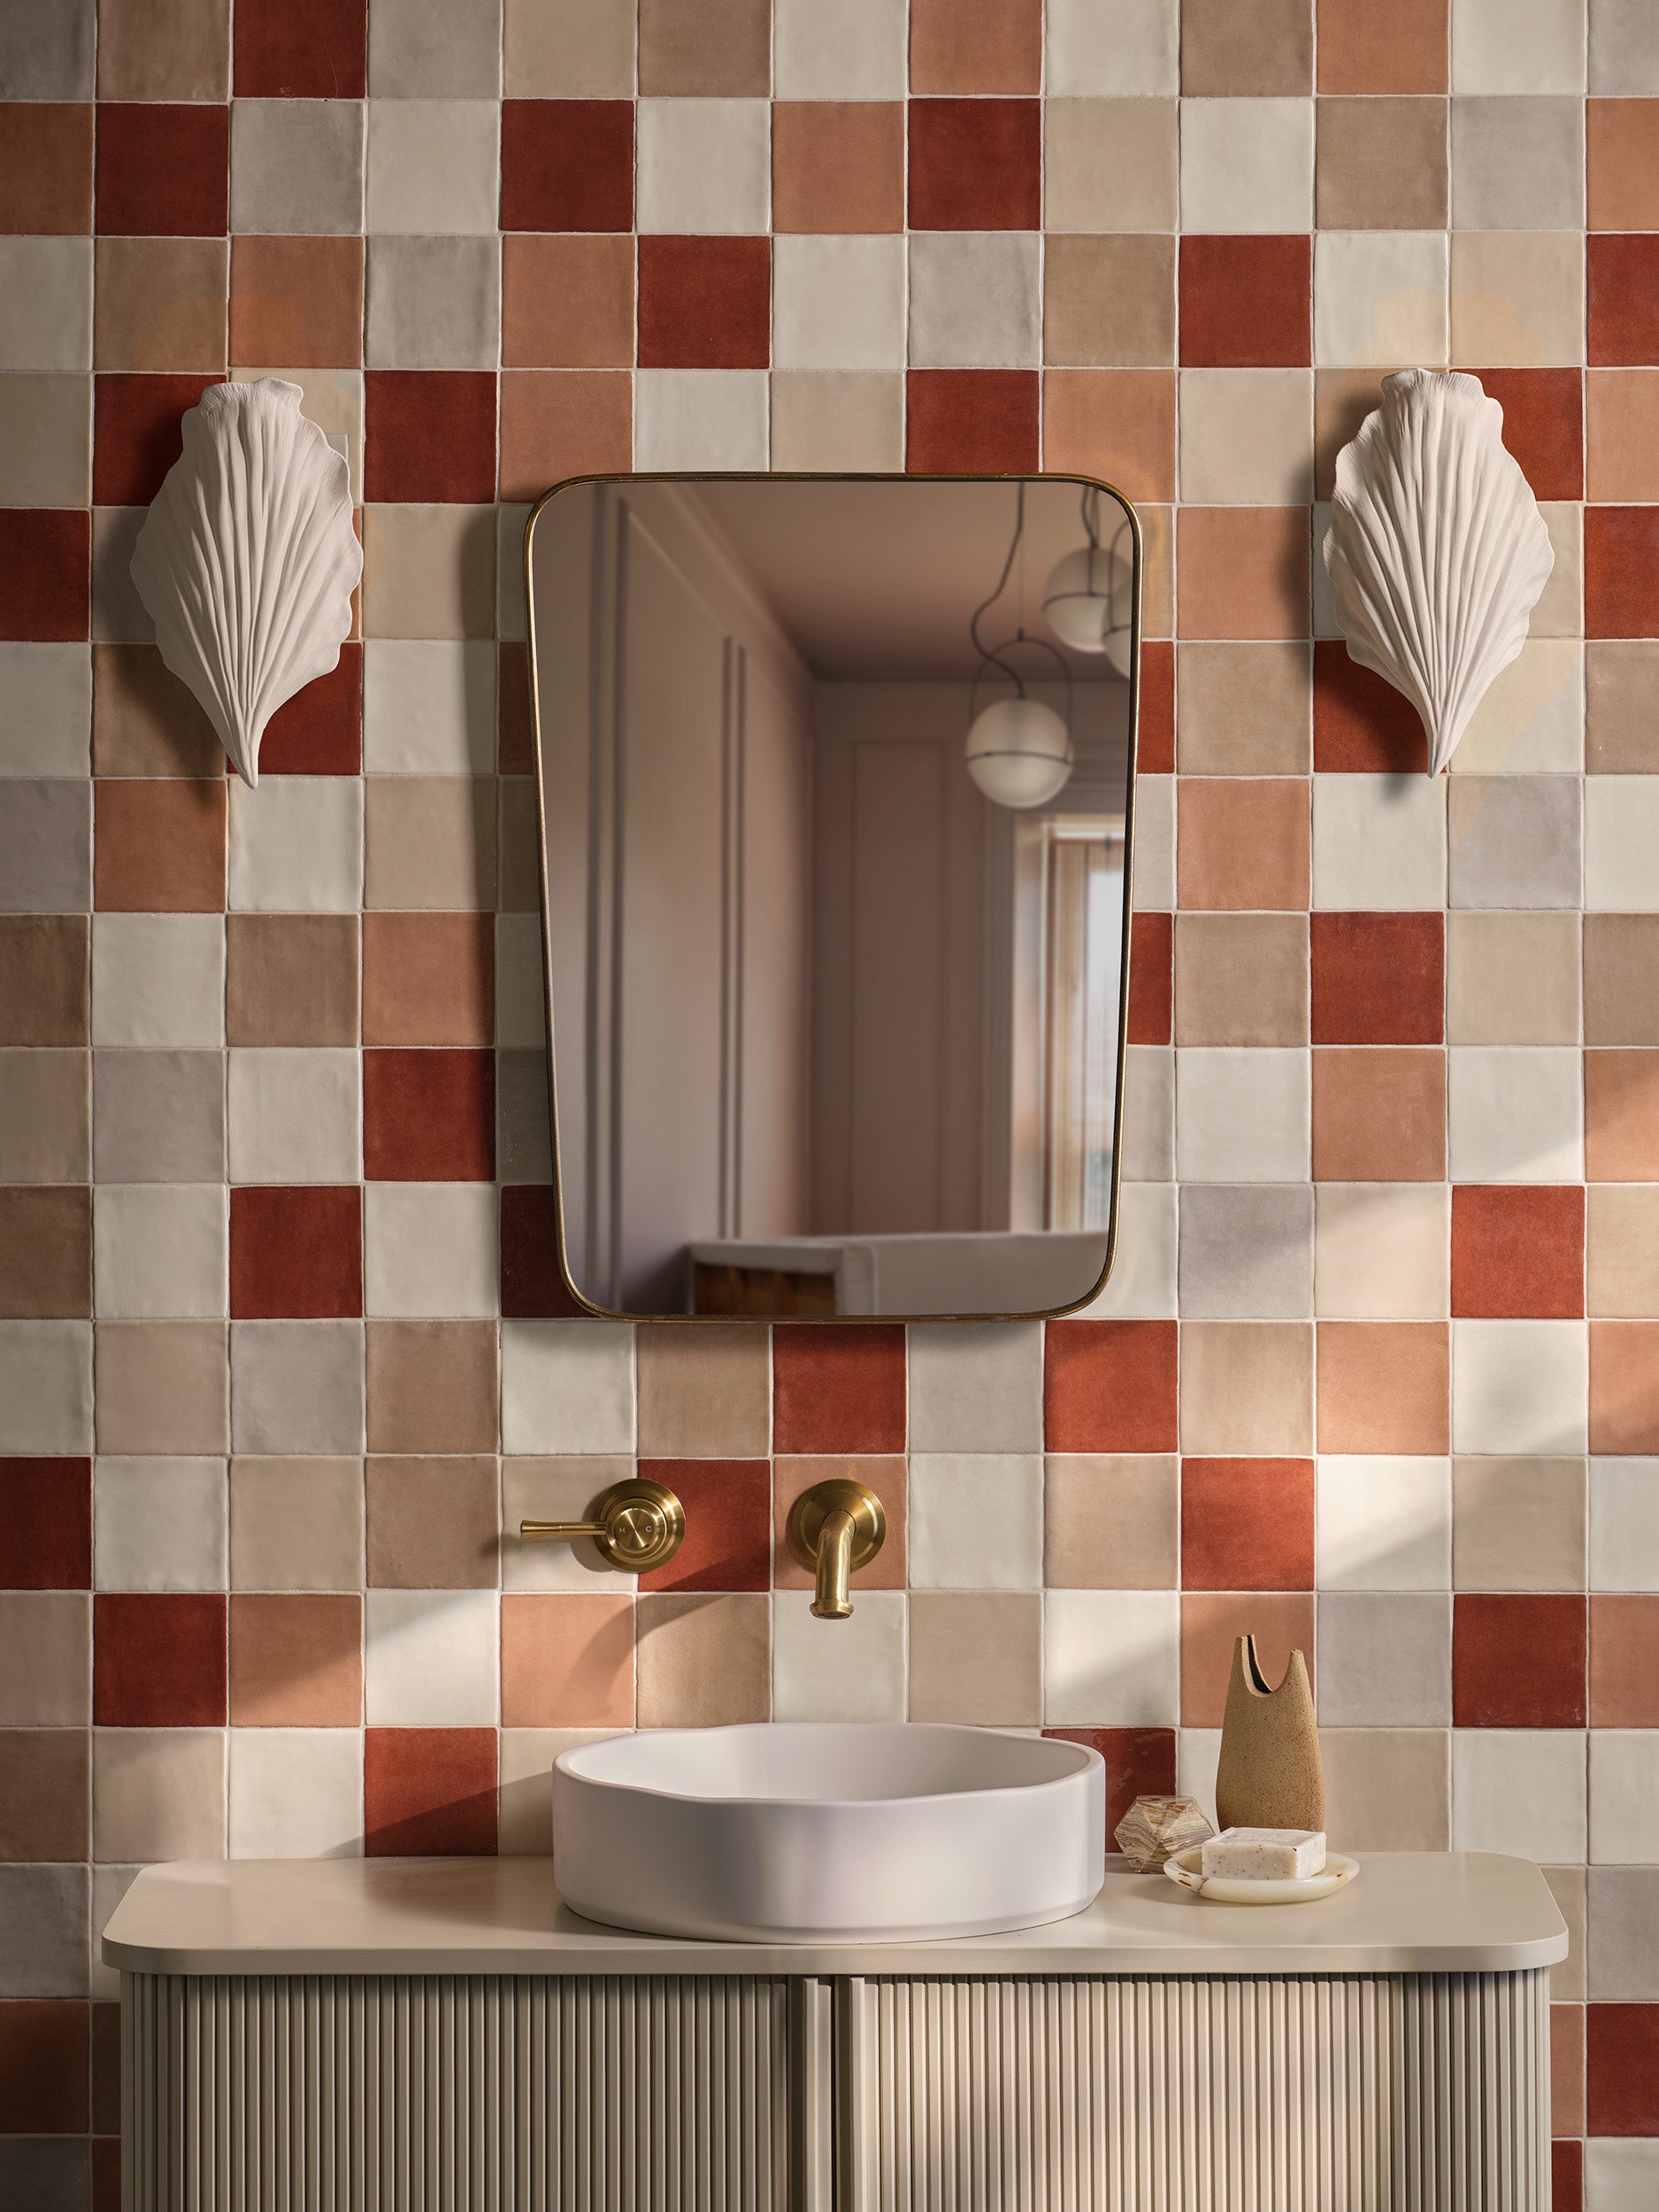
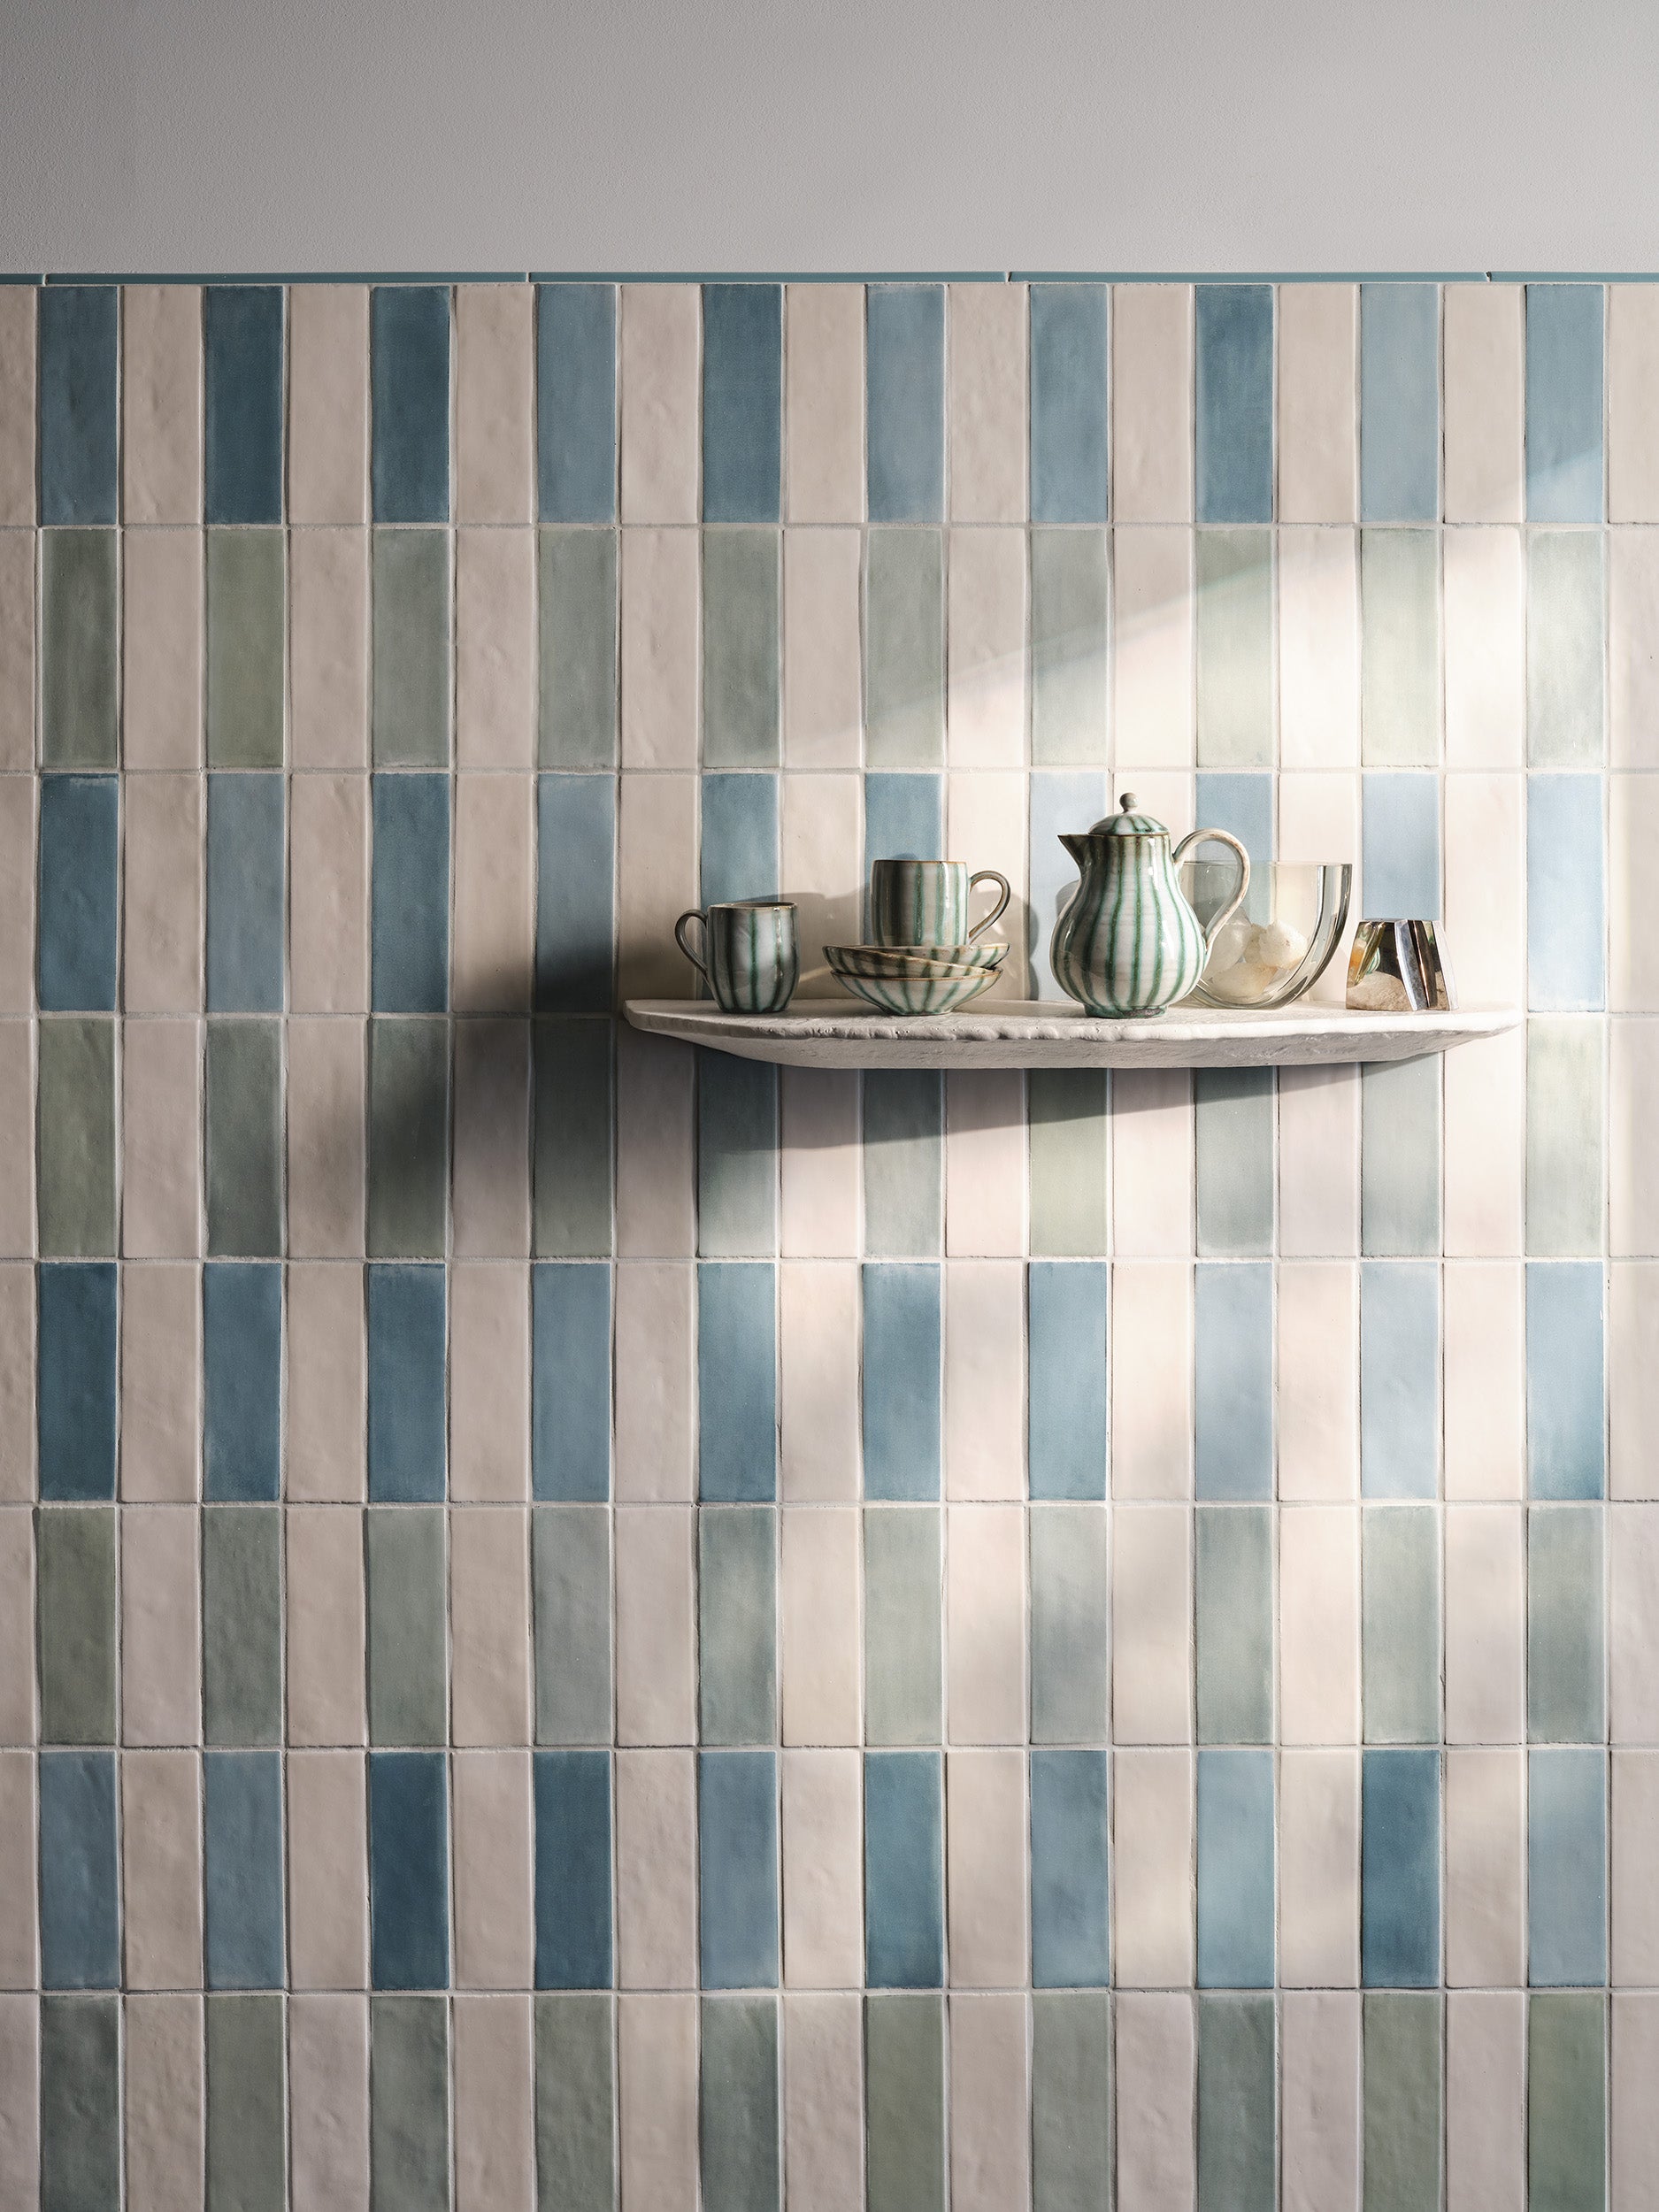
Half-Wall Wonder
The Bejmat Ecru Rose has a calming allure with its softly sweet tones. But it’s no wallflower, especially when laid in a herringbone pattern for an accent wall that acts as both backsplash and geometric art.
Herringbone Tile Installation
When it comes to installing any type of tile, many homeowners choose to hire a professional team to ensure the smoothest and best outcome. After all, a good product must be combined with a good installation for the perfect result.
At Otto Tile & Design, we can help you find an expert installer specializing in the tile you’ve selected and the specific herringbone pattern.
For homeowners with DIY experience who feel equipped to install tile, here are some installation tips and tricks, specifically for the herringbone pattern.
DIY Herringbone Tile Installation Tips
Installing herringbone tile requires precision and planning. Understanding how to lay a herringbone tile pattern correctly is one of the most important keys to achieving a professional, beautifully symmetrical result.
Because of the interlocking zigzag layout, even small alignment mistakes can compound quickly.
Layout and Planning Considerations
Before you actually start the installation process, here are some tips for how to lay herringbone tiles:
-
Find your center. Something to keep in mind is that most herringbone layouts start from the center of the wall or floor. The reason? It ensures a sense of balance and balanced cuts on each side.
-
Dry-lay your pattern. Laying tiles out before applying adhesive allows you to confirm spacing, pattern direction, and cut placement before you make any big installation moves.
-
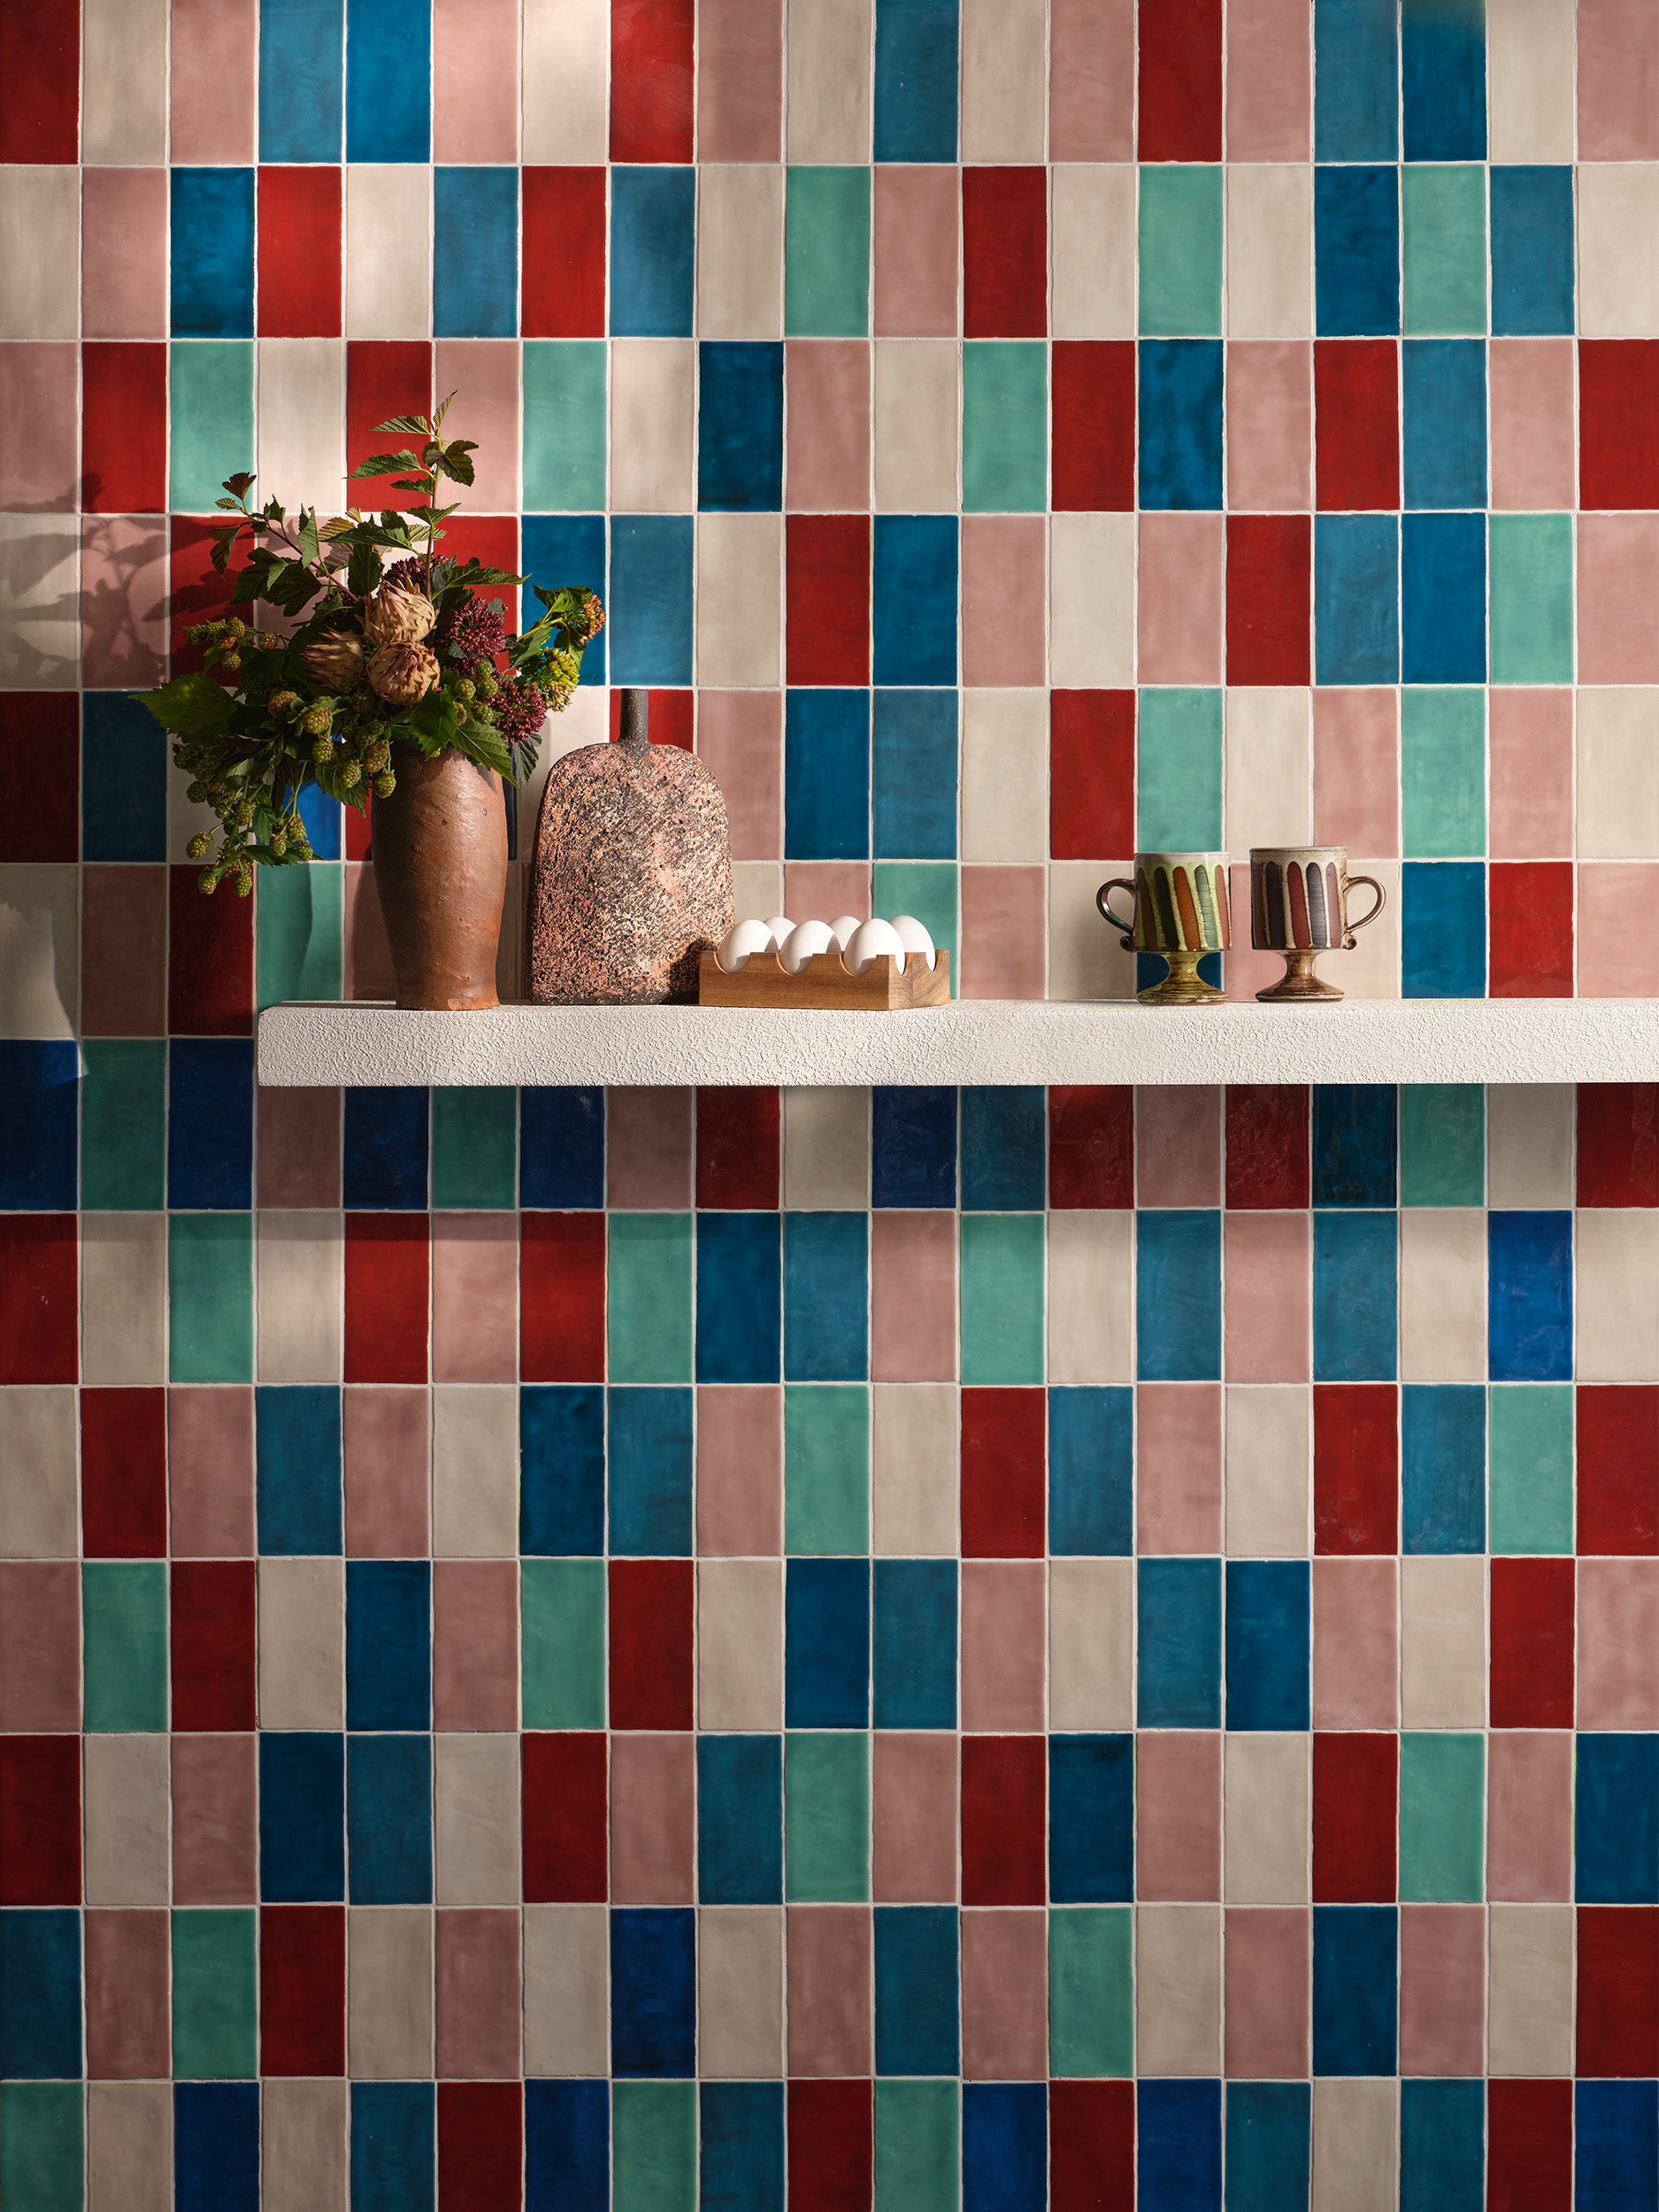
Choose your direction intentionally. Vertical herringbone (points facing up and down) draws the eye upward. This can be a great option for backsplashes, showers, and fireplaces. Horizontal herringbone layouts (points facing sideways) widen a space and enhance a room’s width, making it a great layout for floors.
-
Order extra tile. Herringbone layouts typically require 10% to 15% more tile due to cuts and pattern matching, so just keep that in mind as you place your order.
Grout Line Width
Grout size dramatically impacts the final appearance of your herringbone tile. Here are a few things you may want to consider:
-
Standard grout lines, which are typically 1/16”–1/8”, will help to highlight the zigzag pattern and create definition.
-
Tighter grout lines can create a more seamless appearance that can also feel more modern.
-
If you use a contrasting grout color to the tile, you will emphasize the zigzag effect of the herringbone pattern.
-
If you color-match the grout to the tile, the herringbone pattern softens for a more subtle finish.
The Dry Stack Look
You may have seen herringbone tile installed in a “dry stack” style, also called a "tight joint" installation. This type of installation skips the grout entirely or minimizes visible grout lines for a sleek, contemporary finish. While true, grout-free installation is not recommended for all applications, you can achieve a dry-stack appearance by:
-
Using precision-cut tiles (porcelain works especially well for this)
-
Selecting very thin grout joints — 1/16” or less
-
Matching your grout color closely to the tile color
Keep in mind that floors and wet areas still require proper grout for stability and moisture protection, and it’s important to follow grout spacing recommendations for your specific tile material — like ceramic, cement, zellige, or natural stone — to avoid cracking or movement over time.
Additional Best Practices
Even if you’ve installed square or subway tile before, expect herringbone tile to take longer than you might have experienced previously due to pattern alignment and cuts. Here are a few more pro tips to keep in mind:
-
Take the time to ensure you have the proper layout and centering for your herringbone pattern before you begin the actual installation.
-
Use tile spacers consistently, because even slight changes in the grout lines are magnified and become more noticeable with the herringbone pattern.
-
Work in small sections at a time and check your tile alignment every few rows, as the herringbone pattern isn’t very forgiving with errors.
-
If you don’t already have one, rent a high-quality wet saw for clean, accurate cuts.
Herringbone Tile Care and Maintenance
The process for herringbone tile care and maintenance ultimately depends on the material you choose.
For example, cement and natural stone tiles are more porous and require periodic sealing, especially in high-traffic areas. A topical sealer such as Fila Surface Solutions Matt Wax can help protect the surface and keep it looking as good as the day it was installed.
Conversely, glazed ceramic, porcelain, and many zellige tiles are naturally less porous and typically don’t require the same level of sealing as cement and natural stone, making them a bit easier to maintain in busy kitchens and bathrooms.
No matter the material, a few simple cleaning and maintenance tips can go a long way. Here are some things to keep in mind:
-
Put the sweeper to work regularly to remove dirt, dust, and debris.
-
Use a soft cloth and mild, pH-neutral cleaner, like Miracle Tile and Stone Cleaner, for routine cleaning.
-
Wipe up spills quickly to avoid staining or damage.
-
Wipe down tiles and grout that are exposed to moisture-rich environments.
-
Avoid abrasive tools that can damage tile surfaces or grout.
Where to Buy Herringbone Tile
With this as your guide, it’s time to pick your herringbone tile, order your samples, and bring your vision to life!
Remember: With herringbone tile, quality counts, especially when creating a living work of art and a beautiful, long-lasting result. That’s why it’s so important to get your herringbone tile from the best source with the biggest, most inspired collection.
Otto Tiles & Design is here to help you every tiled step of the way. As an international brand known for its high-quality, high-style selection of cement tile, Otto Tiles & Design elevates modern artisan craftsmanship with an innovative, design-forward approach.
In addition to statement-making herringbone tiles, you can find other artisan tiles online and in Otto’s showroom in Miami, Florida.

