Skip to content

Cart

Your cart is empty

Article: Transforming Your Bathroom: A Step-by-Step Guide

Transforming Your Bathroom: A Step-by-Step Guide

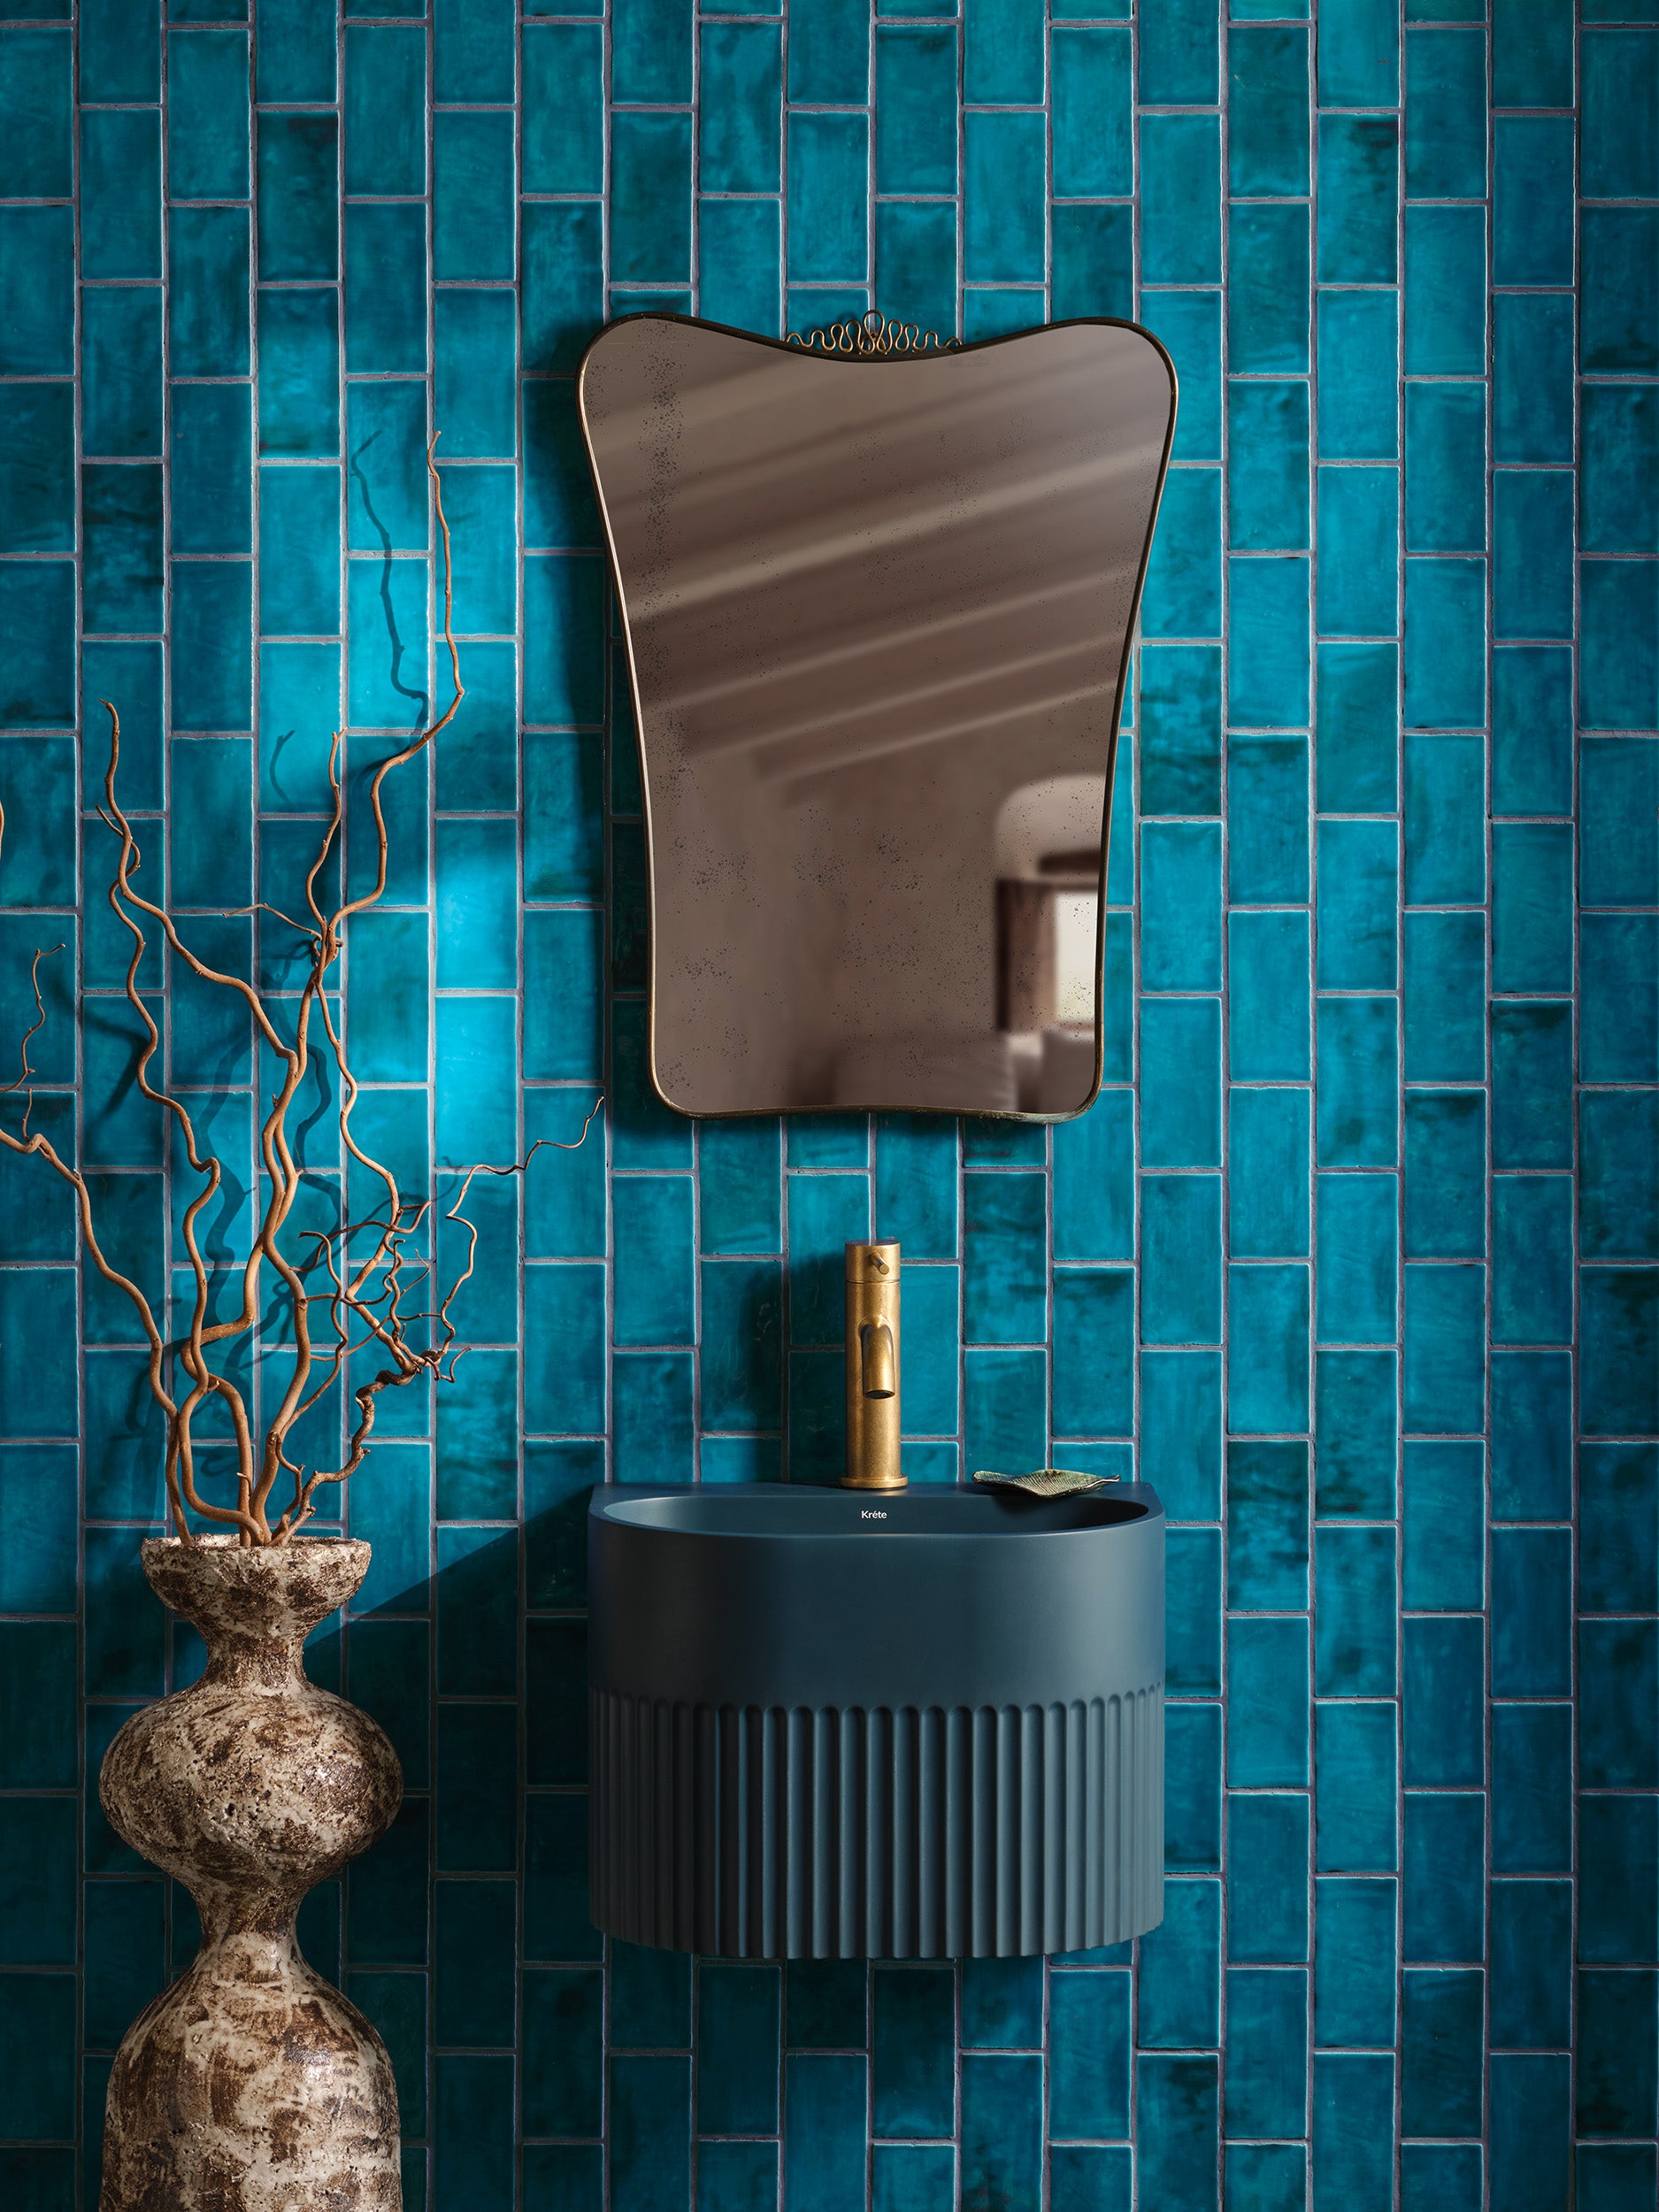
They say your bathroom reflects your mindset.

Dull tiles?

Tired vibe?

That’s not just décor — that’s energy.


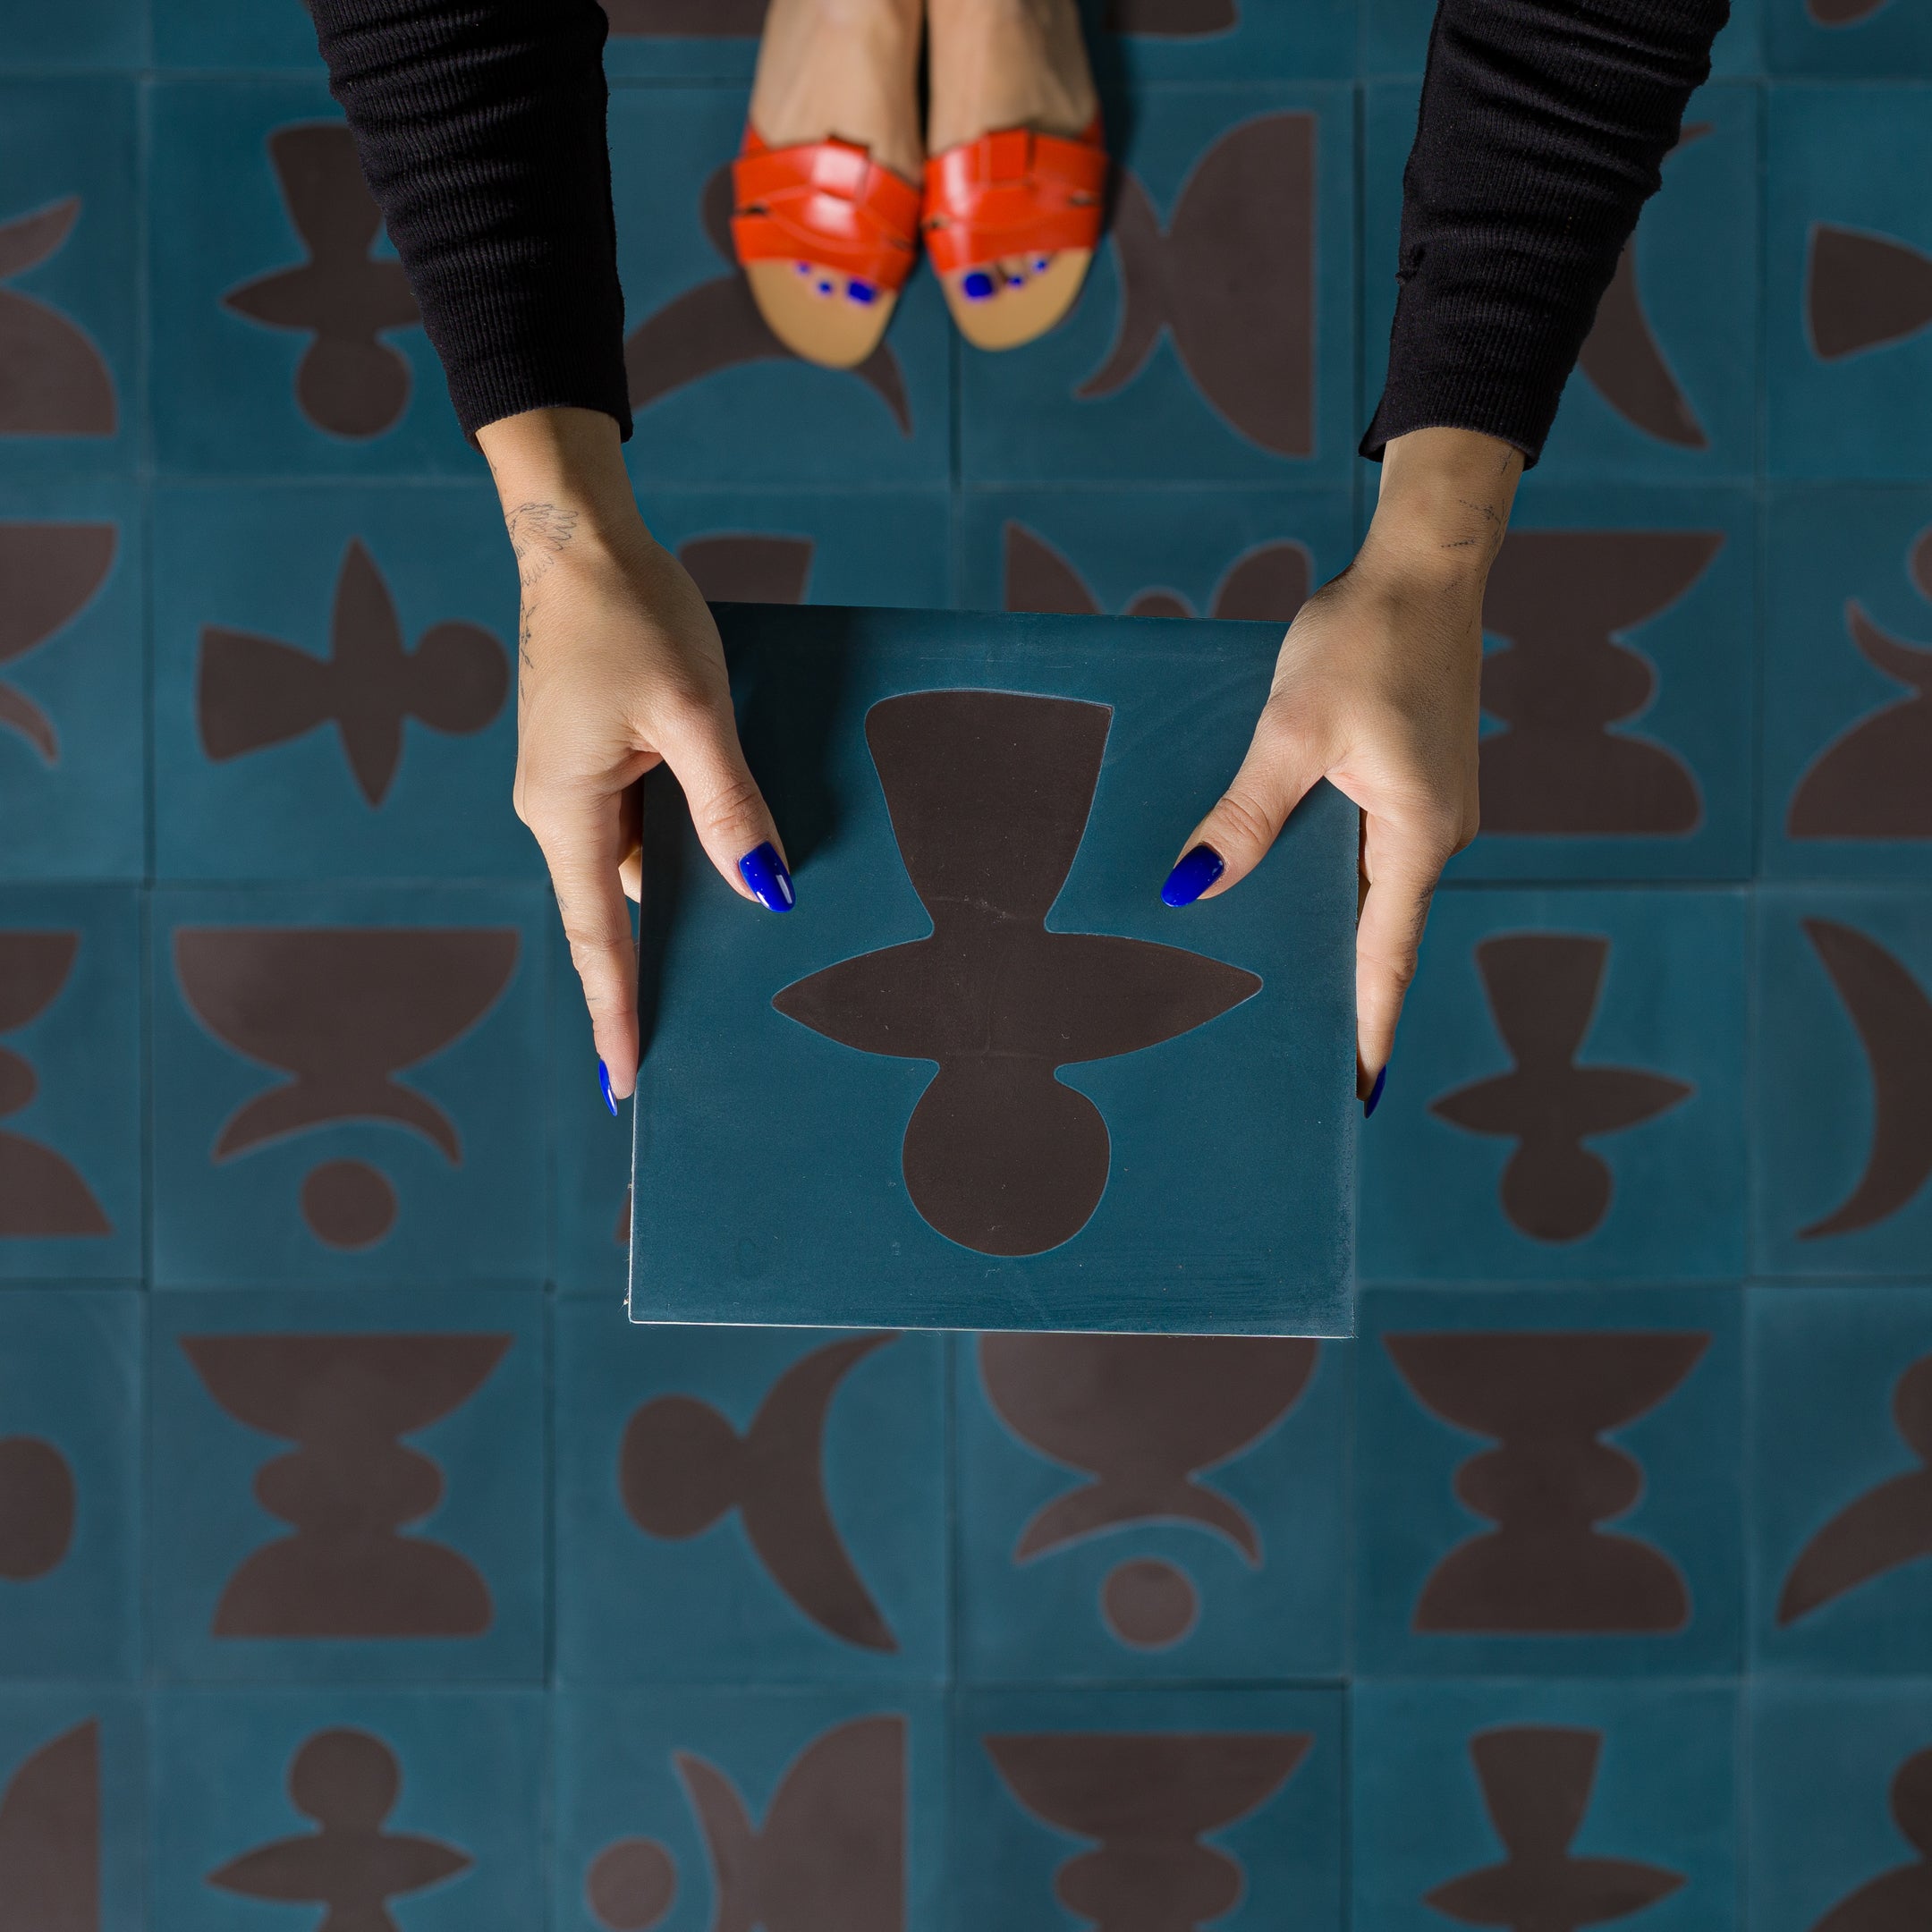
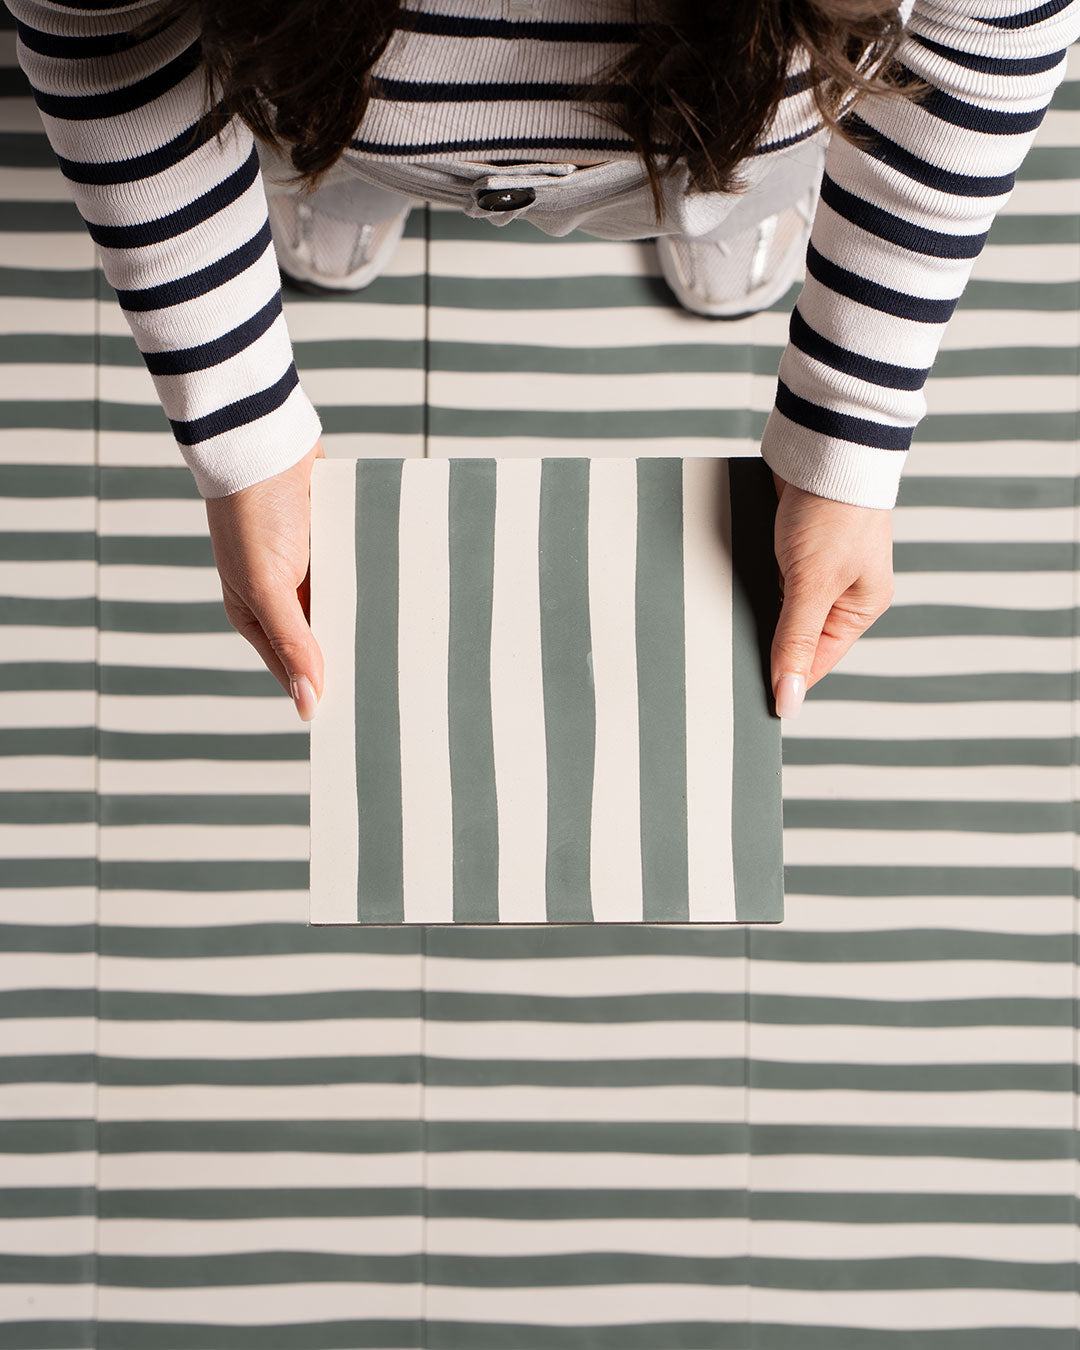
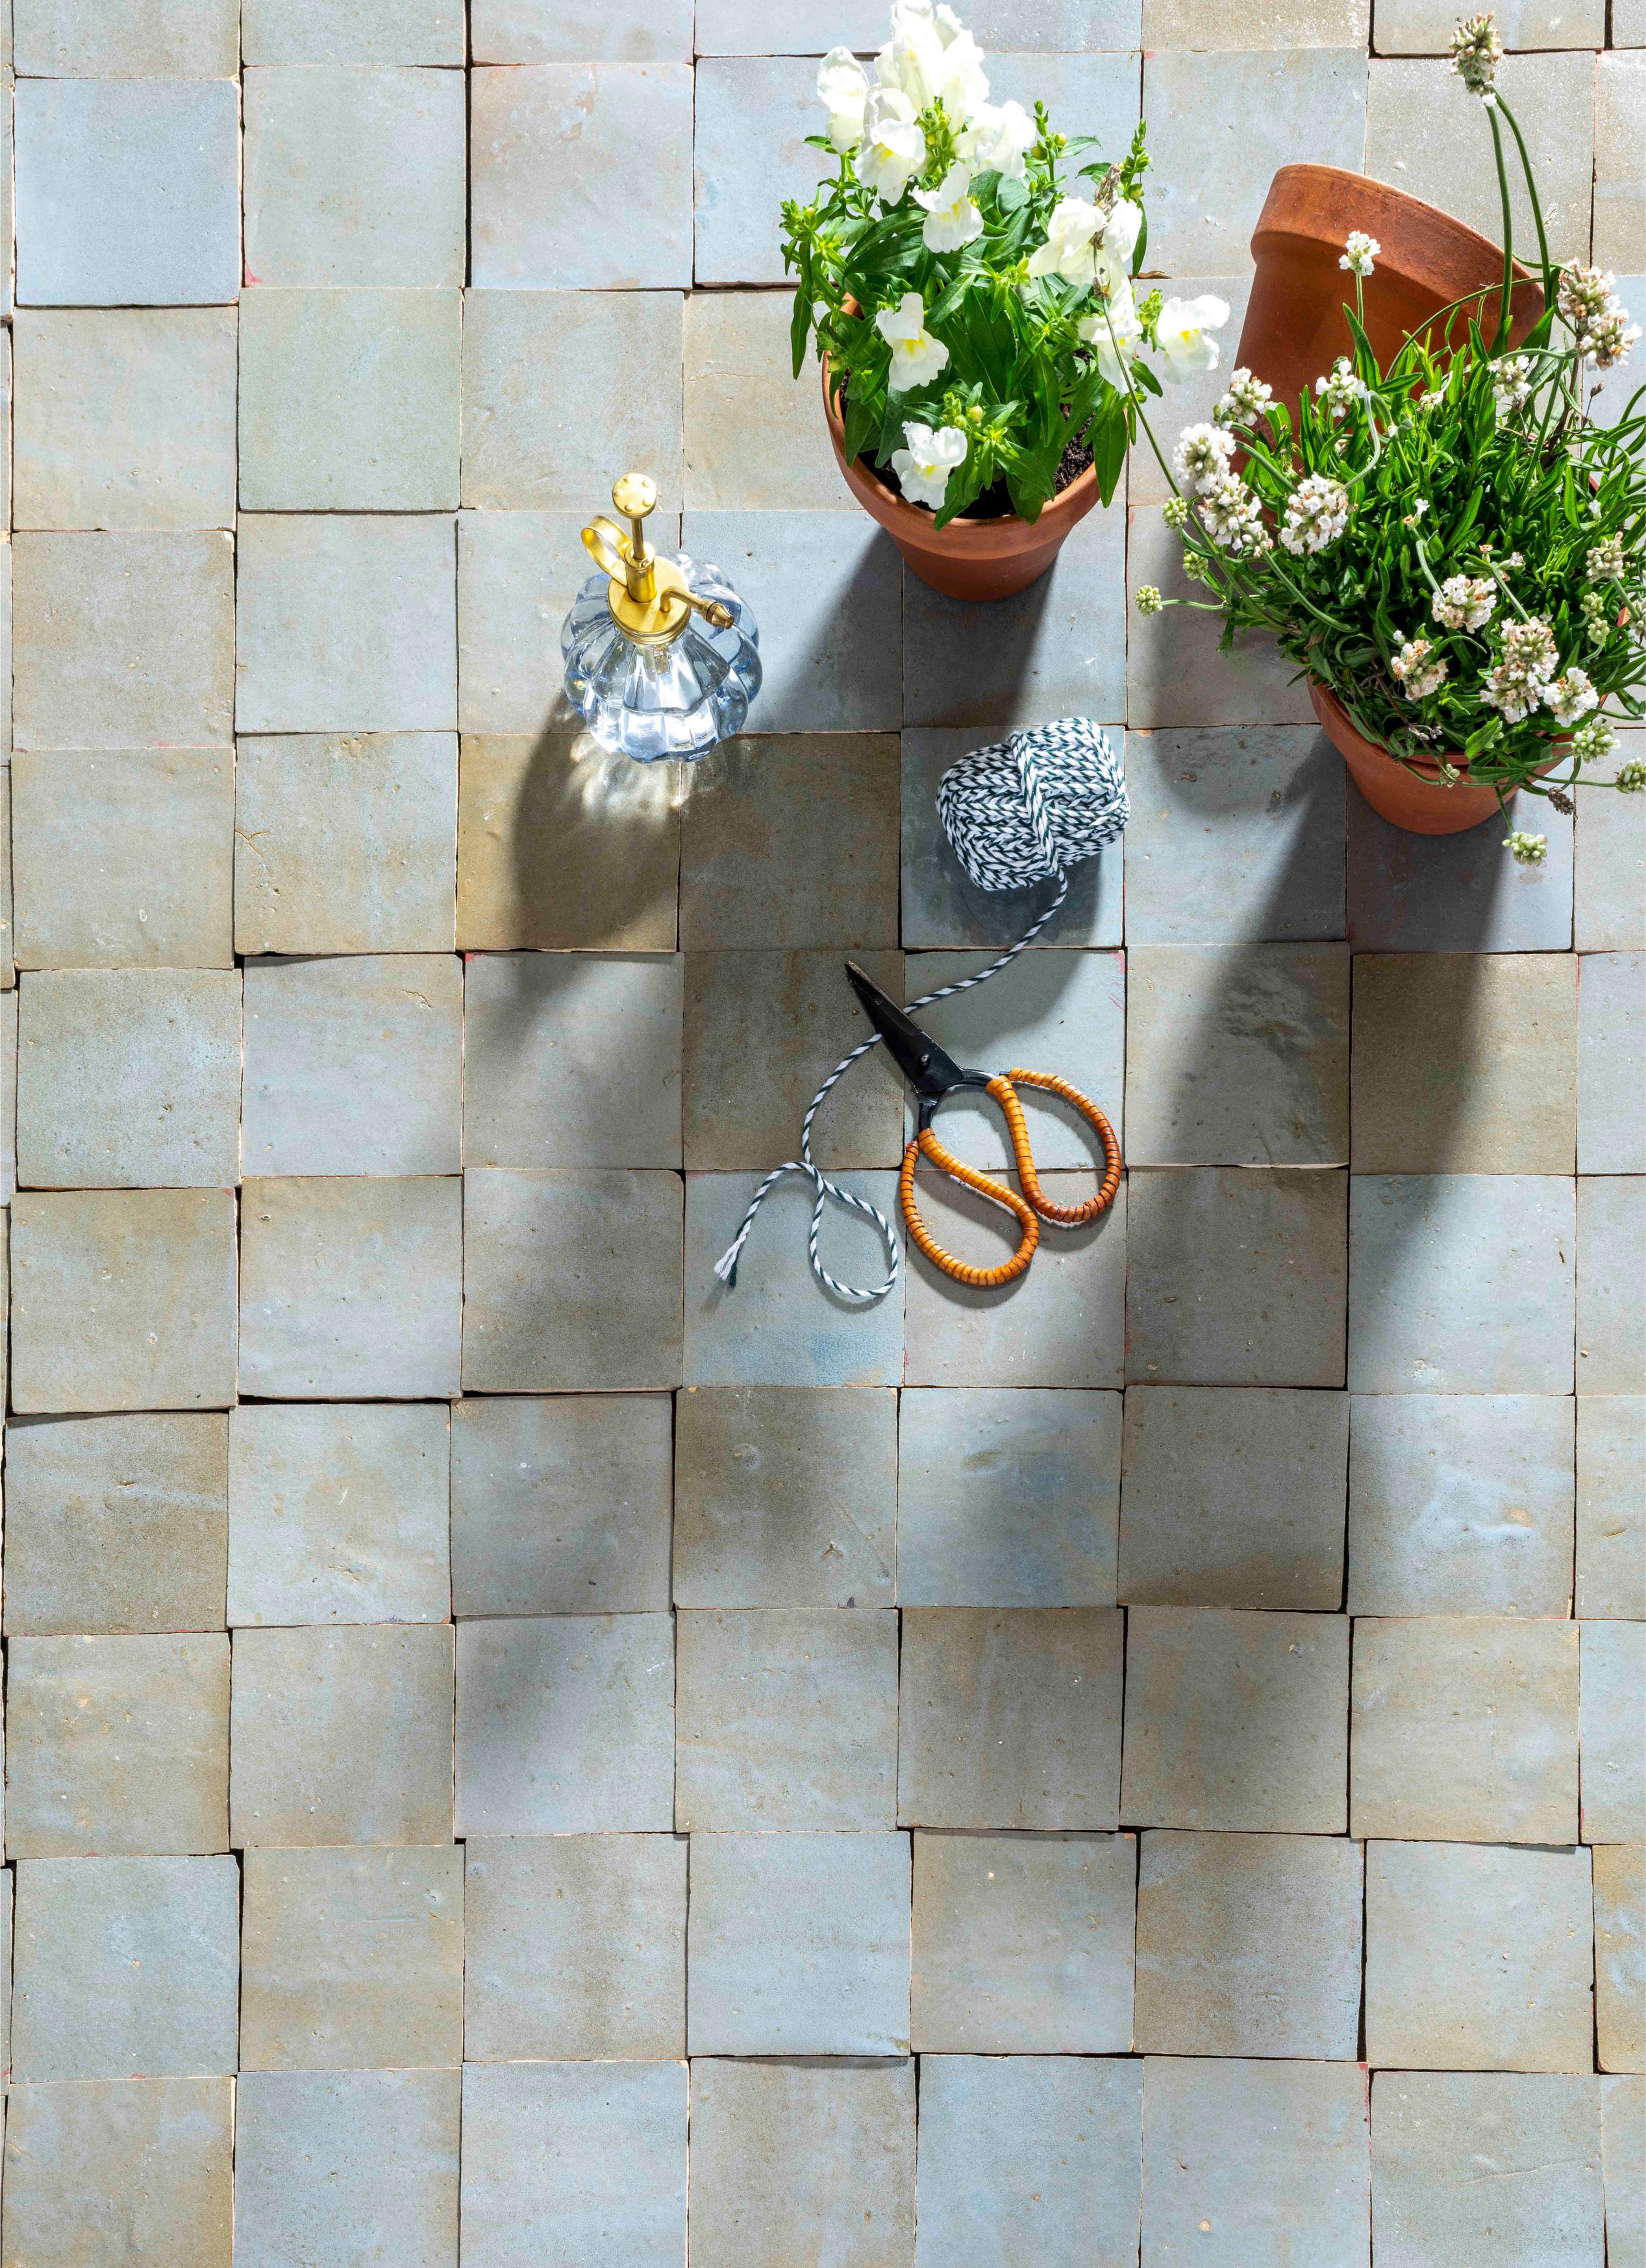
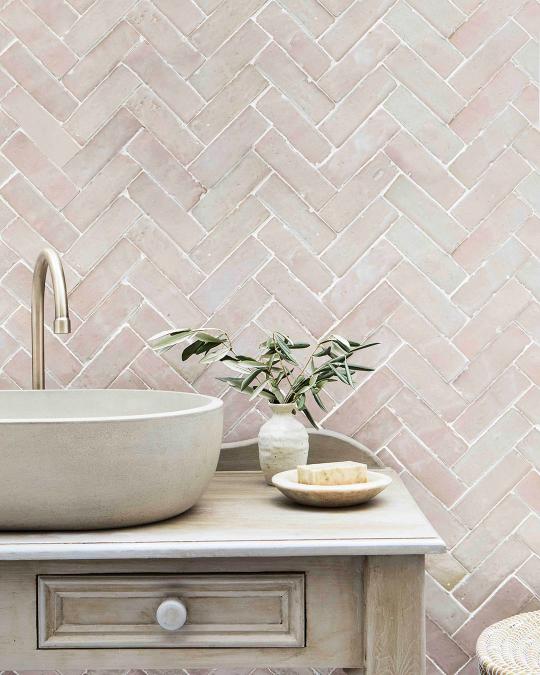
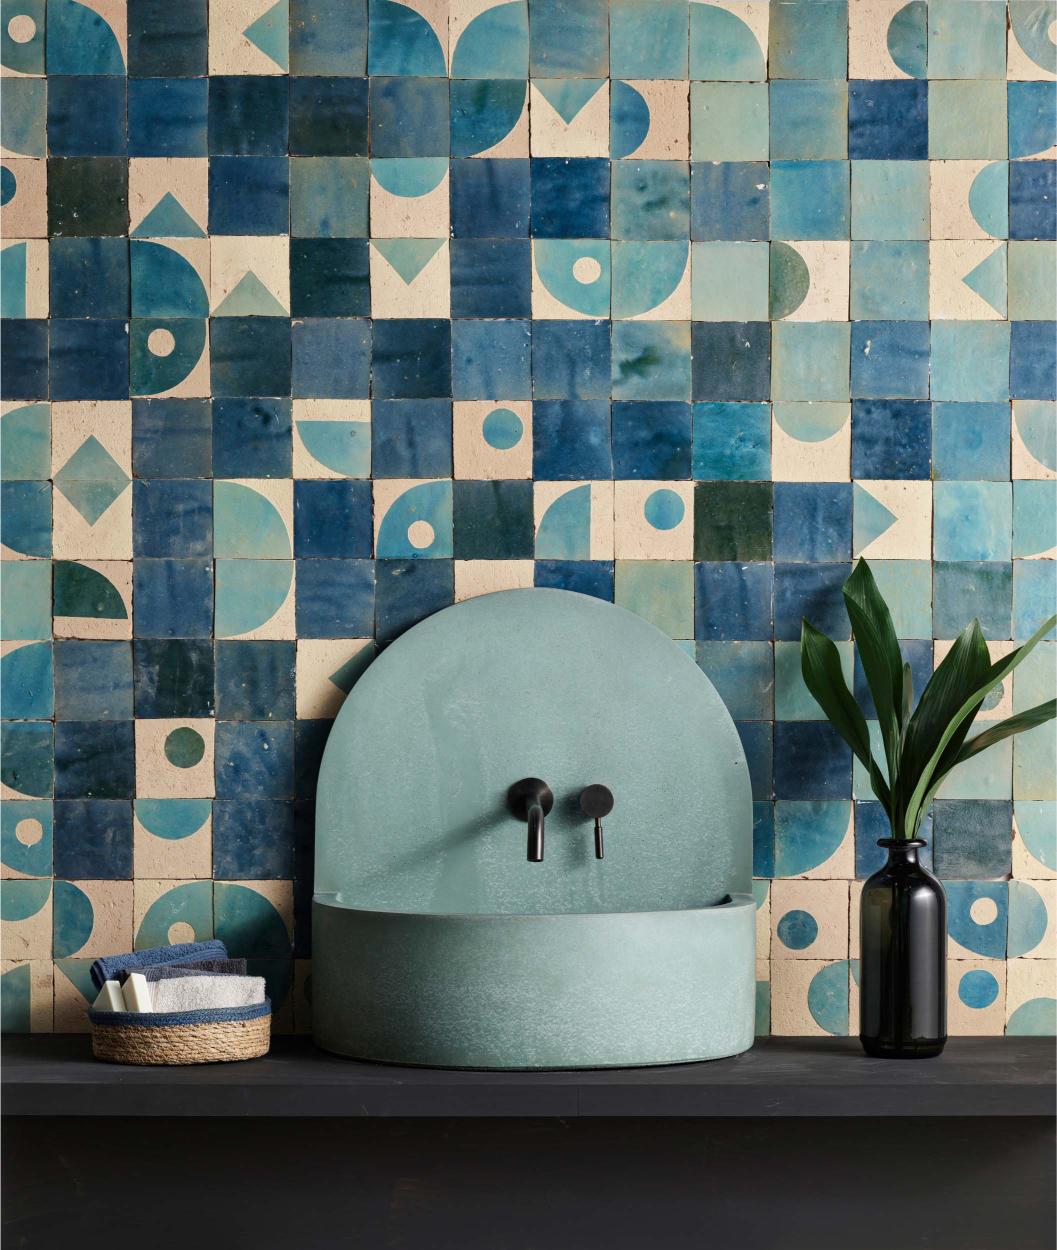
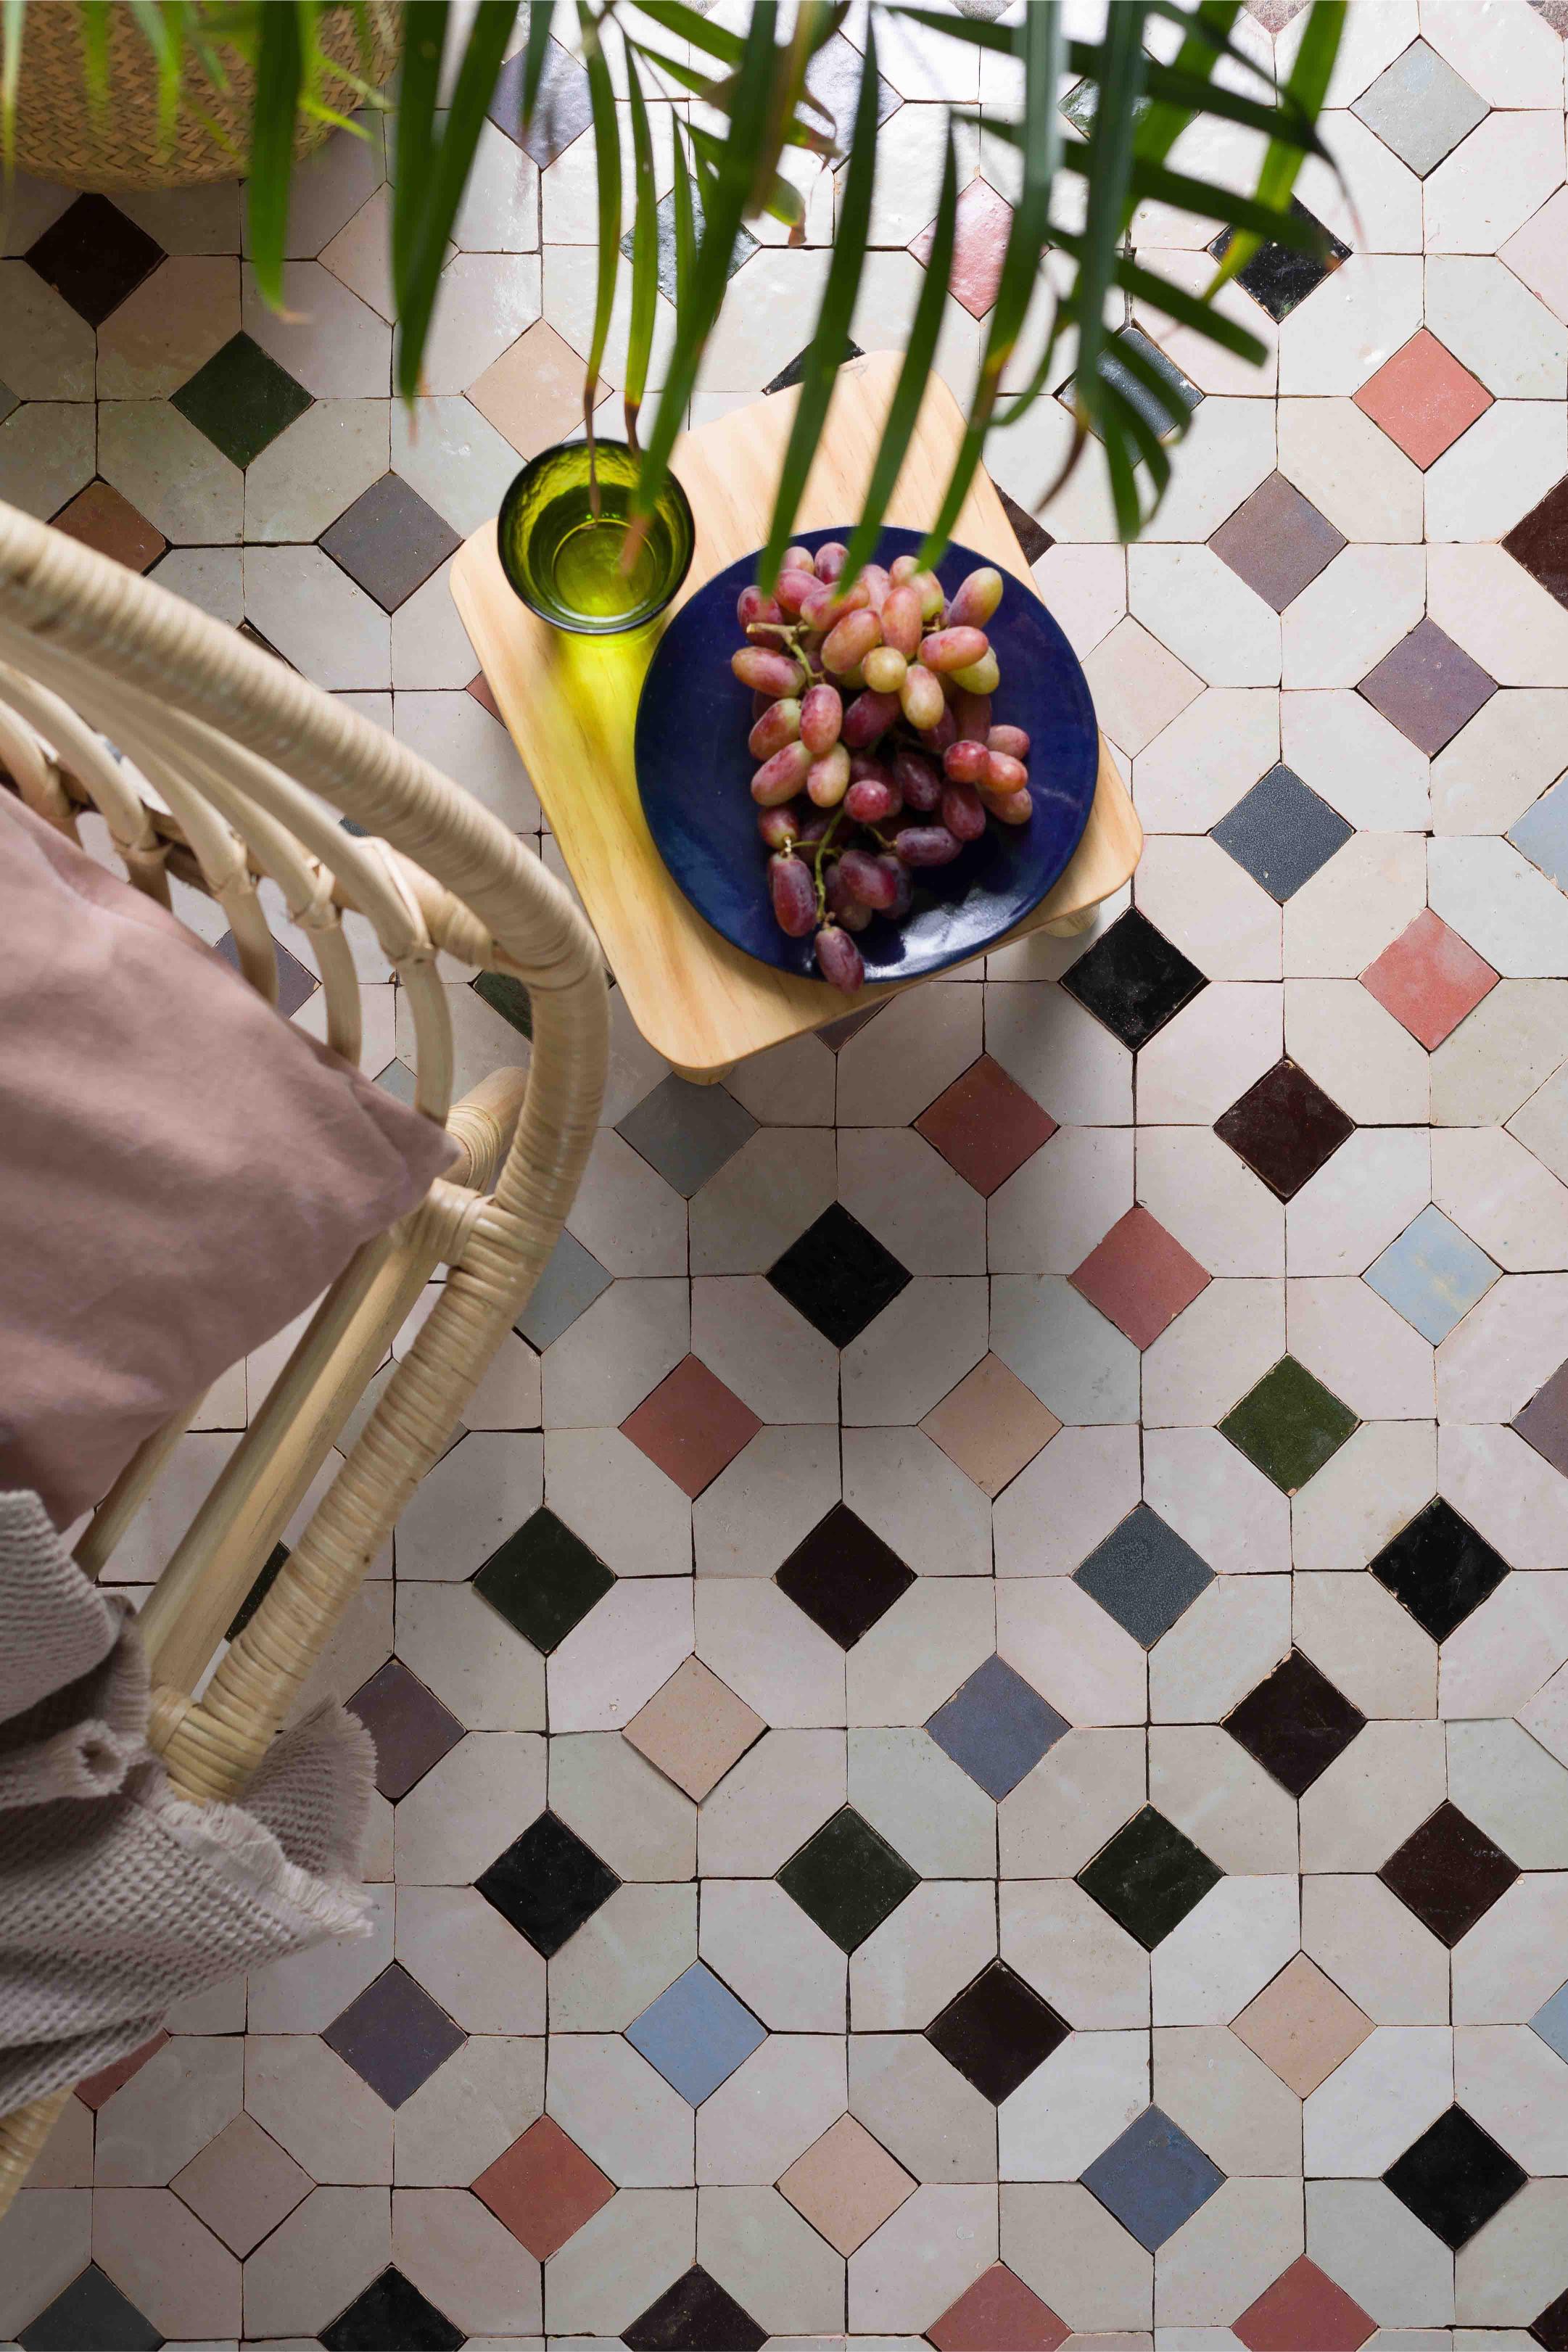
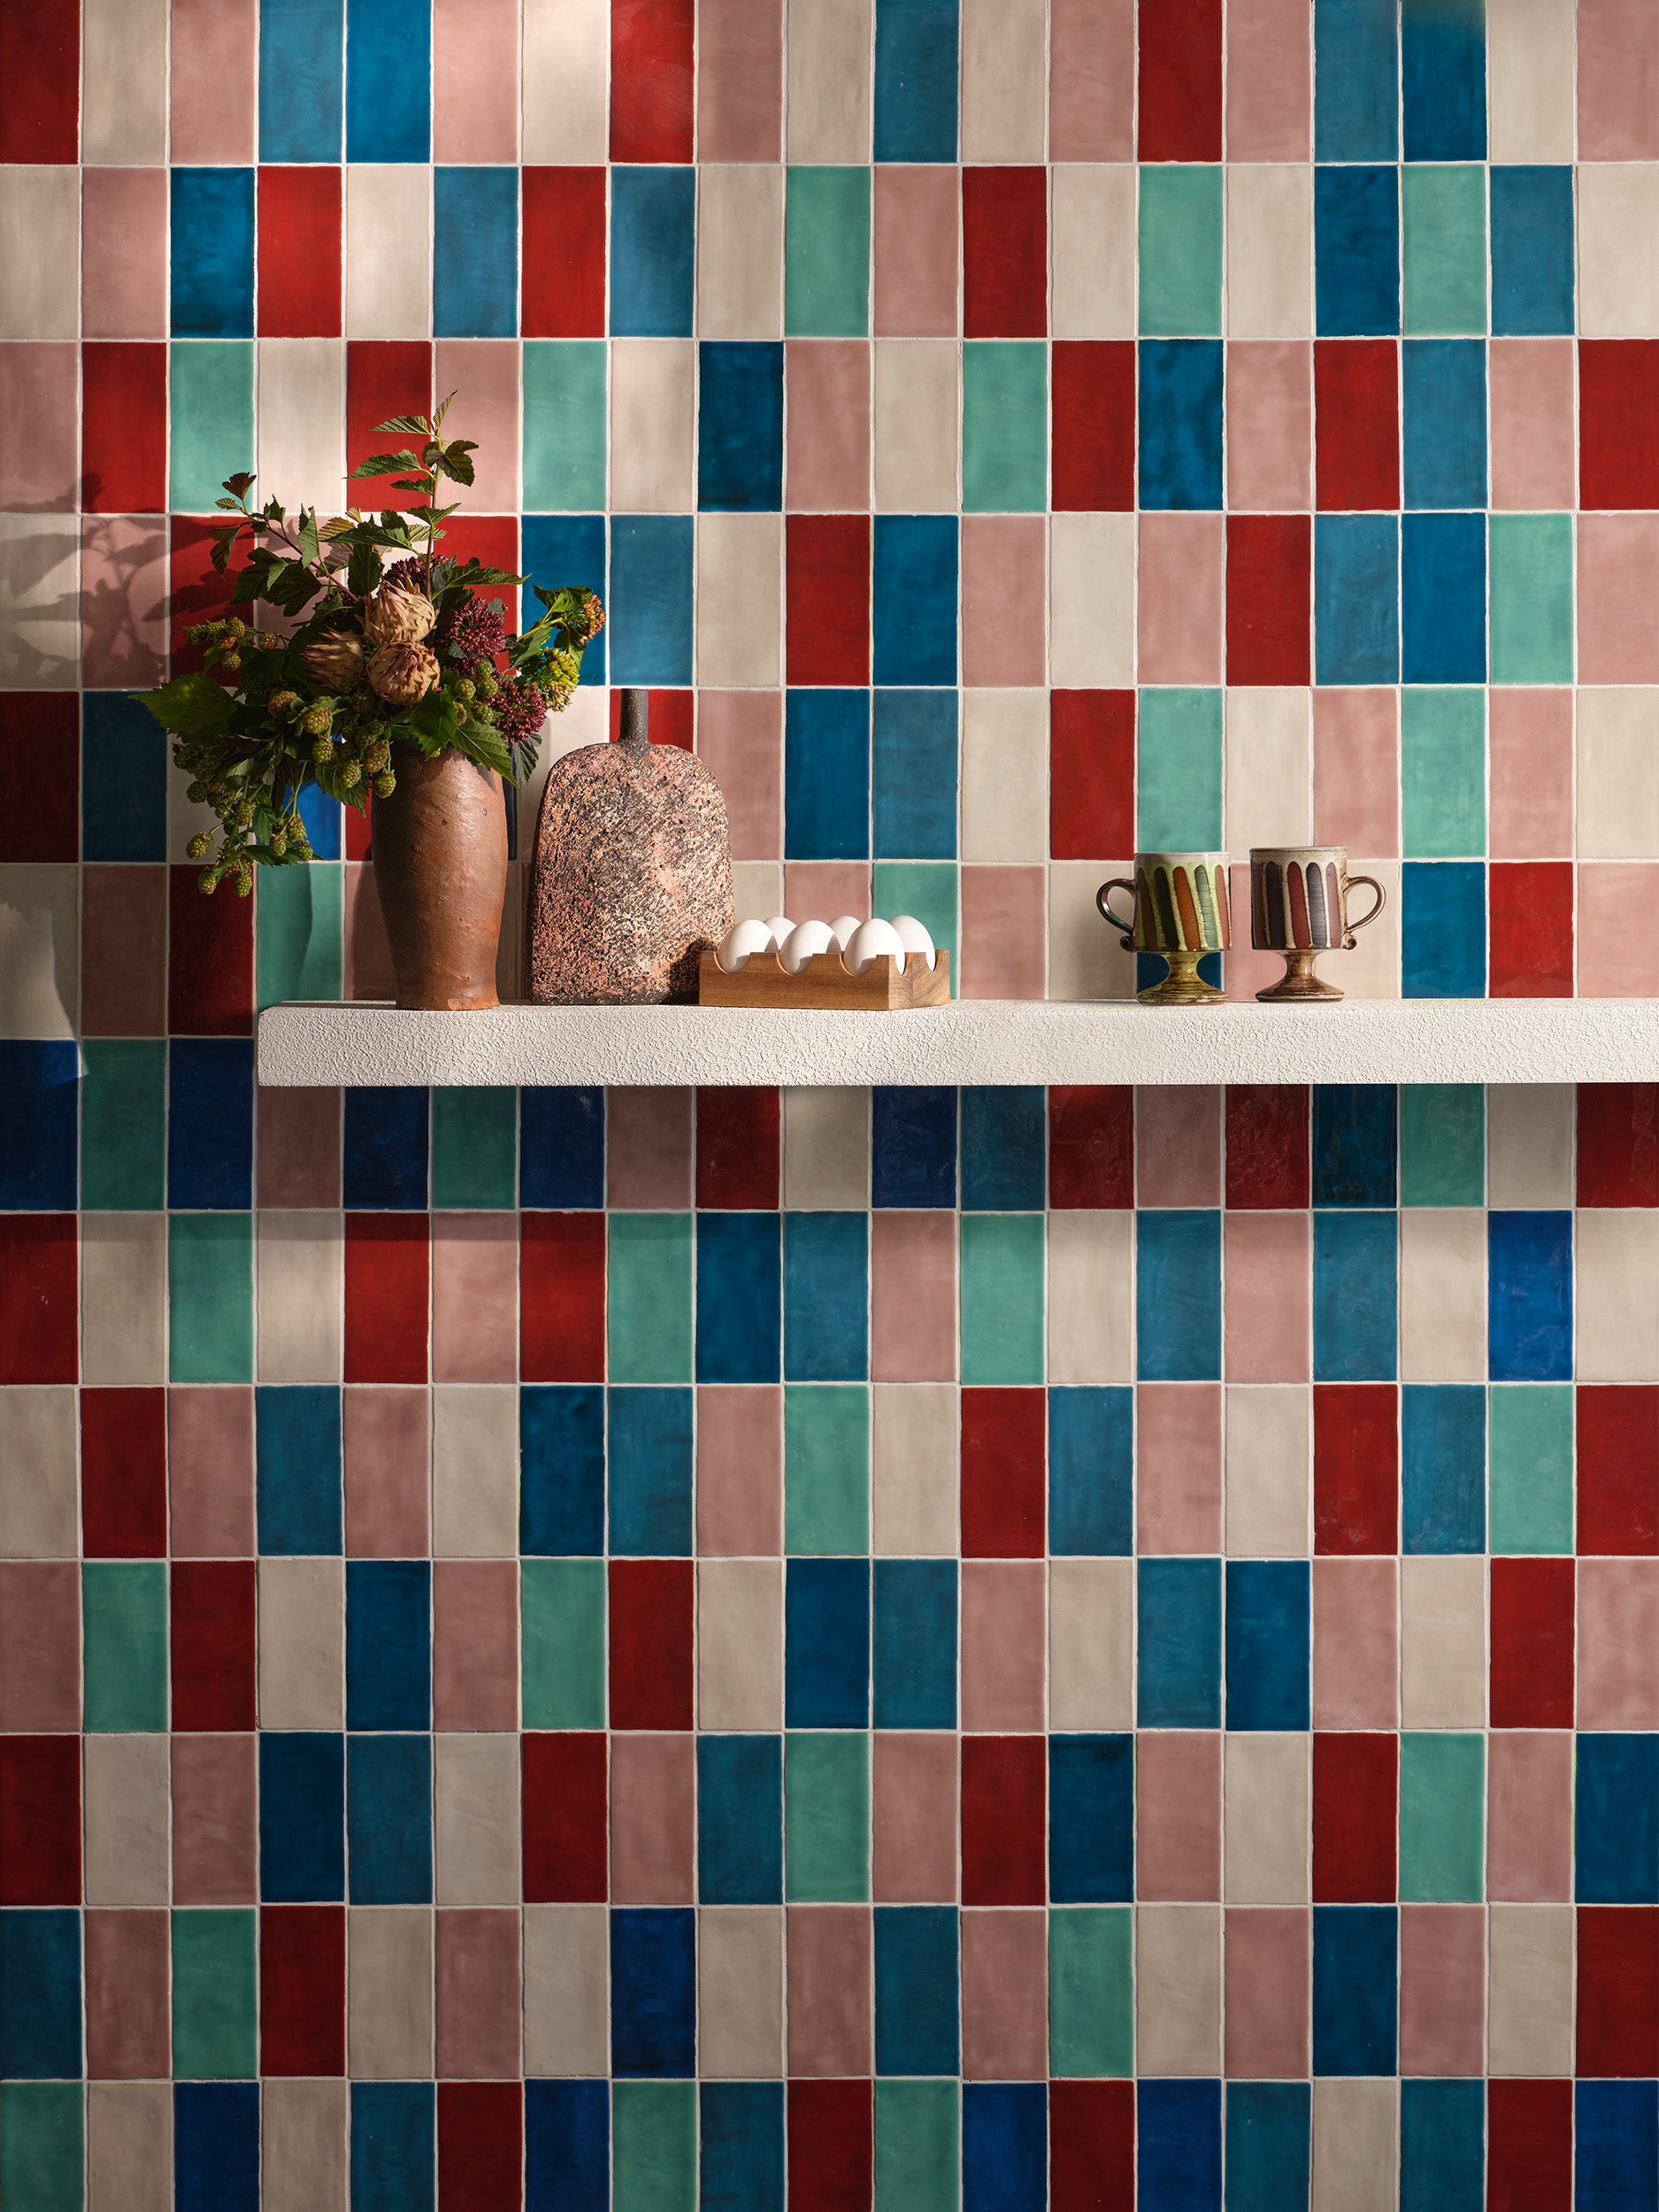
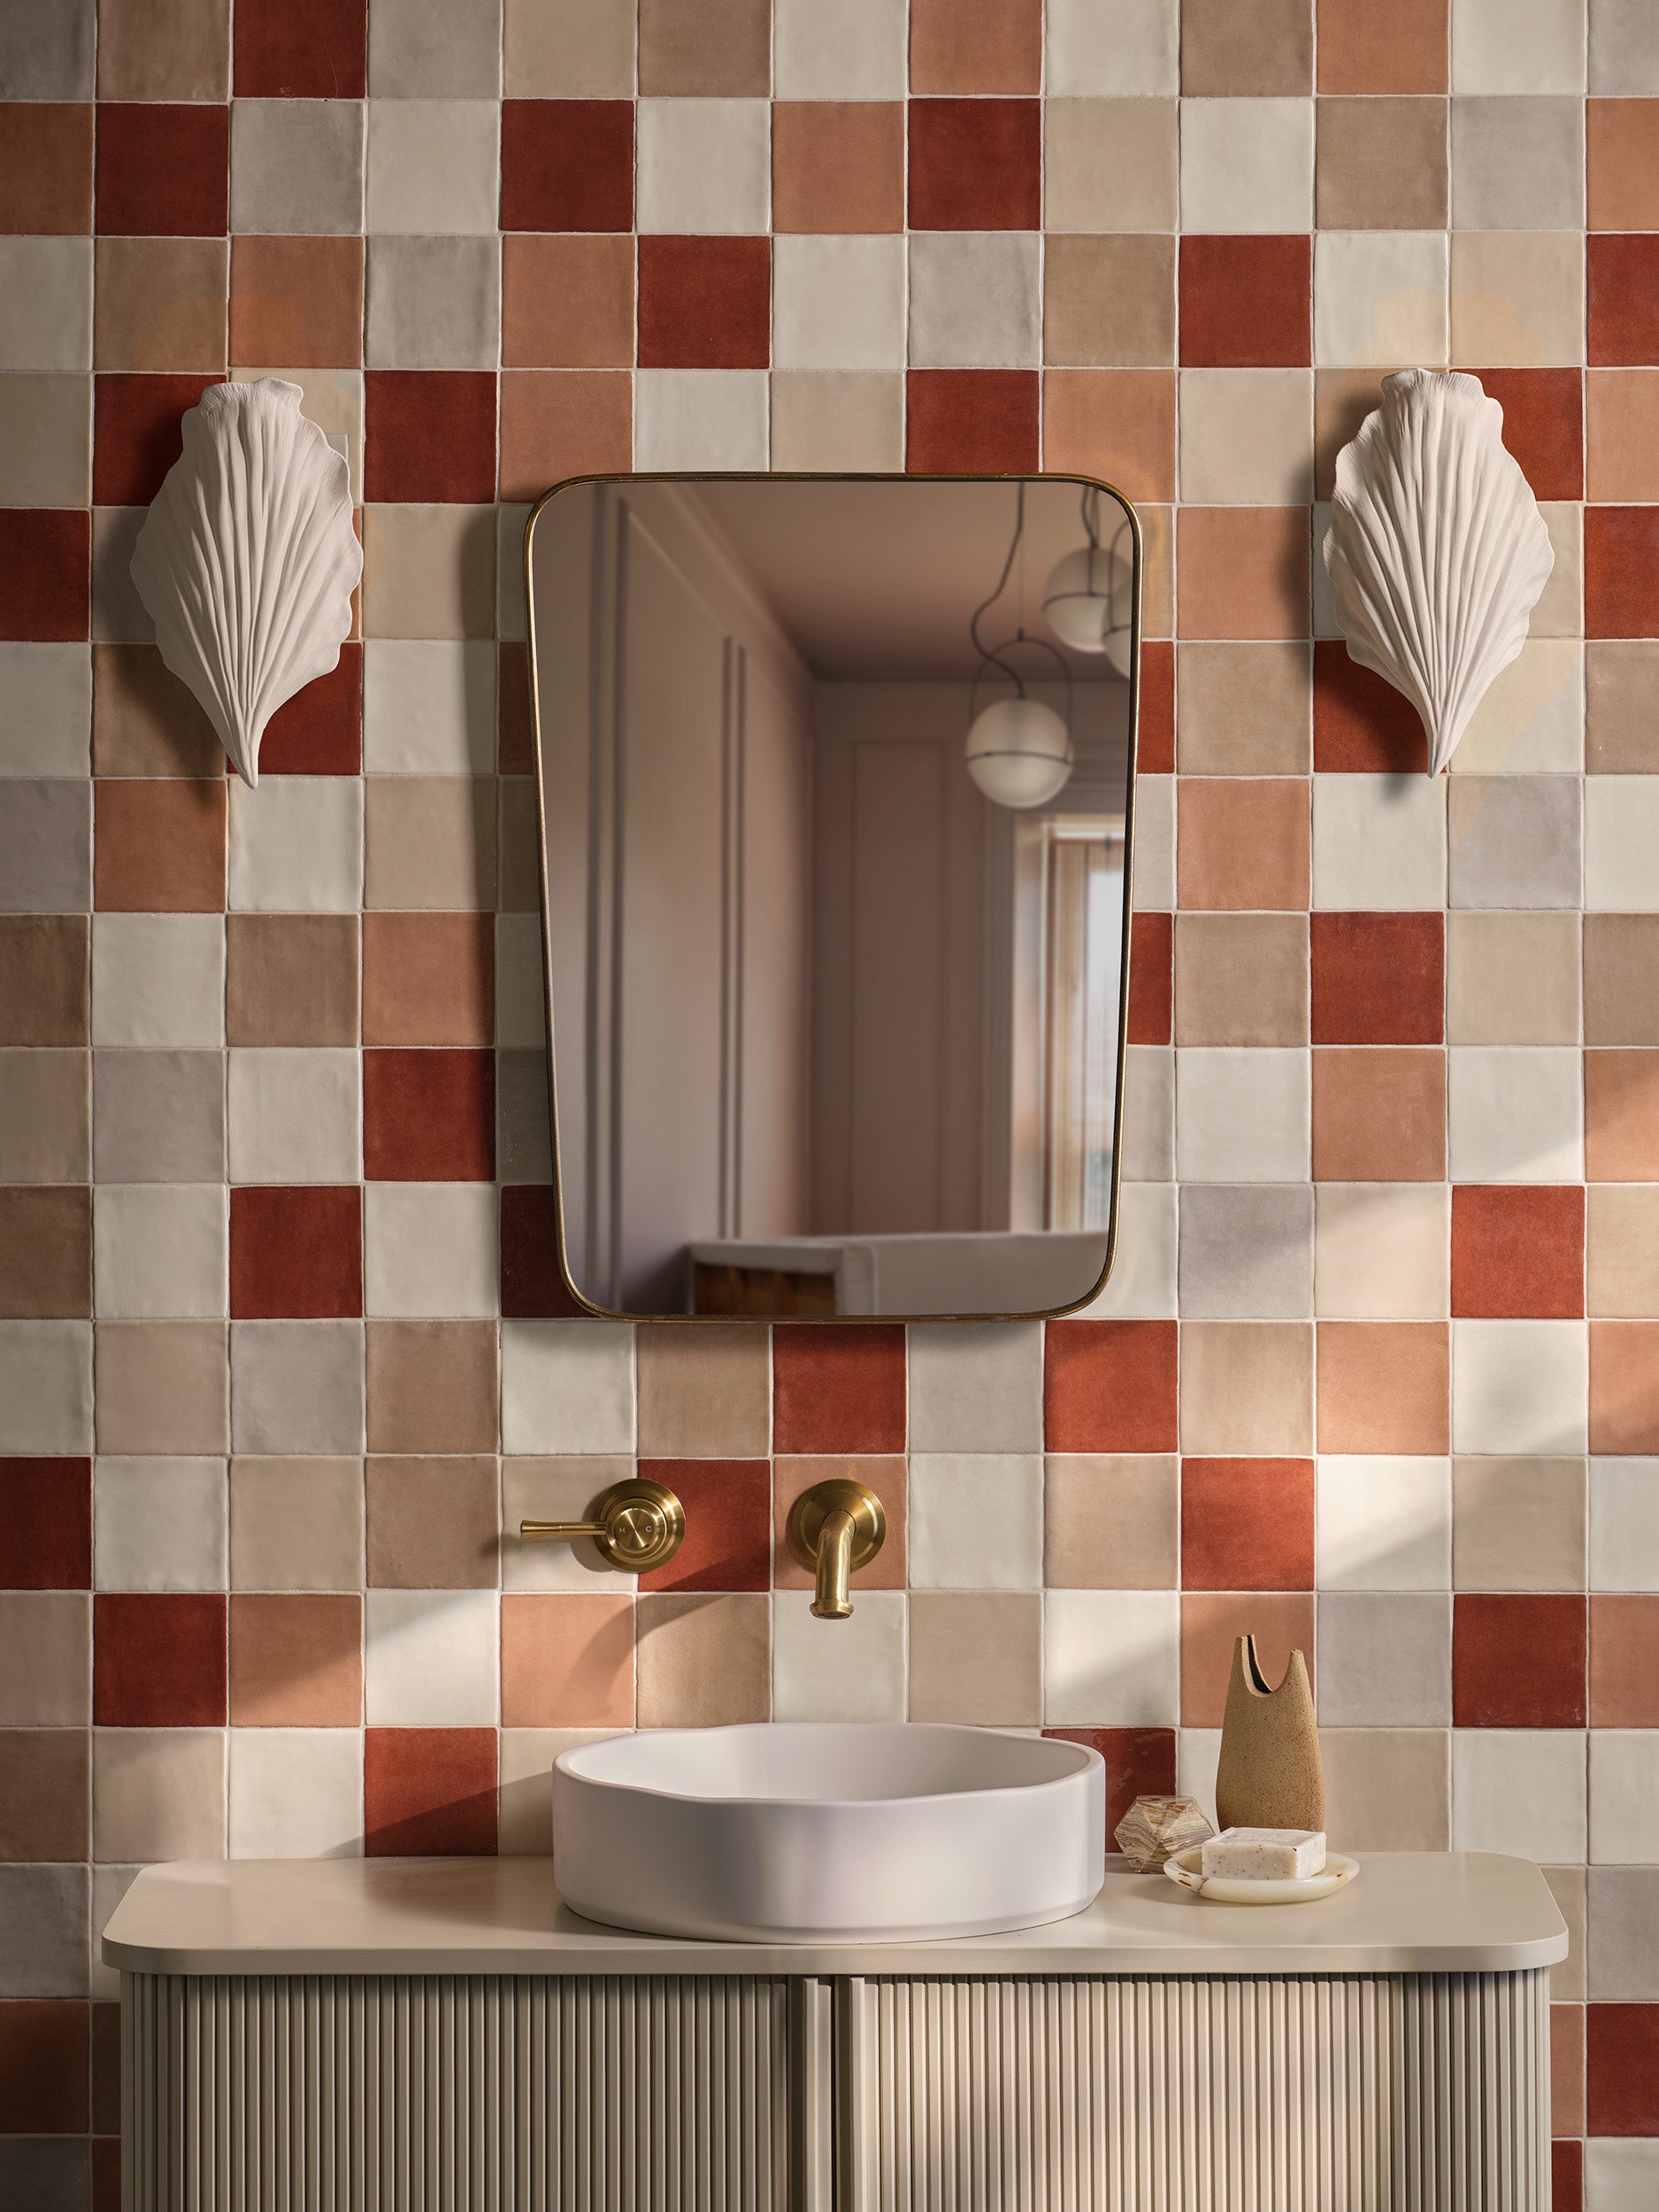
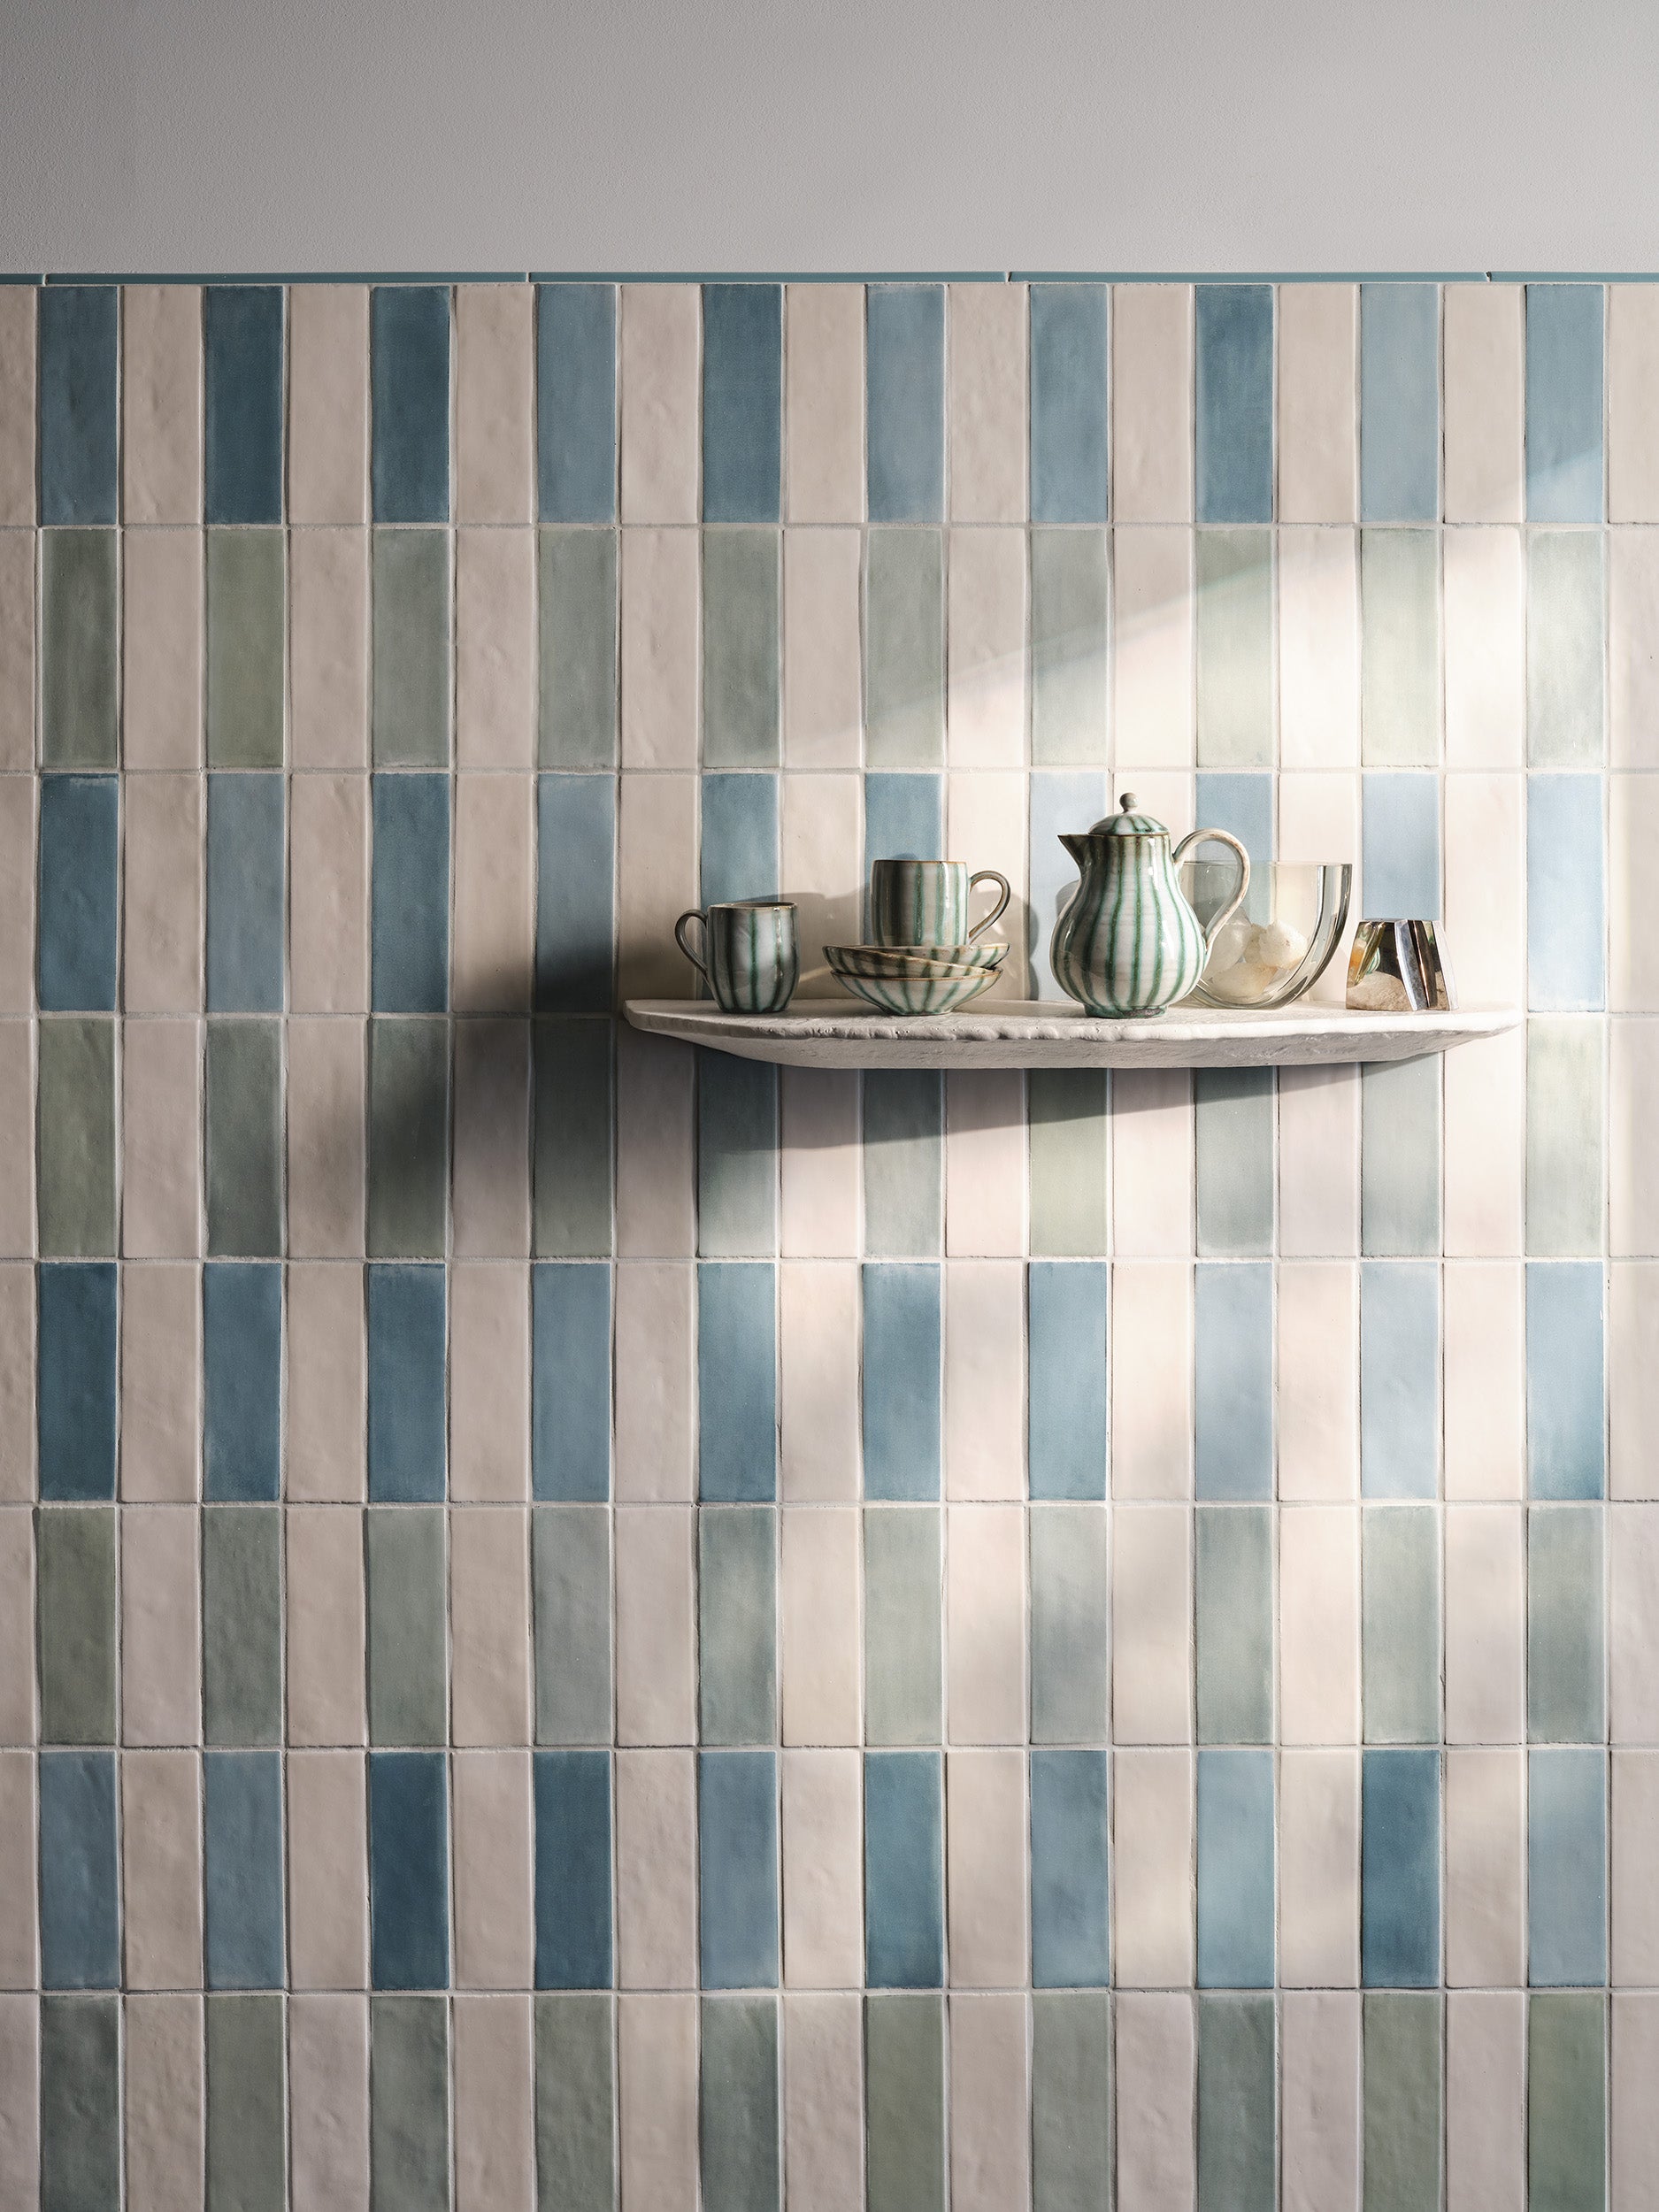
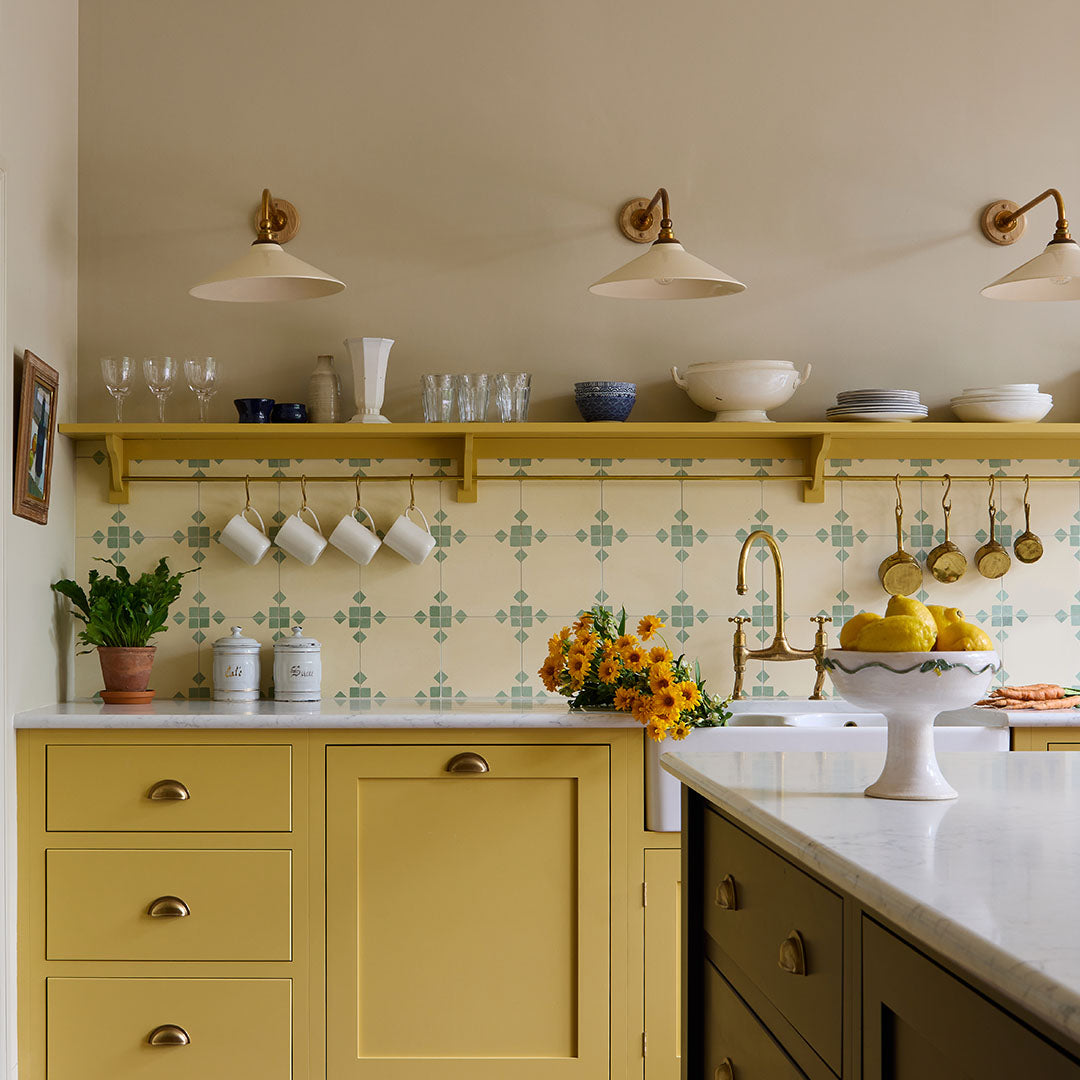
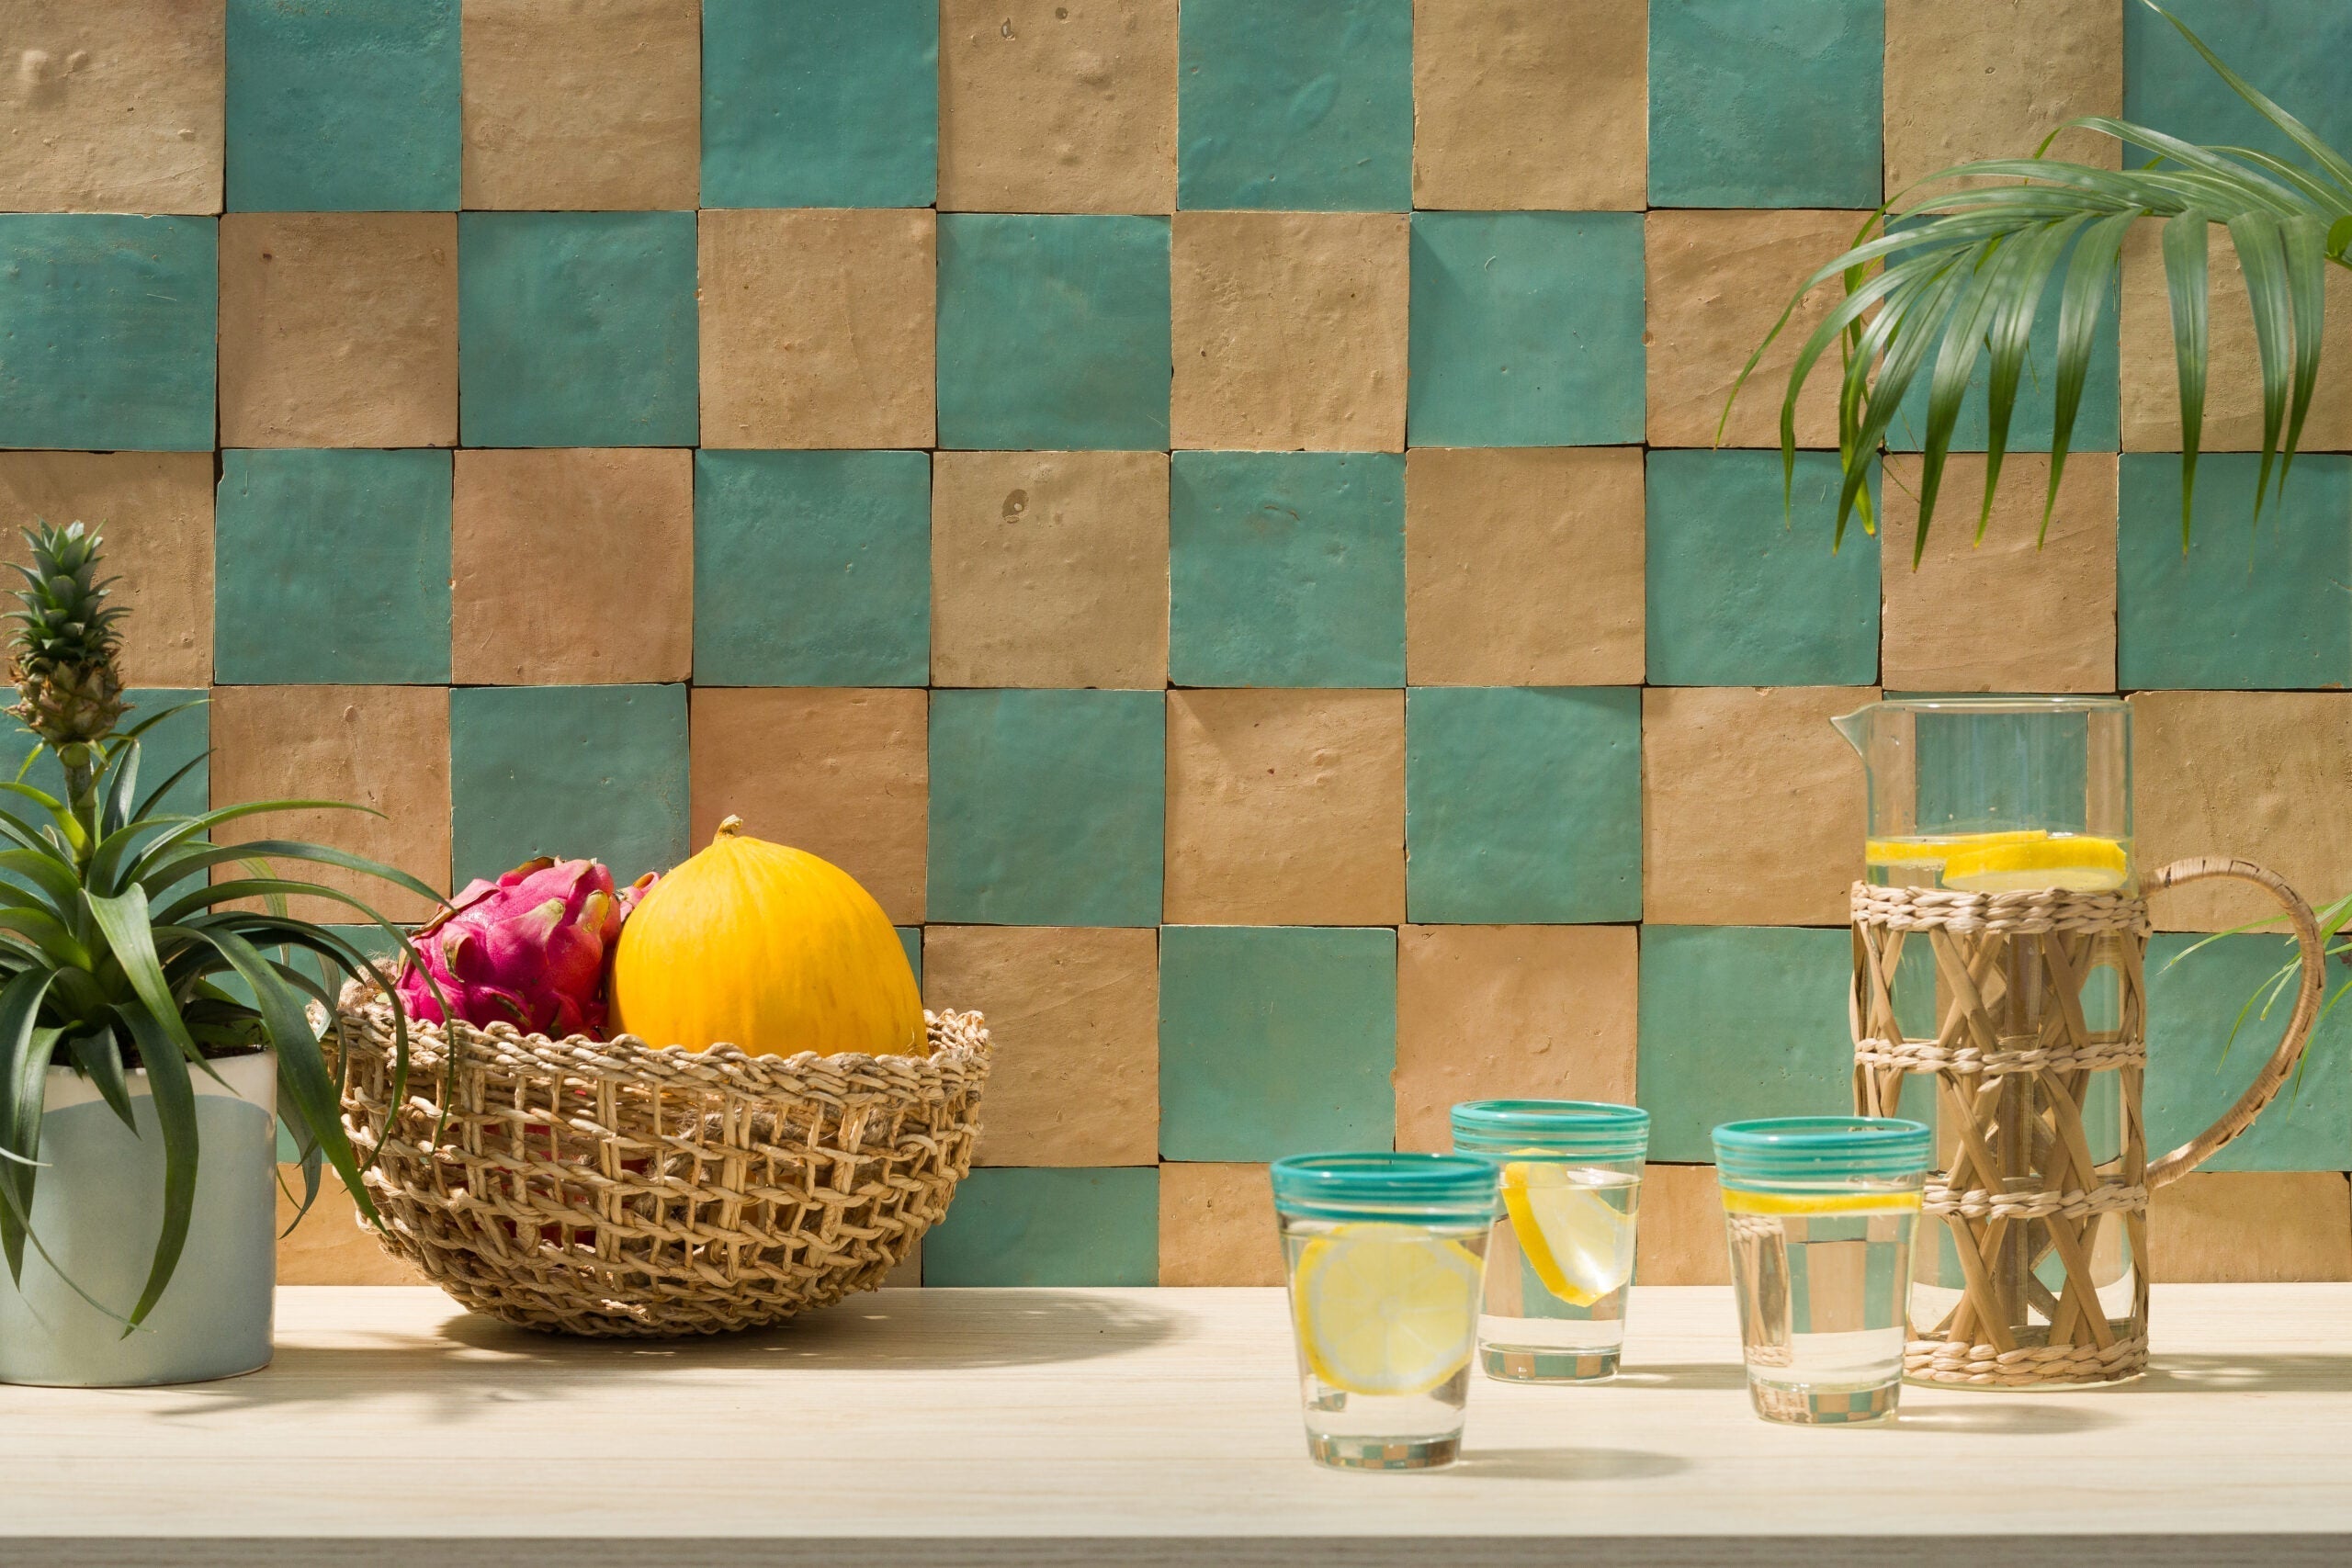
Mosaic tiles change more than just the walls — they change how you feel in your space.

They’re small. They’re bold. And when used right, they’re show-stoppers.

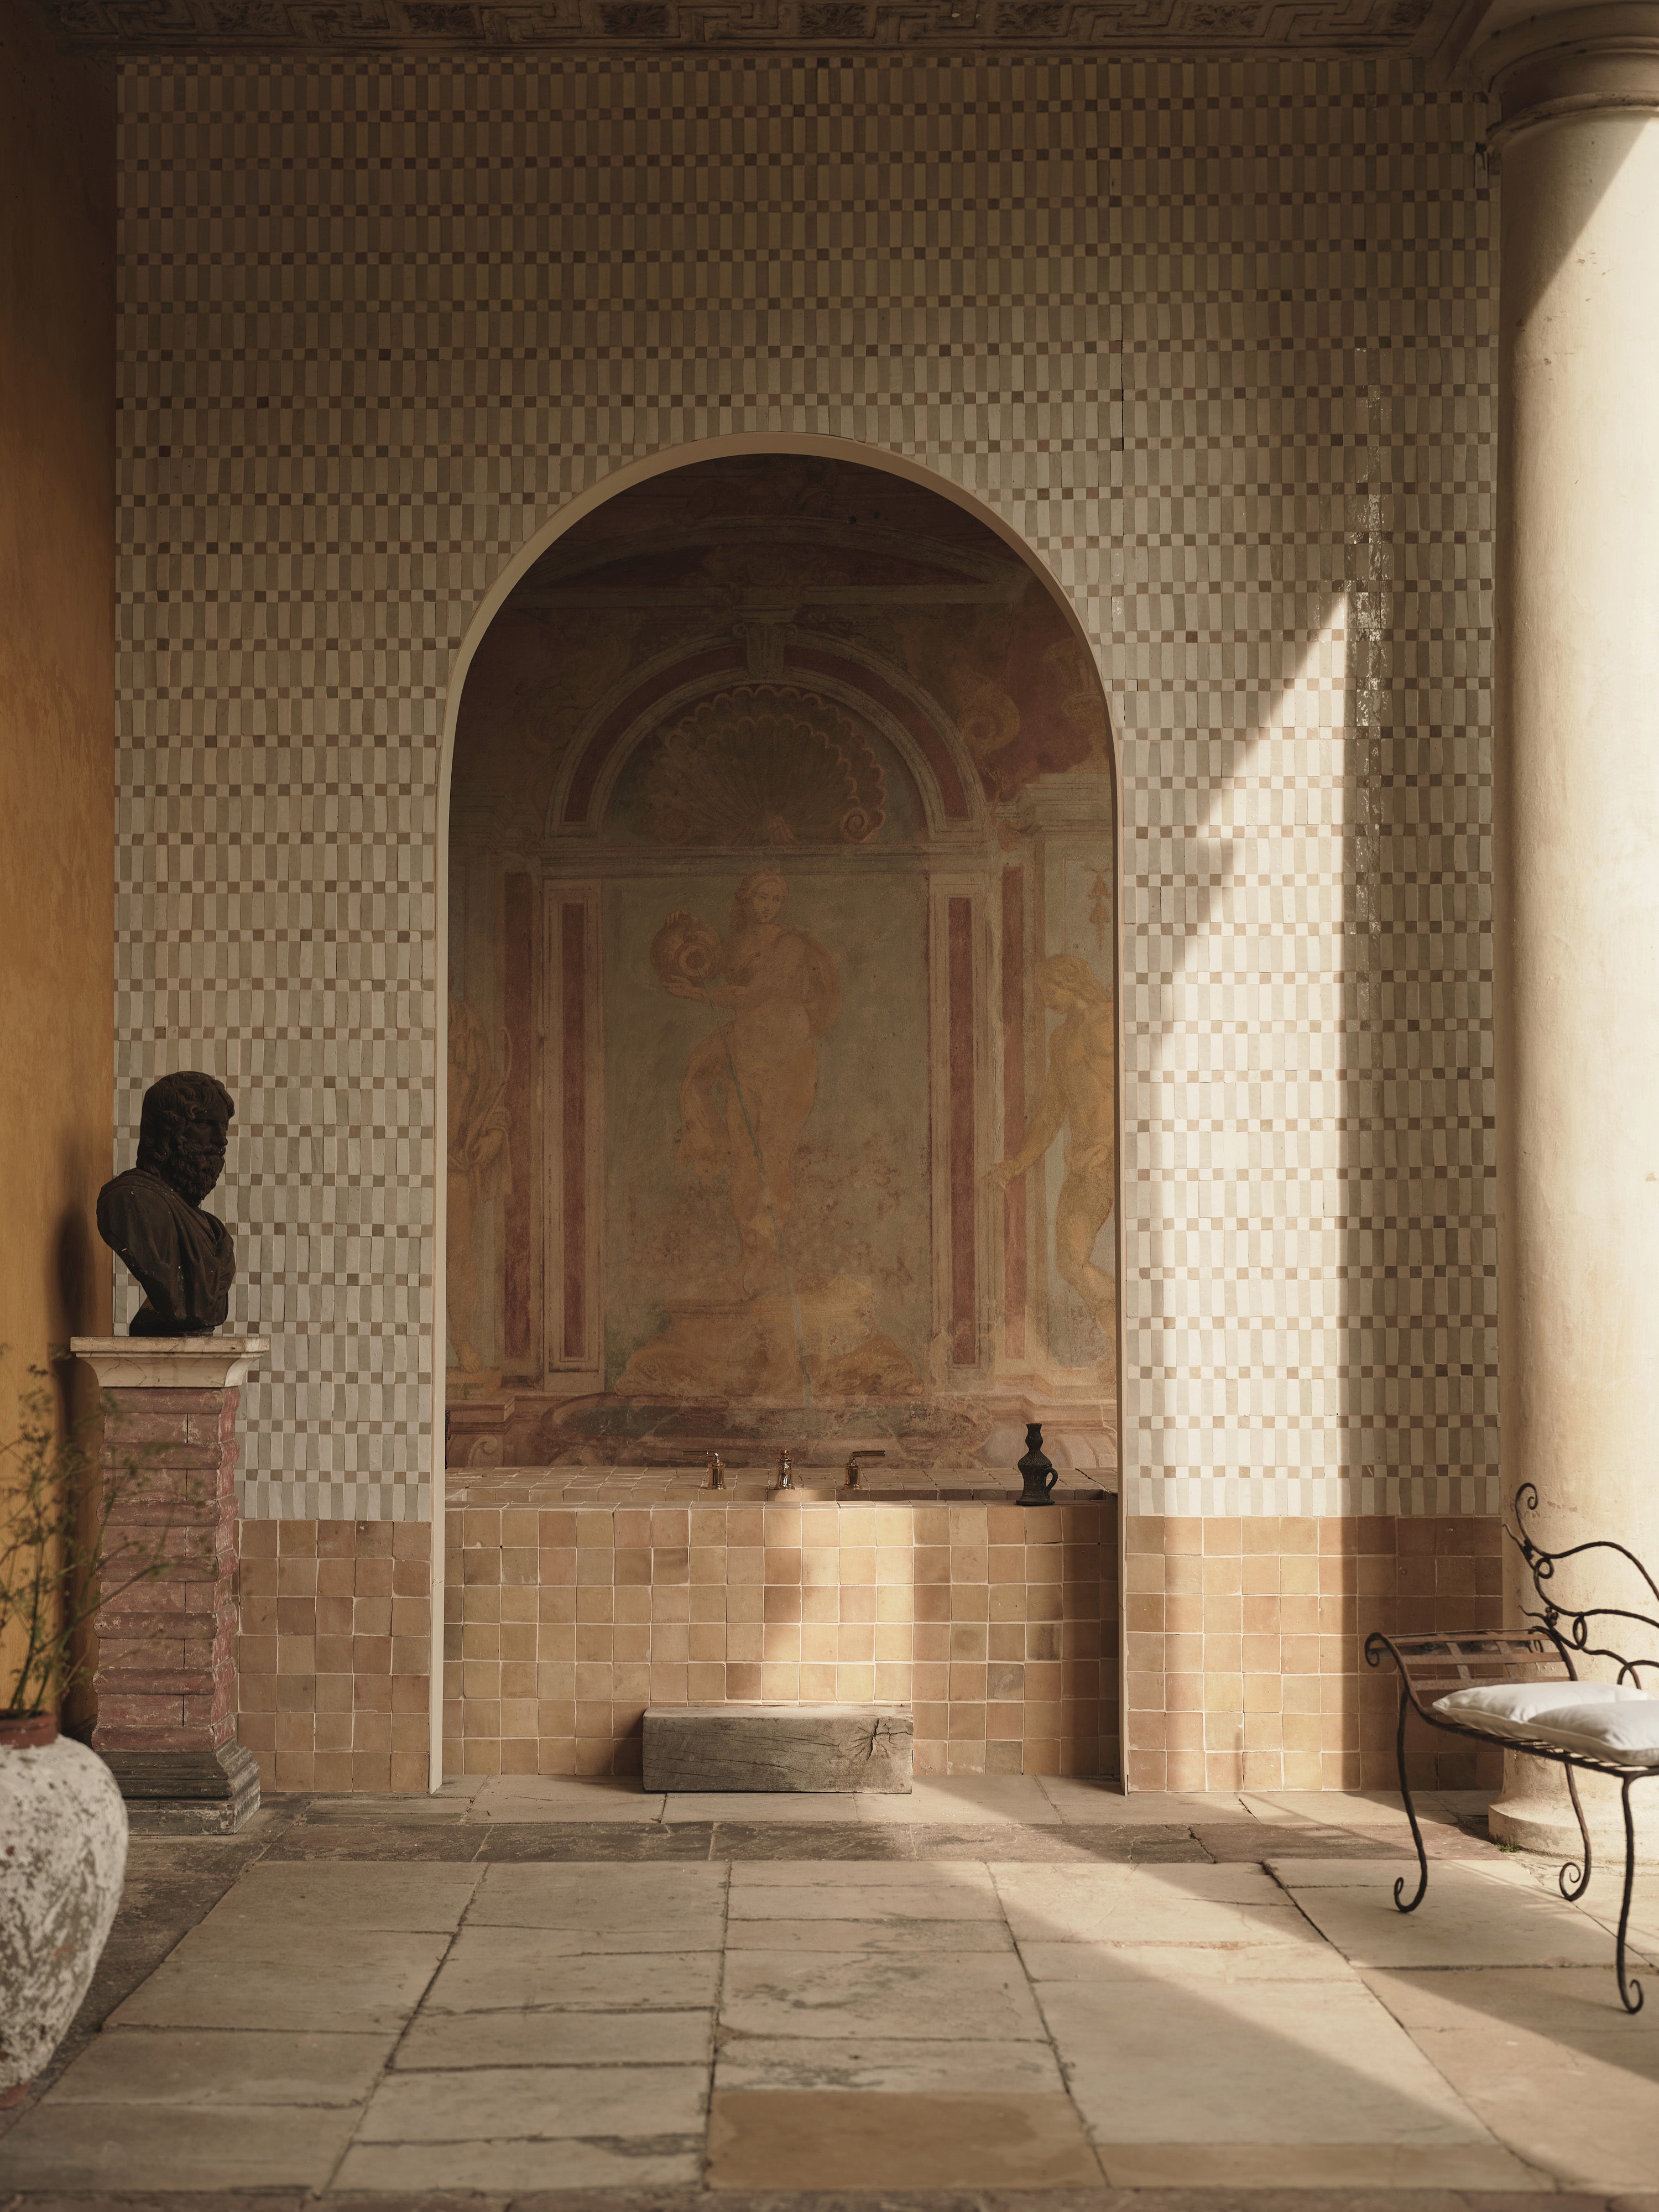
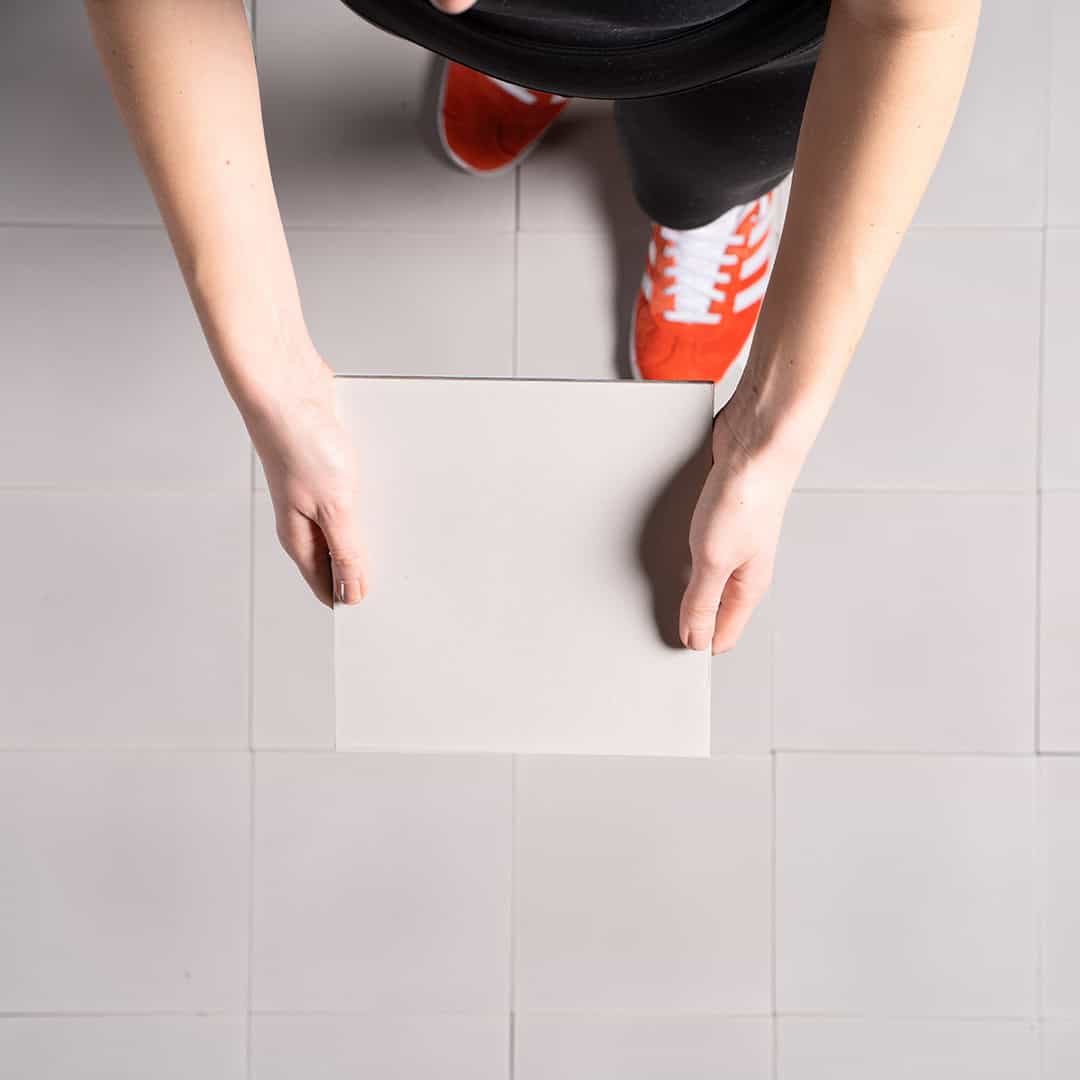
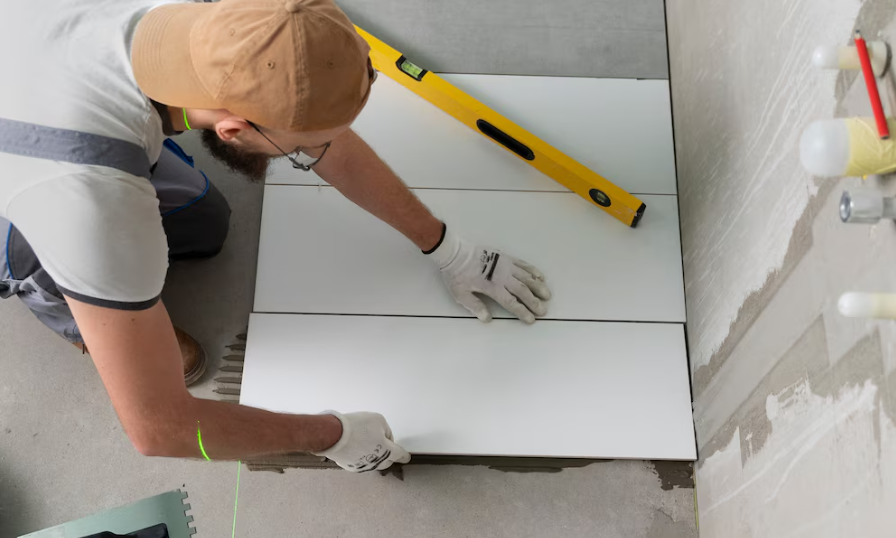
In this guide, you’ll learn exactly how to transform your bathroom — not just renovate it — using mosaic tiles.

Ready to make a bathroom that people actually compliment?

Define Your Vision Before You Touch a Tile

Before you dive into the world of mosaics, take a moment to visualise.

  • What vibe are you going for?
  • Serene spa?
  • Mediterranean charm?
  • Modern minimalism?

Knowing your goal will guide every decision, from tile size to layout. Start by measuring your space and noting areas that will benefit most — think accent walls, niches, or behind the vanity.

Mosaic tiles, with their variety of shapes and finishes, allow you to customise your space in surprisingly detailed ways. Knowing your palette and purpose will help you avoid costly mistakes and aesthetic confusion.

Step-by-Step: Installing Mosaic Tiles Like a Pro

  • Prepare the Surface
    Make sure your wall or floor is clean, dry, and flat. Remove any dust, grease, or old adhesive. A smooth surface is key for even placement.

  • Apply Tile Adhesive
    Using a notched trowel, spread tile adhesive (thin-set mortar) evenly across a small section at a time. Work in sections to prevent it drying out before tiling.

  • Lay the Mosaic Sheets
    Gently press the mosaic tile sheets into the adhesive. Use spacers to keep the alignment consistent and avoid uneven lines.

  • Check Alignment and Press Firmly
    Step back and inspect the layout. Press tiles gently but firmly using a grout float or rubber roller to ensure full contact with the adhesive.

  • Let the Adhesive Cure
    Wait 24 hours (or as recommended on the adhesive packaging) for the tiles to fully bond before applying grout.

  • Apply the Grout
    Spread grout over the tiles using a rubber float. Press it into all the joints. Hold the float at a 45-degree angle to avoid pulling grout back out.

  • Clean Excess Grout
    Use a damp sponge in circular motions to wipe away excess grout. Rinse the sponge frequently. Don’t wait too long — dried grout is harder to clean.

  • Final Cleaning and Drying
    After 30–60 minutes, buff off the haze with a dry cloth. Let the grout cure for 24–48 hours.

  • Seal (If Needed)
    Apply grout and tile sealer if your mosaic is made from porous materials like stone or unglazed ceramic. This prevents water absorption and staining.

Why Mosaic Tiles Are the Ultimate Bathroom Upgrade

Mosaic tiles aren’t just beautiful — they’re smart. Their texture adds grip, making them perfect for wet environments.

Their design flexibility allows you to blend colours, materials, and patterns to create a unique feel.

They’re easy to maintain and resistant to moisture and mould when properly installed.

Mosaic tiles allow you to work with tight corners, curves, and tricky spaces. In short, they make high-end design possible, even on a modest budget. And best of all — they age well, both in function and fashion.

Leave a comment

This site is protected by hCaptcha and the hCaptcha Privacy Policy and Terms of Service apply.

Read more

Increasing Home Value with Wall & Floor Tiles

Increasing Home Value with Wall & Floor Tiles

Why Quality Tile Upgrades Are Worth the Investment? Buyers don’t fall in love with empty rooms. They fall in love with details. A premium tile floor. A hand-finished backspl...

Read more
The Timeless Beauty of Authentic Moroccan Zellige Tiles

The Timeless Beauty of Authentic Moroccan Zellige Tiles

Moroccan Zellige tiles have captivated the hearts of designers and homeowners worldwide with their vibrant colors, unique patterns, and artisan craftsmanship. These tiles are a hallmark ...

Read more