


7 Common Tile Mistakes and How to Avoid Them

Avoiding common tile mistakes isn’t just about aesthetics—it’s about durability, safety, and value.
In this guide, we’ll detail seven pitfalls homeowners encounter and show you how to sidestep each one with confidence.
You’ll learn how thoughtful planning, precise measurements, and professional insight can turn a potentially costly error into a flawless finish.
Let’s elevate your next tile installation from risky to rock-solid.

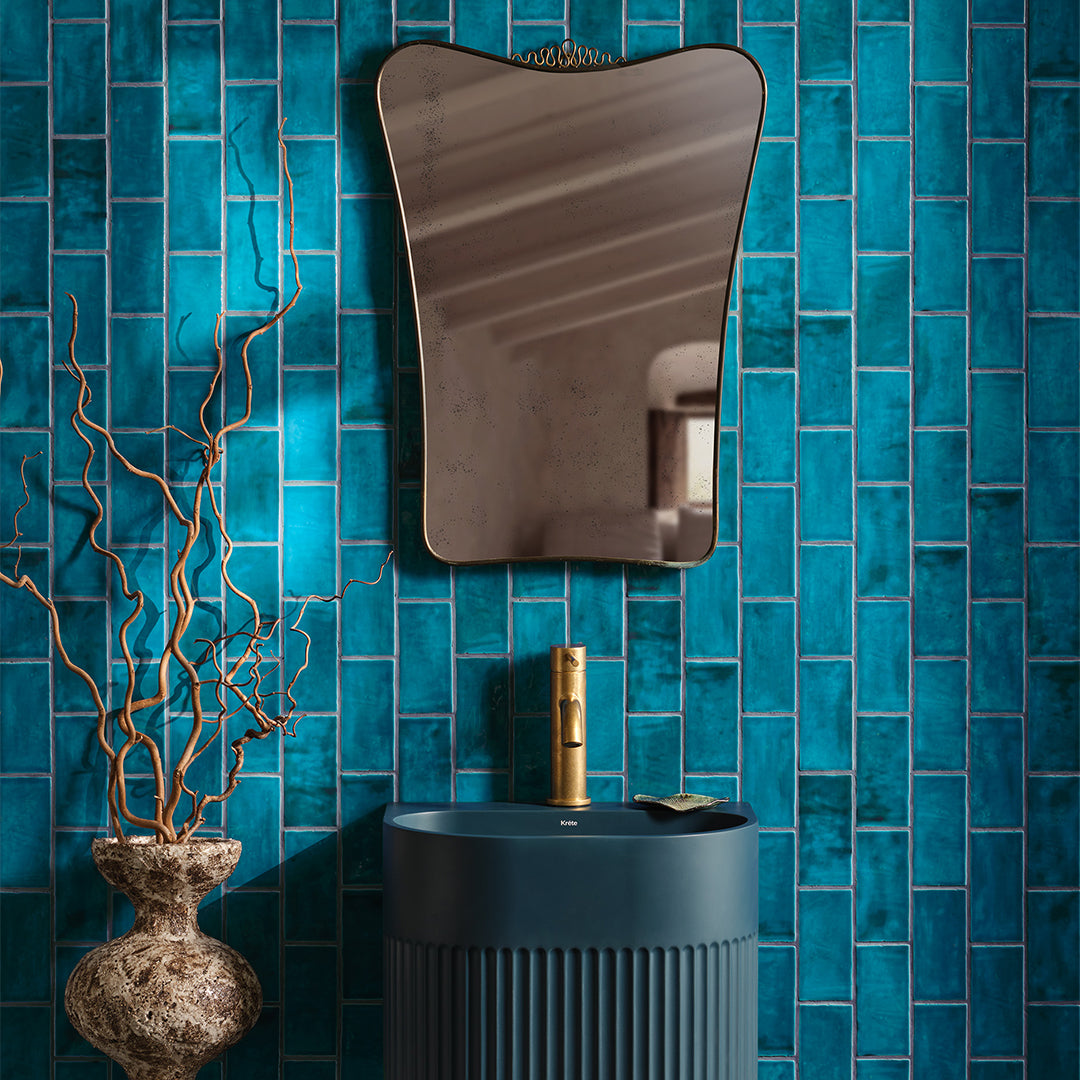
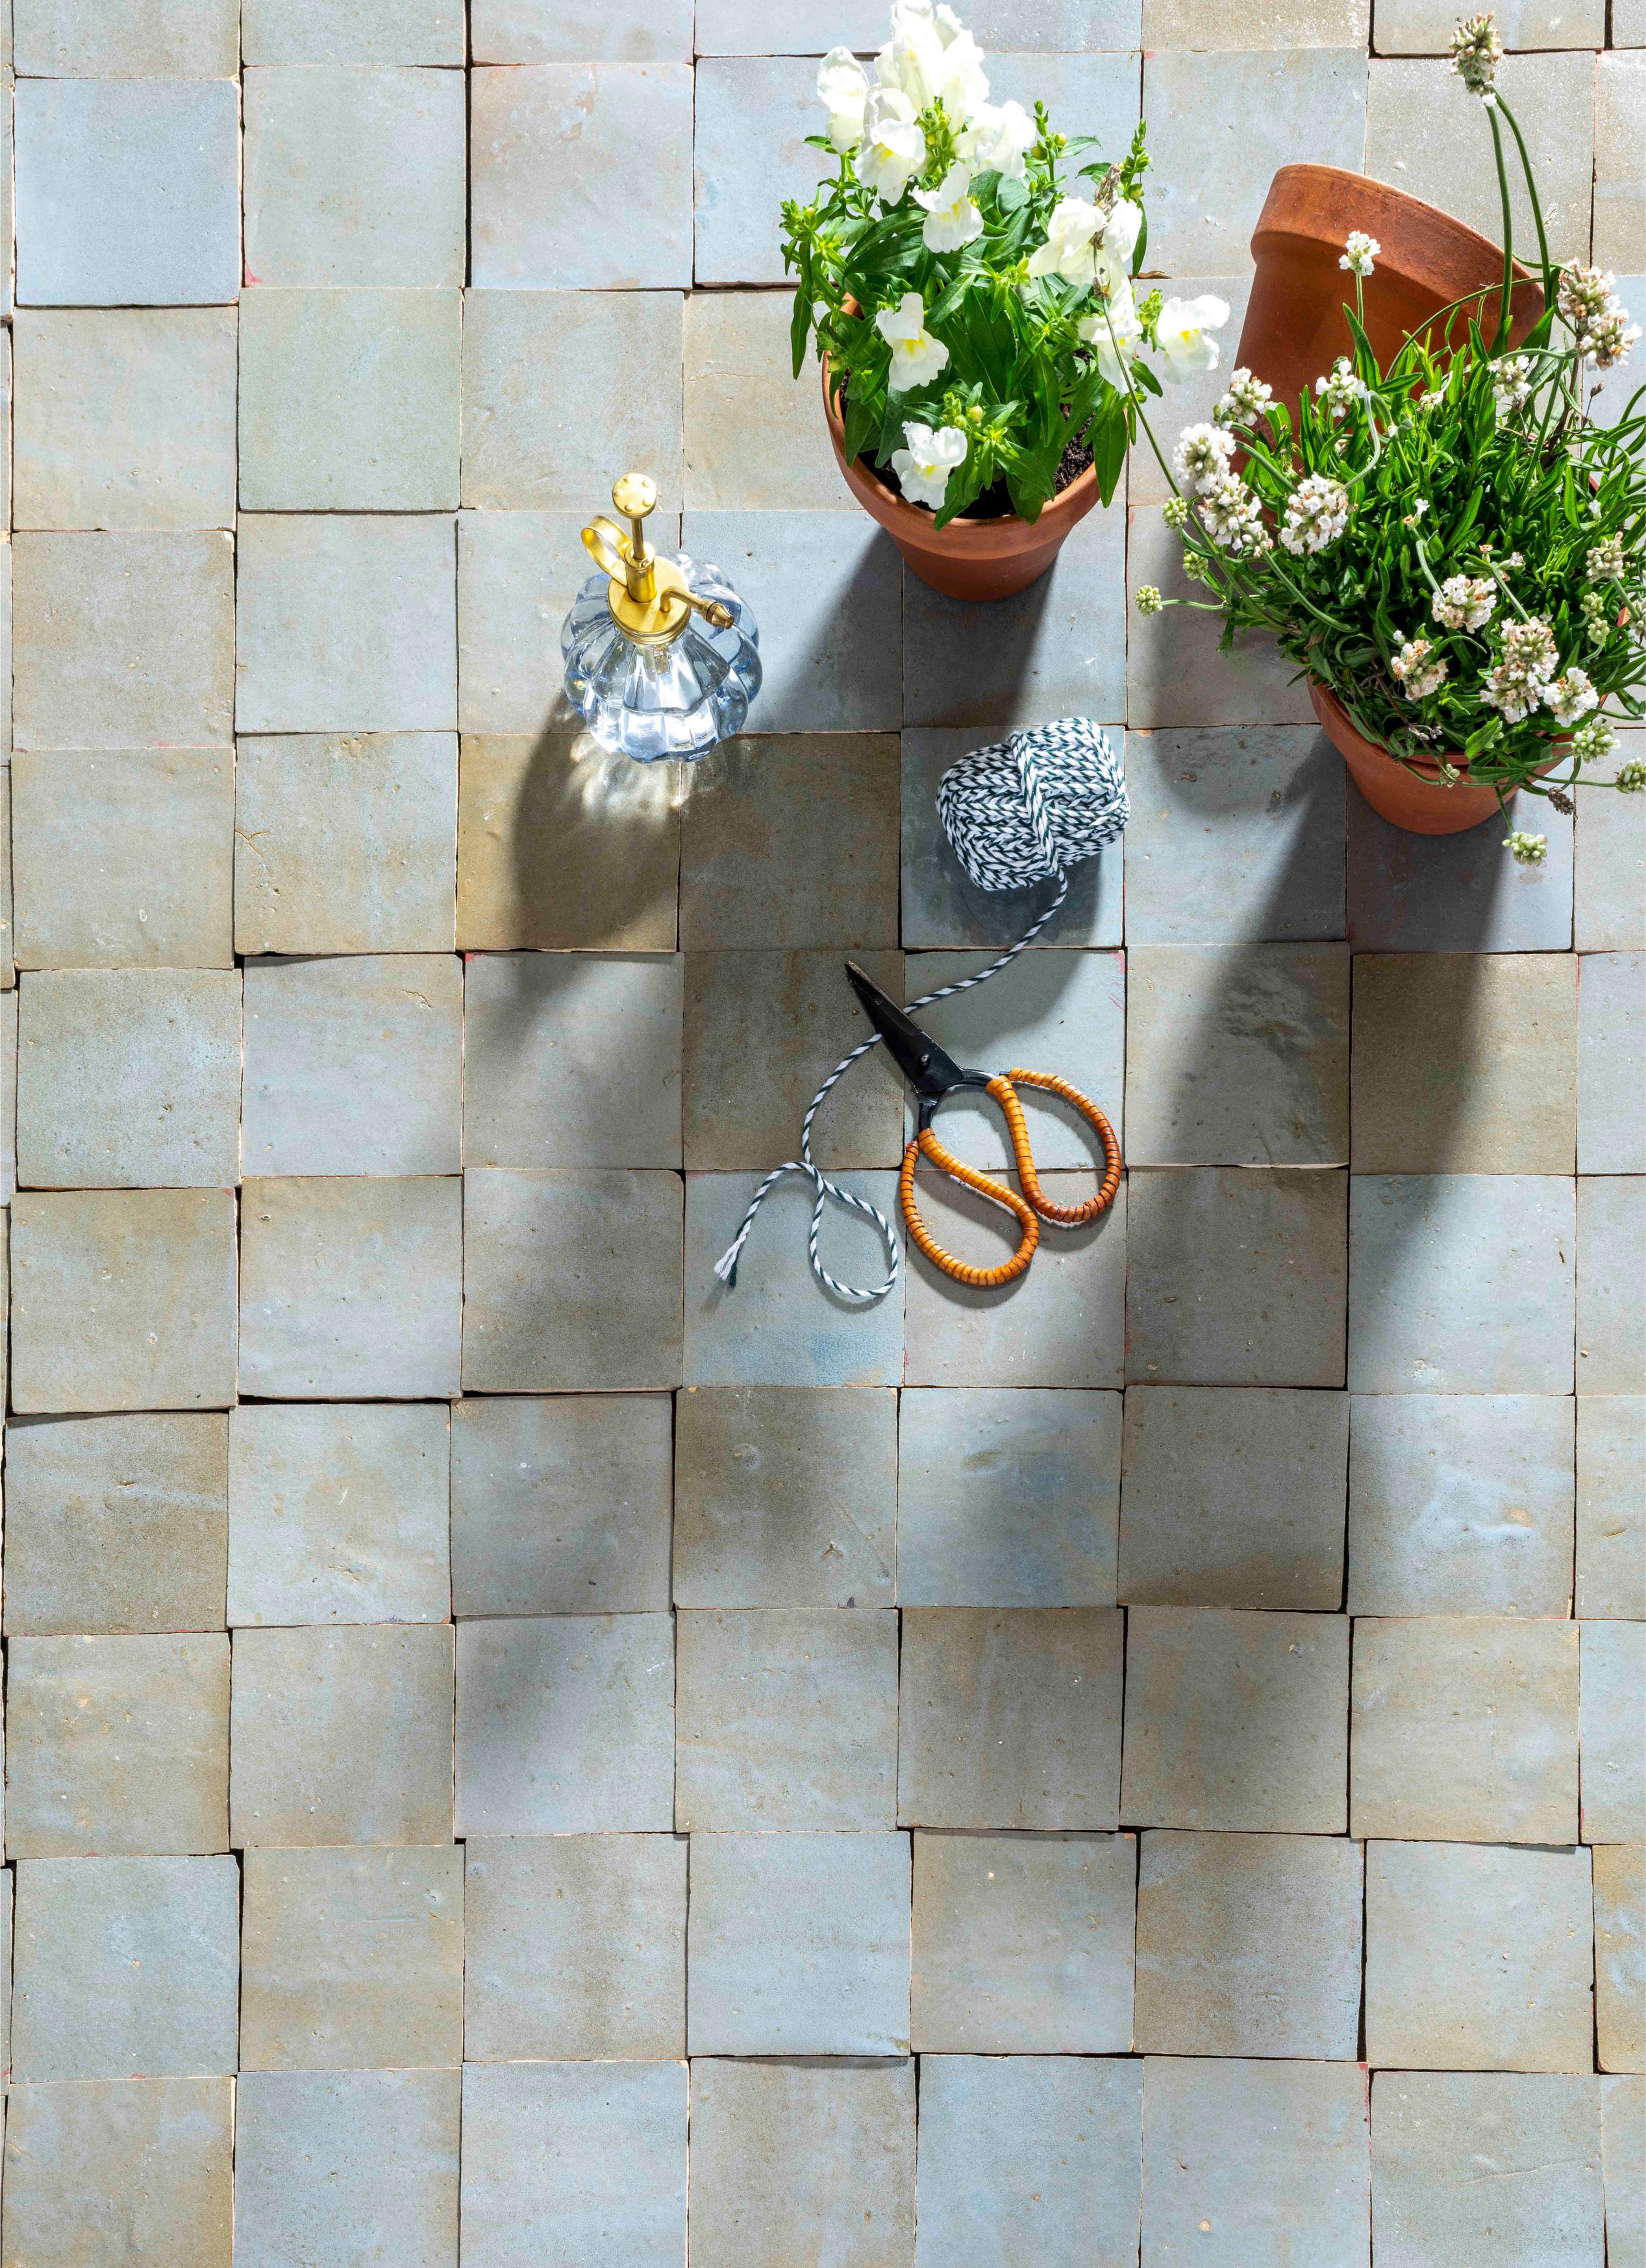
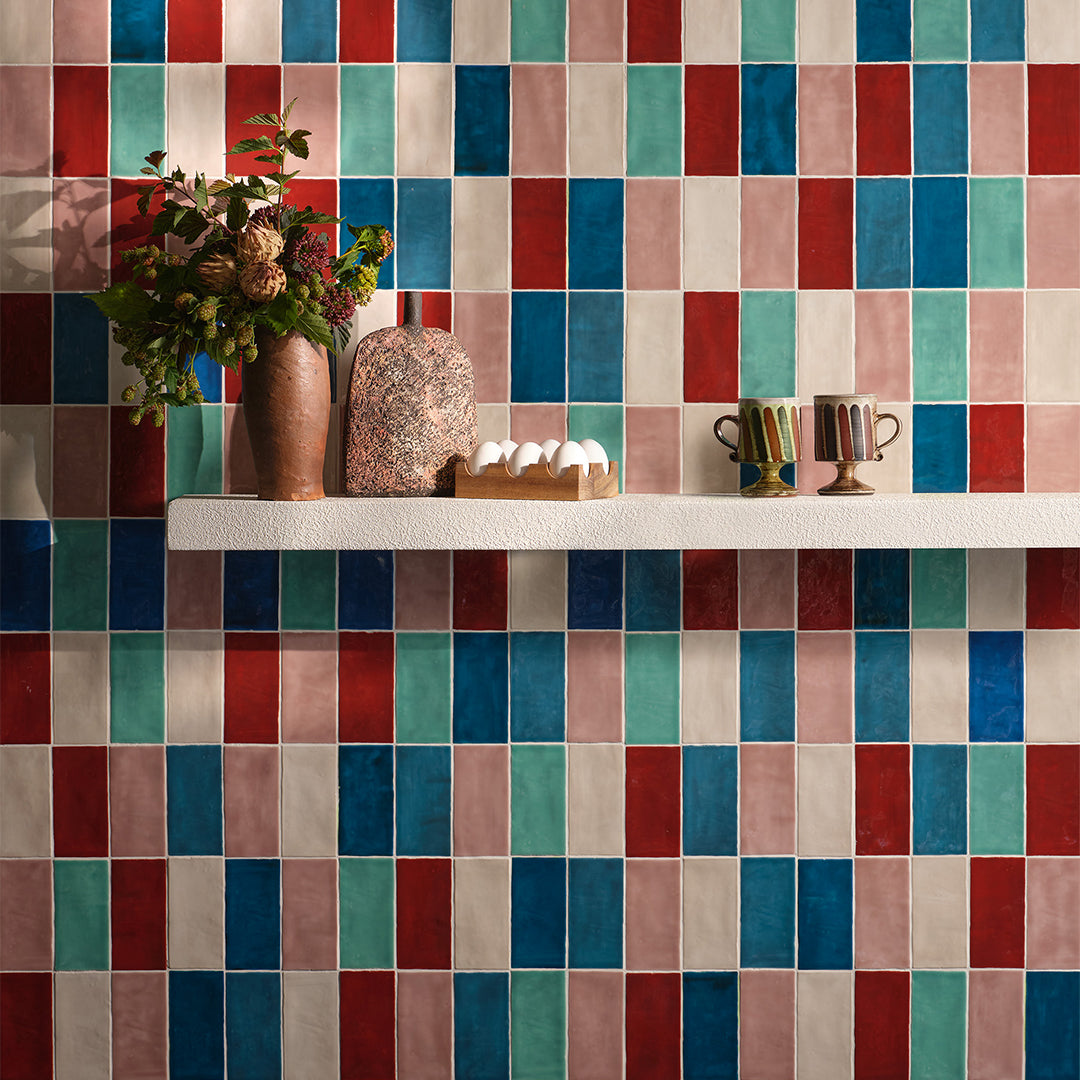
1. Choosing the Wrong Size for the Space
Selecting tile dimensions without regard for room scale can create a disjointed look or overwhelming grout lines.
In small bathrooms or kitchens, oversized tiles can make the space feel cramped; conversely, tiny mosaic tiles in a large living area can appear busy and outdated. Always measure the square footage and consider sample layouts-dry-lay full tiles on the floor or wall to visualize the effect.
Remember that larger tiles install faster and require less grout, but demand exceptionally flat substrates.
When in doubt, consult a tile professional to match tile size to room proportions.
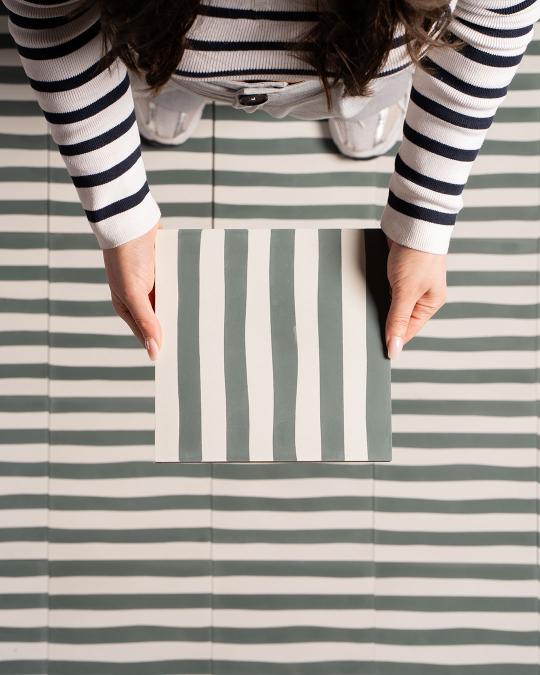
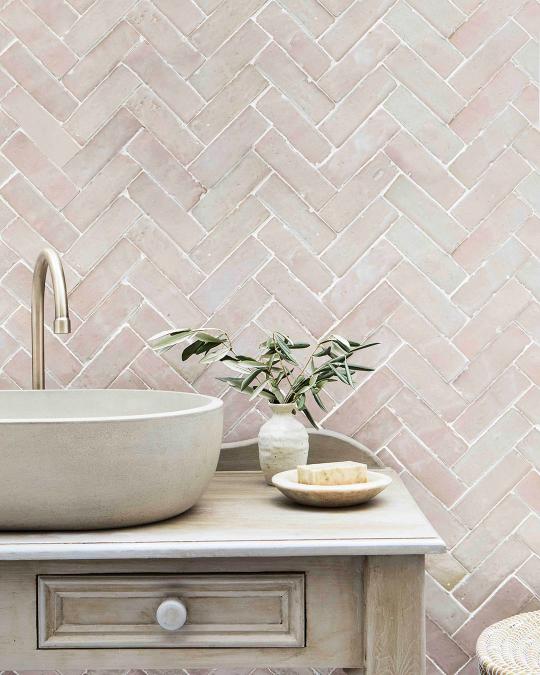
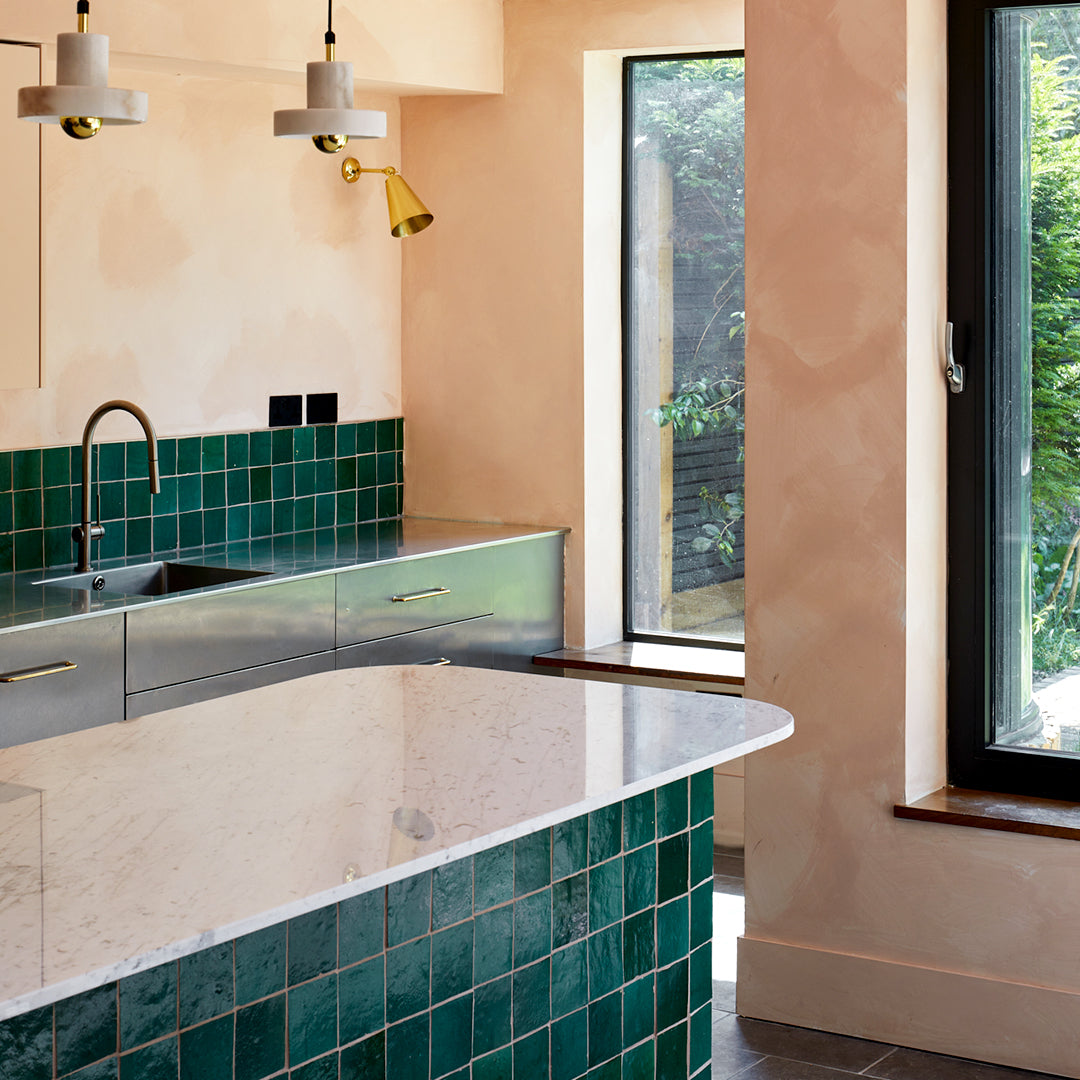
2. Ignoring Grout Width & Color Impact
Grout isn’t an afterthought—it defines the rhythm and continuity of your tile field.
Too narrow, and inconsistent tile edges become glaring; too wide, and the grout dominates the pattern.
Moreover, grout color can either harmonize or contrast dramatically. A dark grout on light tiles hides stains but emphasizes grid lines; a light grout brightens the room but shows discoloration more readily.
Always test grout samples on actual tile pieces in your lighting conditions, and factor in maintenance requirements before making your decision.
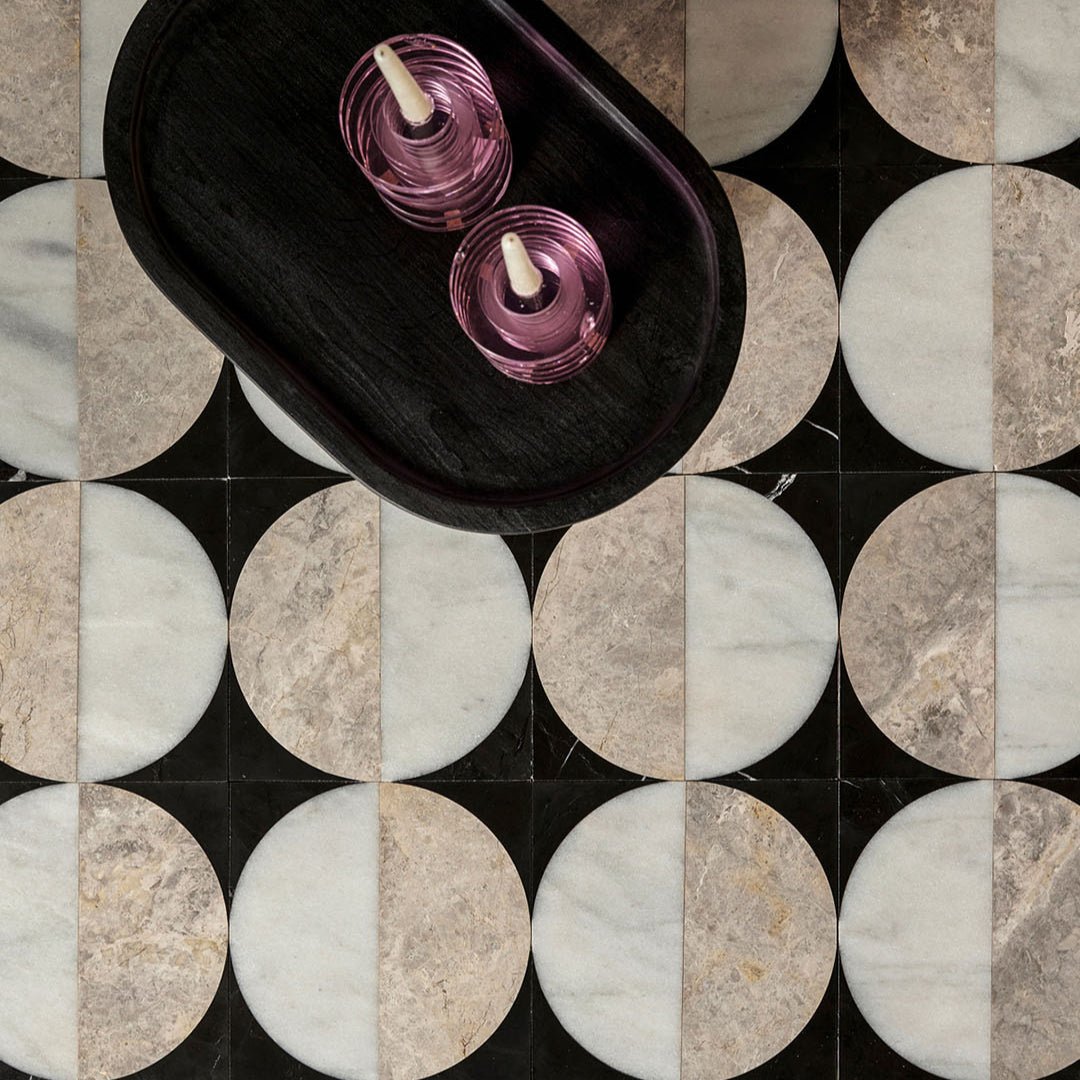
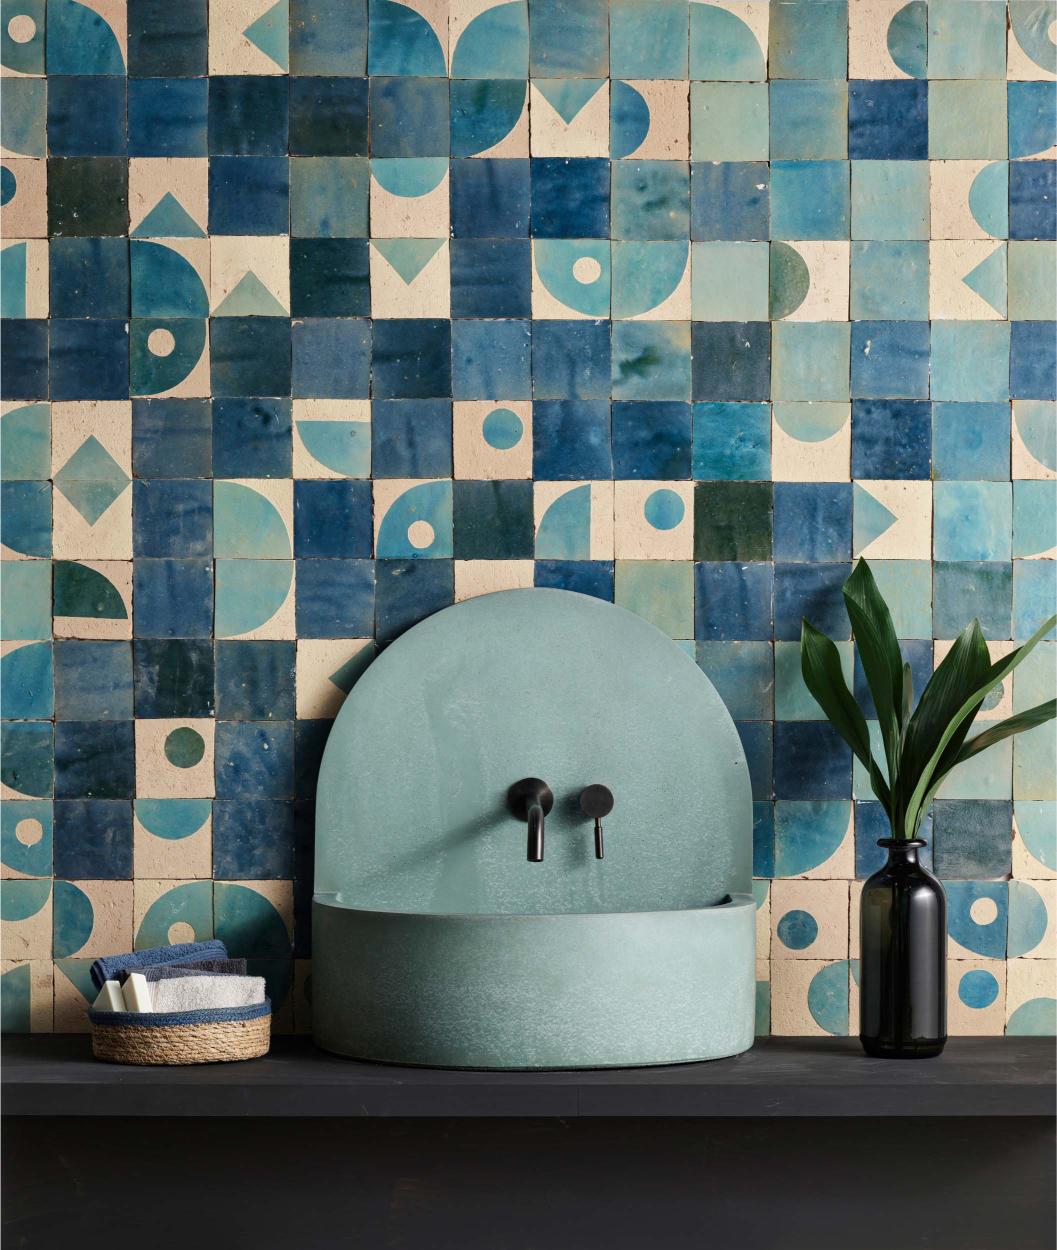
3. Poor Layout Planning: Off-Balance Patterns
A striking tile layout demands a clear plan before adhesive hits the trowel.
Centering a pattern on a focal point—such as a vanity or fireplace—ensures symmetry and visual balance. Failing to establish a reference grid leads to awkward cuts at edges and corners, diminishing the overall effect. Use chalk lines or laser guides to map your first few rows, then work outward.
Discuss the plan with your installer or carefully follow manufacturer templates to maintain consistent alignment throughout the project.
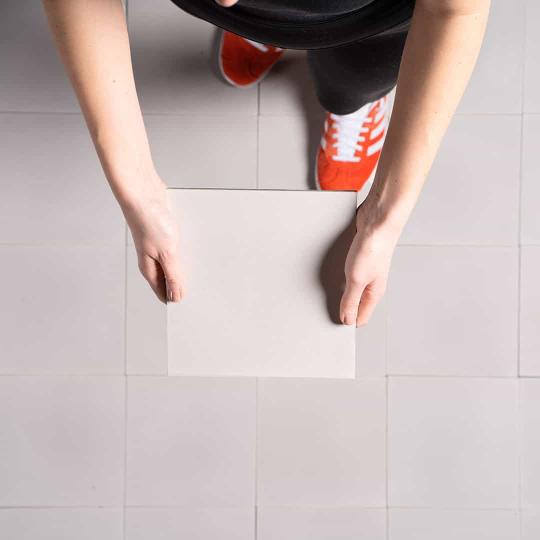
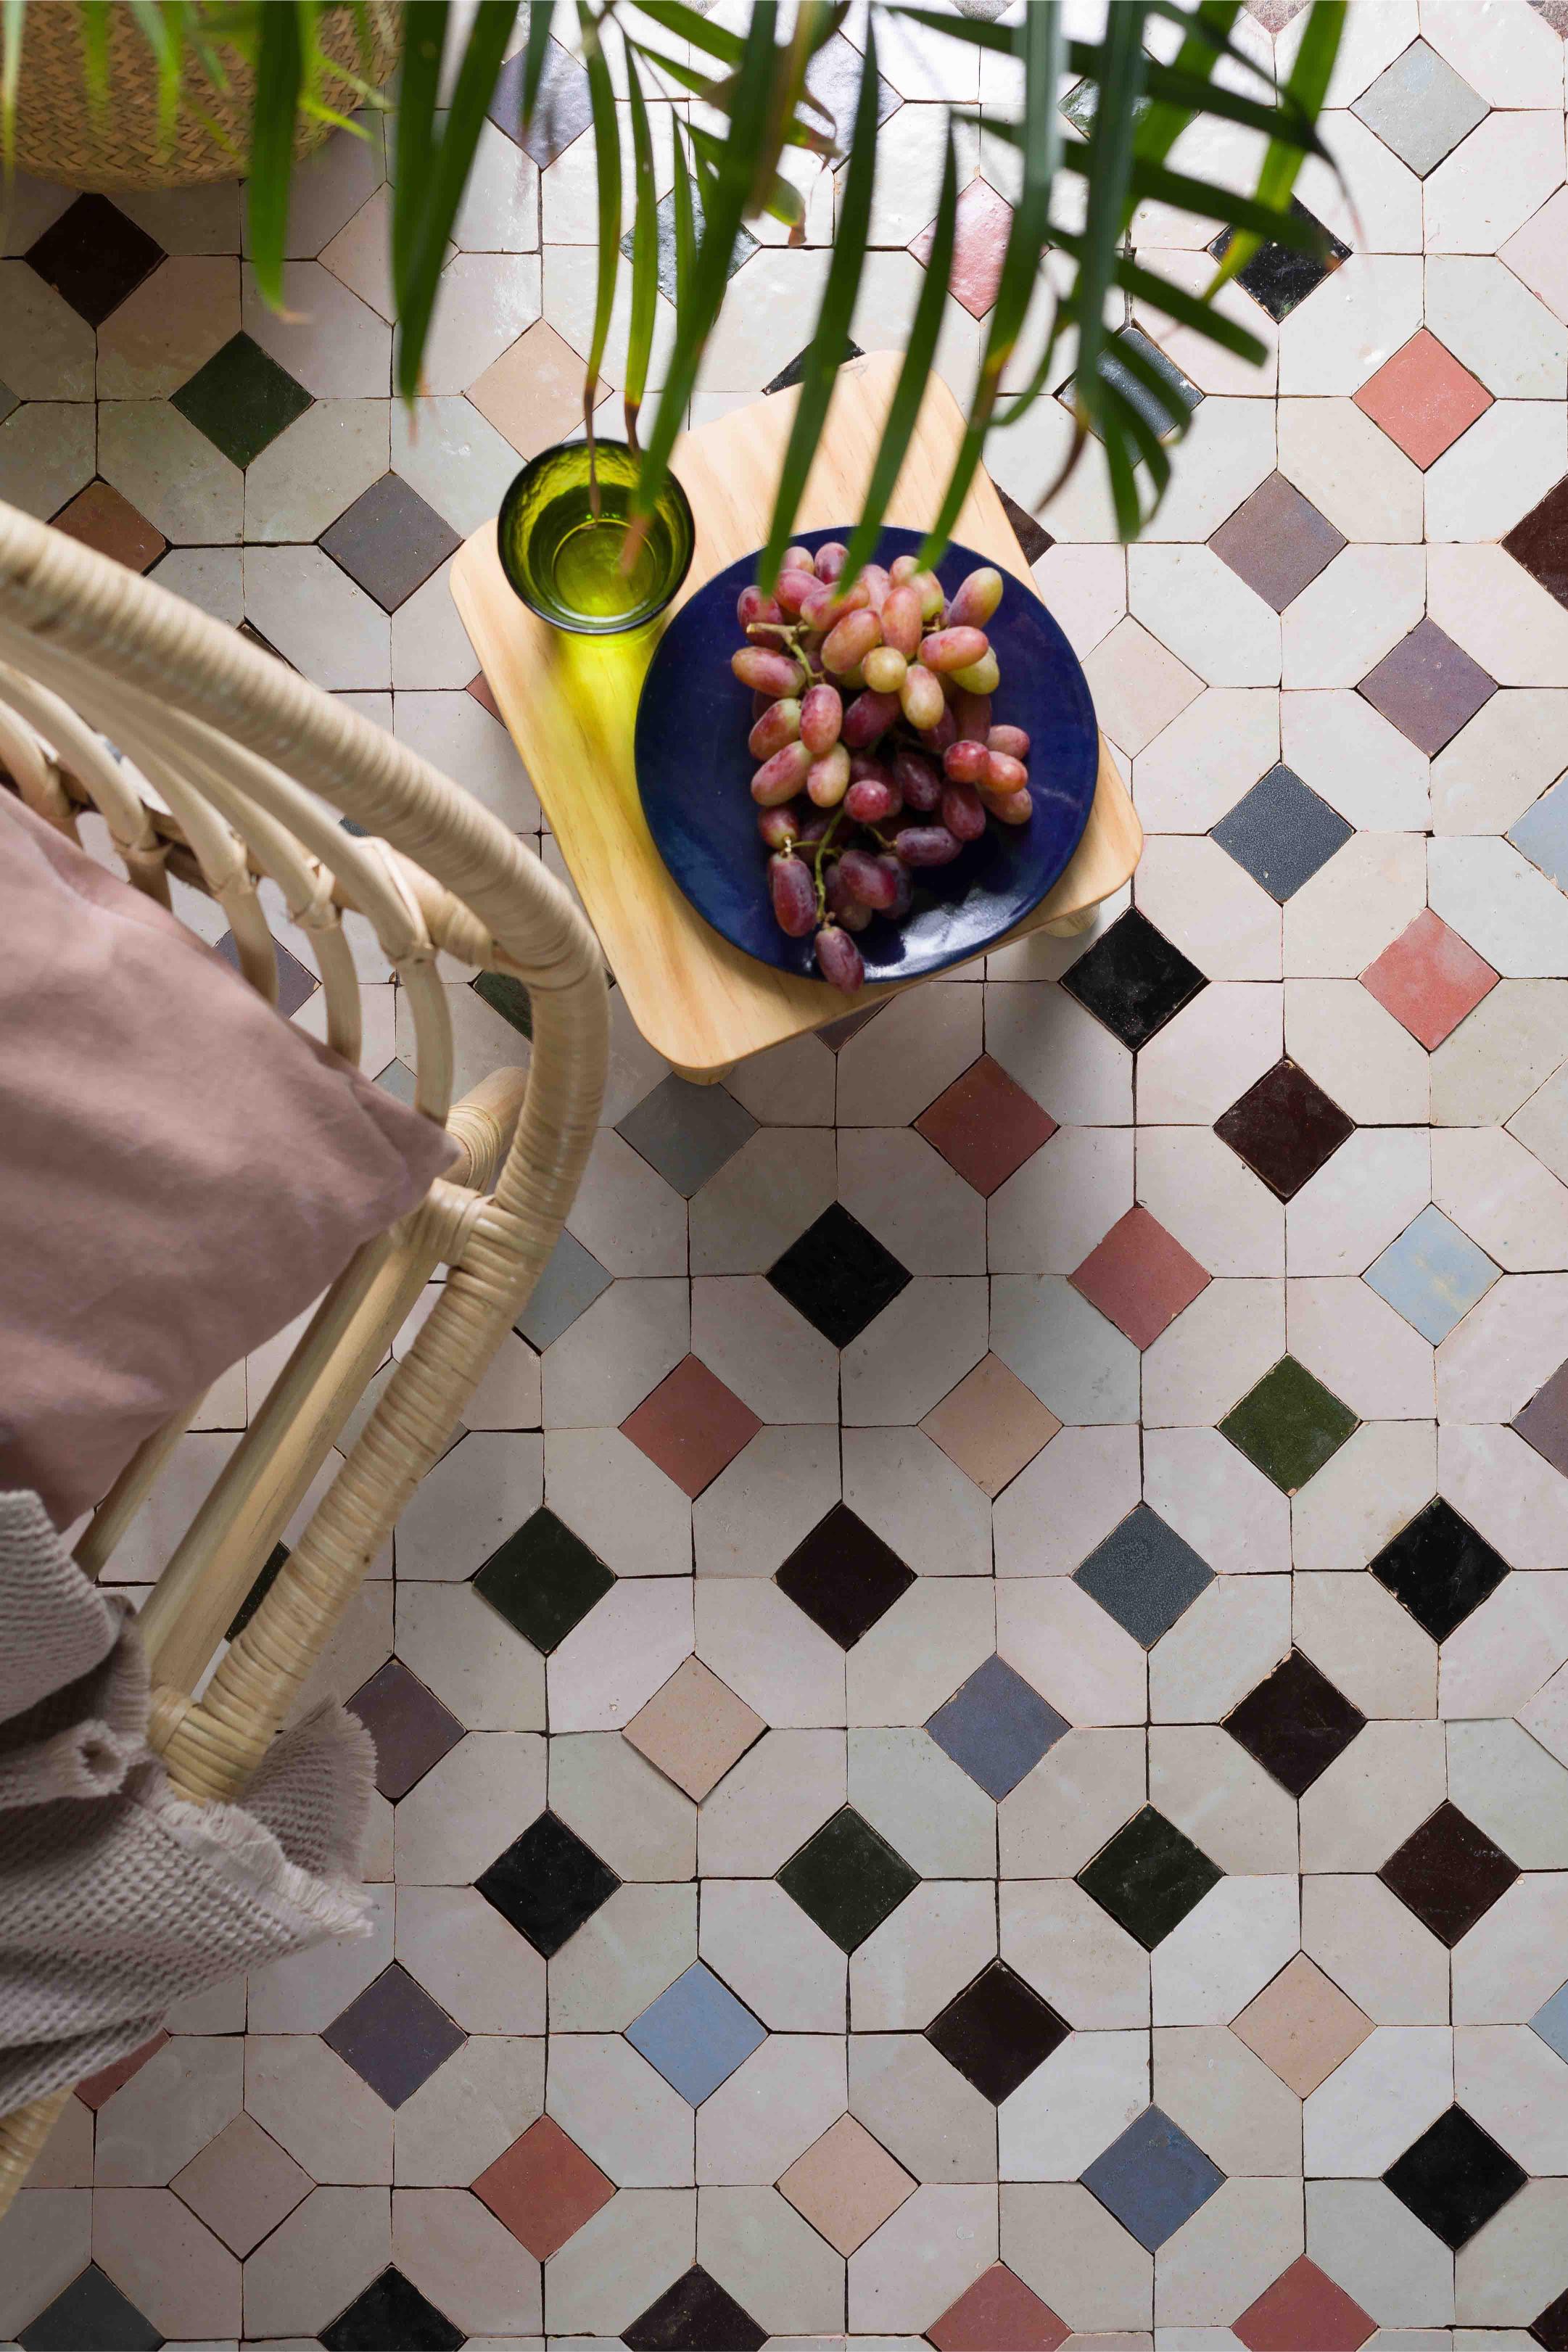
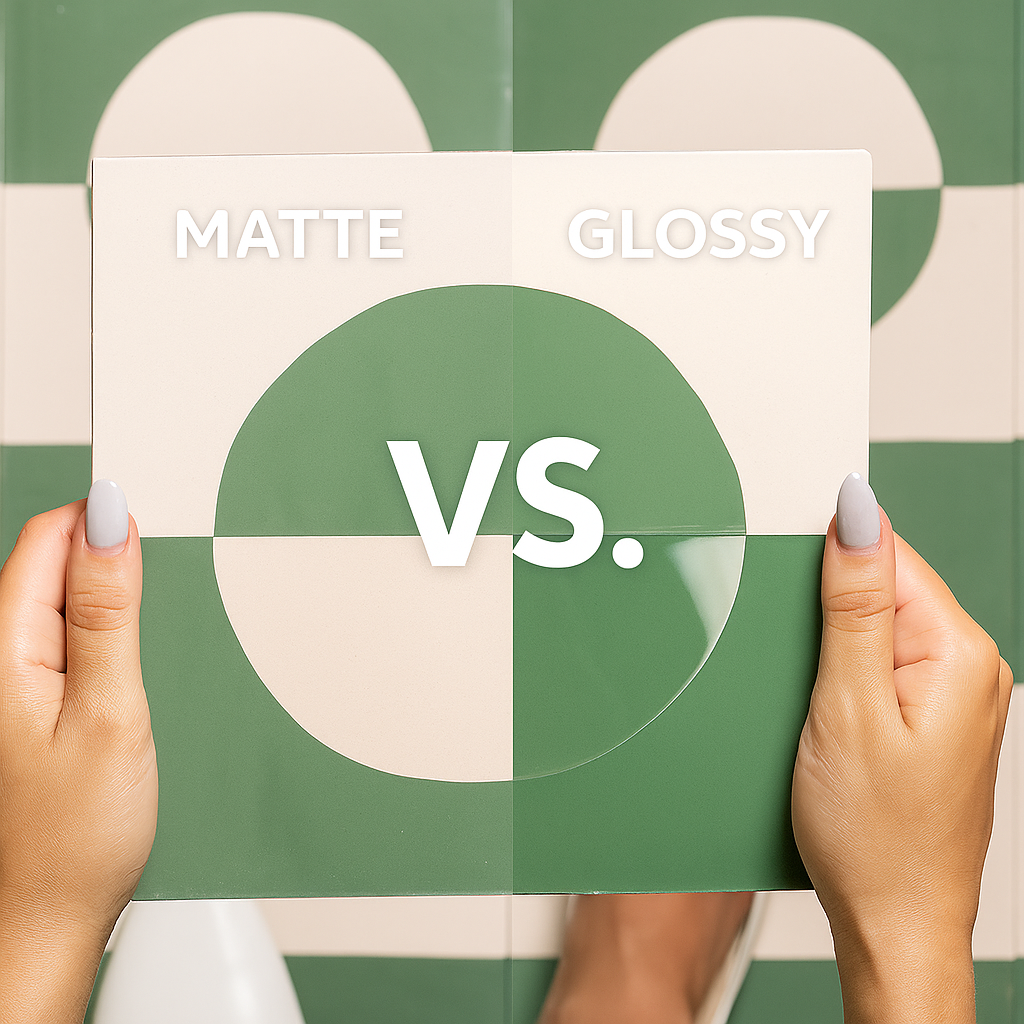
4. Overlooking Tile Slip Resistance
Tile selection should account for both style and safety, especially in wet areas. Glossy finishes add elegance but can become dangerously slick when wet. Instead, opt for textured or matte tiles rated for slip resistance (look for ANSI A137.1 values). In showers, around pools, and on exterior patios, a coefficient of friction (COF) of at least 0.60 is recommended.
Proper underfoot safety isn’t just prudent—it’s a critical aspect of home insurance and liability protection.
5. Skipping Proper Subfloor Preparation
No tile will remain pristine if the substrate shifts, cracks, or absorbs moisture.
Adequate subfloor prep includes leveling with self-leveling compounds, installing cement backer board in wet zones, and applying waterproof membranes where required. Neglecting these steps can lead to lippage, grout cracking, or tile failure.
Always remove old flooring, address structural weak points, and confirm the subfloor is clean and dry before tiling. Investing time in this stage prevents future repairs and guarantees long-term performance.
6. DIY Missteps: When to Call a Pro
Enthusiasm is admirable, but tile installation involves precise skills—mixing mortar to the right consistency, gauging trowel size, and achieving uniform grout joints.
Underestimating complexity can result in wasted materials and uneven surfaces. Reserve DIY for simple backsplashes or small accent walls if you have prior experience.
For large floors, intricate patterns, or exterior installations, engage a certified tile contractor. Their expertise ensures warranty coverage, code compliance, and a finish worthy of your home.
7. Fixing Imperfections After Installation
Even the most meticulous installation can reveal minor flaws—slightly uneven tiles, grout voids, or stray adhesive.
Address imperfections promptly: re-level lippage with epoxy repair kits, re-grout gaps with matching color sealants, and remove excess mortar with specialized tools. Avoid harsh chemicals that can dull tile finishes.
Document the manufacturer lot numbers and save spare tiles for seamless patching.
Regular inspections and timely touch-ups preserve both function and aesthetics over years of use.


Leave a comment
This site is protected by hCaptcha and the hCaptcha Privacy Policy and Terms of Service apply.